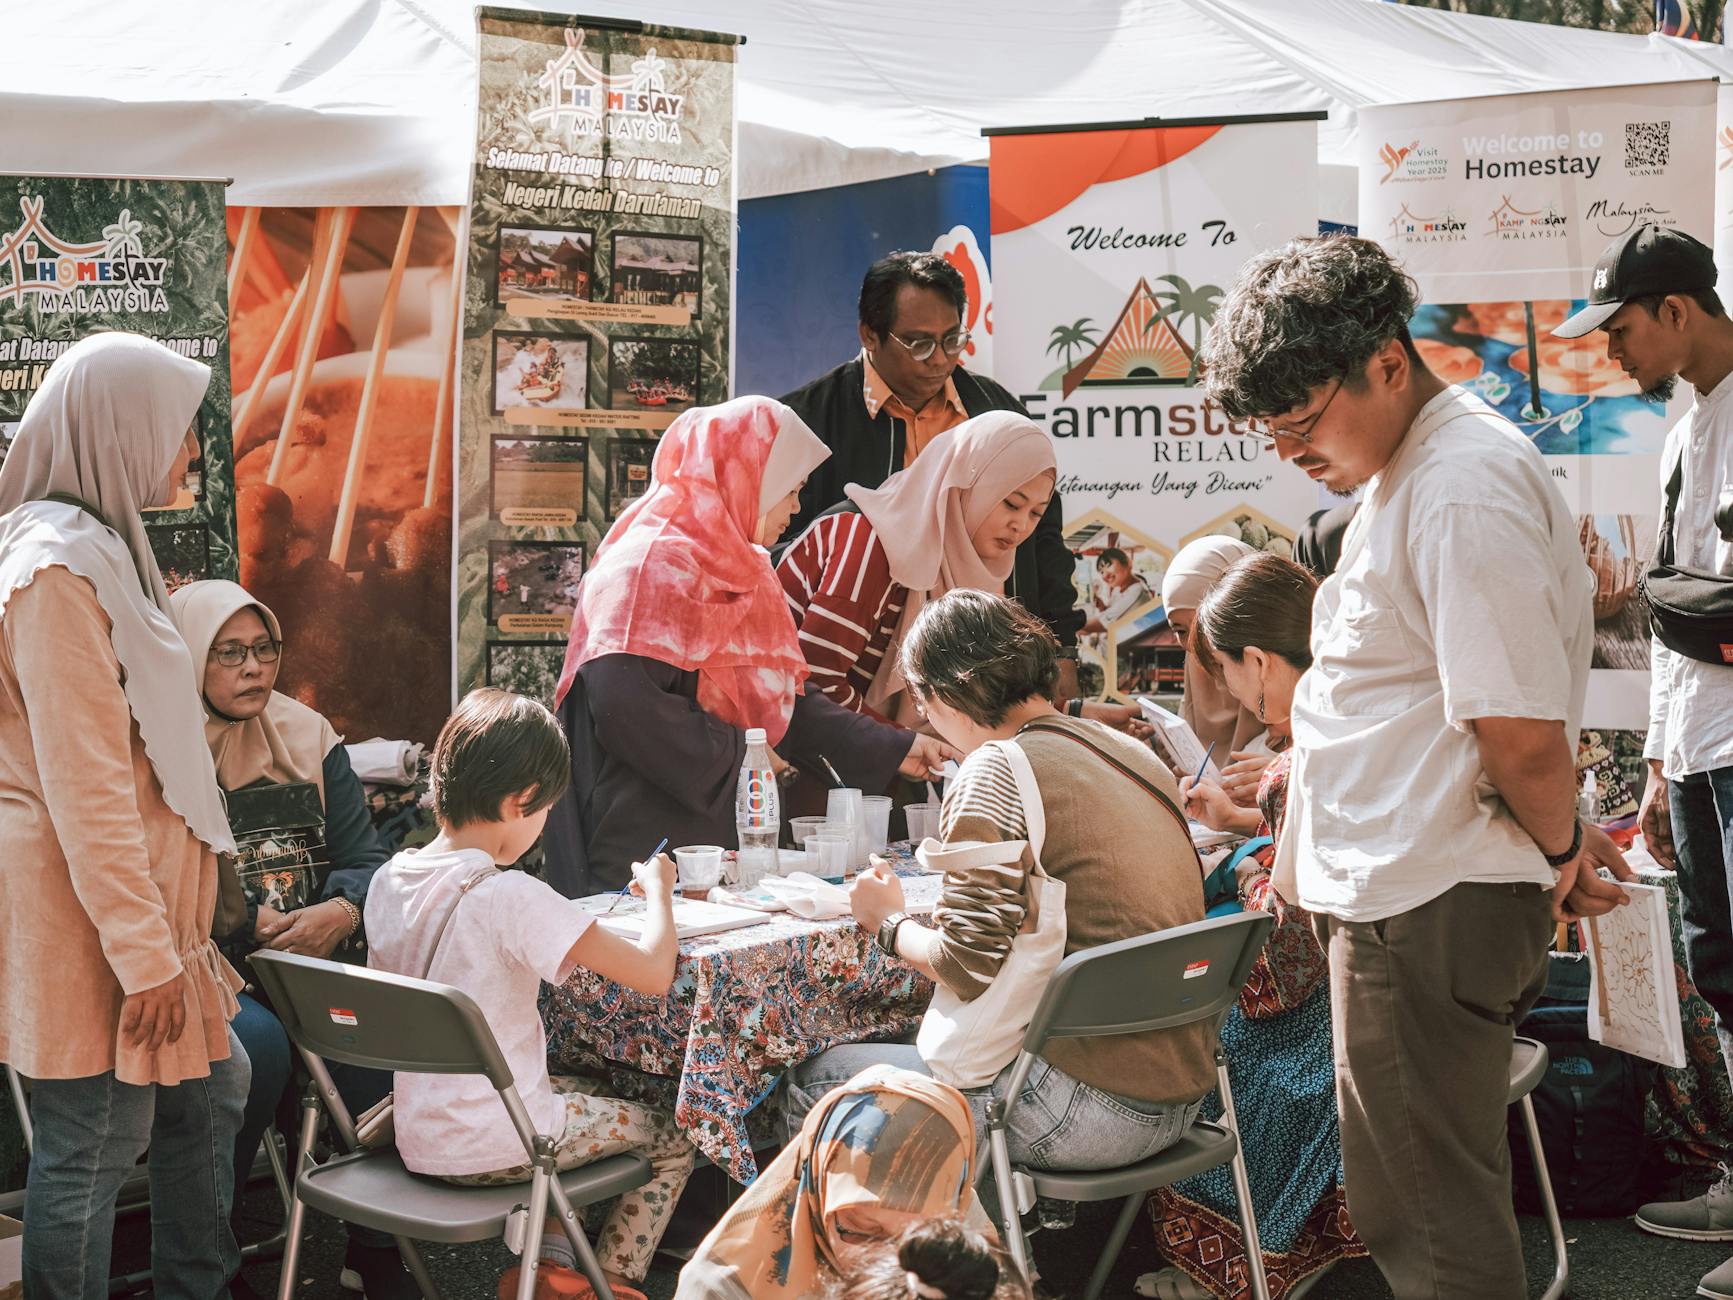
Pull-up banners are one of the most practical marketing tools available to Australian businesses. Whether you are setting up at a trade show, positioning your brand at a conference registration desk, or directing foot traffic in a retail space, a well-designed retractable banner delivers high-impact visibility at a fraction of the cost of permanent signage. This guide covers everything you need to know before ordering: standard sizes across the Australian market, how to set up your artwork correctly, design best practice for banners that get noticed, and a plain-language comparison of your supplier options so you can make an informed choice.
Pull-Up Banners: At a Glance
| Standard size (Australia) | 850mm wide x 2100mm tall (most common) |
| Price from (Paperlust) | From $117.83 inc. GST (single-sided premium) |
| Production time | 2-3 working days after proof approval |
| Delivery | 1-2 business days express (metro) or 2-5 standard |
| Single or double-sided? | Single-sided suits most setups; double-sided for two-direction sightlines |
| File format | PDF, SVG, or Adobe Illustrator (.ai / .eps) |
| Bleed required | 3mm bleed + crop marks |
What Is a Pull-Up Banner?
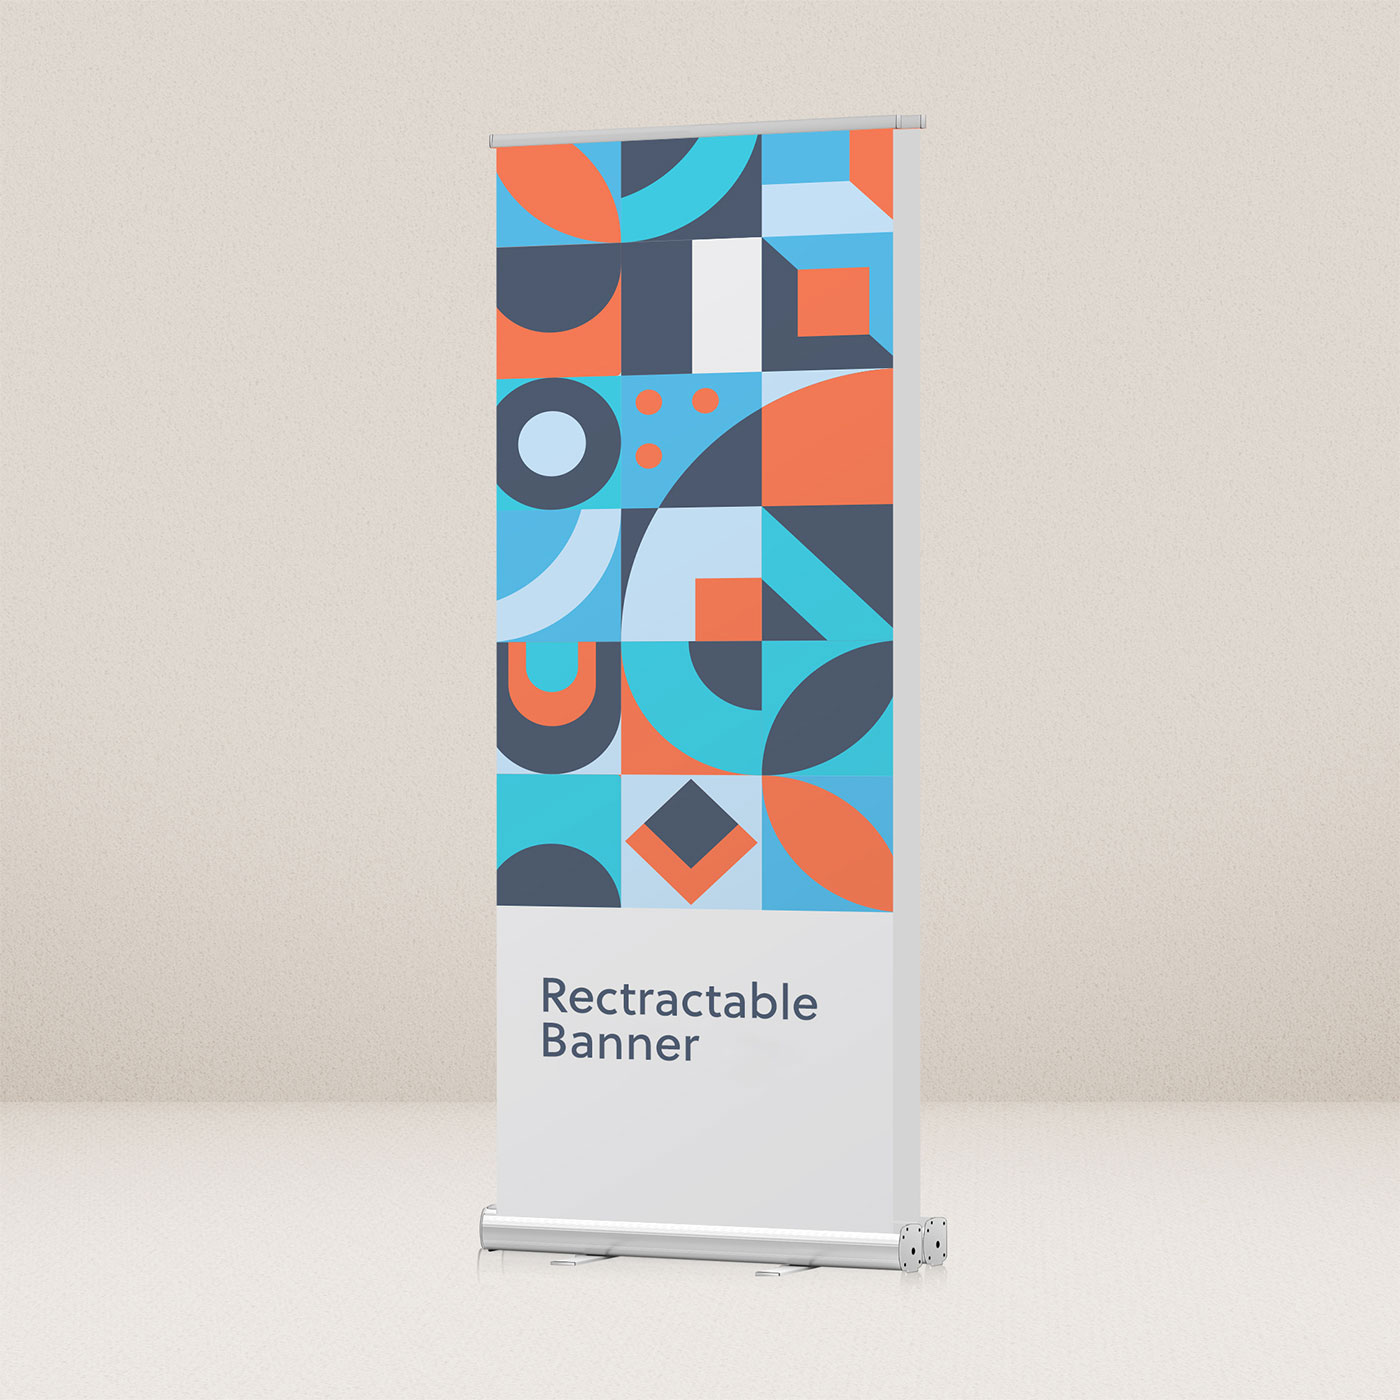
A pull-up banner (also called a retractable banner or roll-up banner) consists of a printed graphic panel that winds into a compact base via a spring-loaded mechanism. When you need it, you extend the support pole, pull the panel up to the top, and clip it in place. The whole process takes under two minutes with no tools required.
The appeal is obvious: once the banner is packed away in its carry bag, the assembled unit is easy to transport by hand to your next event. The hardware lasts for years, and on certain models the printed panel can be swapped out separately when your branding changes without replacing the base.
Pull-up banners work best indoors, where wind is not a factor. For outdoor use, weighted bases and ground anchoring become important considerations covered in the FAQ section below.
Standard Pull-Up Banner Sizes in Australia
The Australian market has broadly settled on a handful of standard sizes. Understanding these dimensions helps you brief a designer accurately, choose compatible hardware, and compare quotes between suppliers.
| Size Name | Dimensions (mm) | Best Use |
|---|---|---|
| Standard pull-up | 850 x 2100 | Trade shows, conferences, retail floors, receptions. The most common size in Australia. |
| Wide pull-up | 1000 x 2000 | High-traffic environments where you want more visual real estate |
| Extra-wide pull-up | 1200 x 2000 | Large exhibition stands, stage backdrops, double-entry corridors |
| Double-sided pull-up | 850 x 2100 per face | Aisle locations, conference registration, any two-direction sightline |
| X-banner (alternative) | 600 x 1600 | Lightweight, budget-friendly alternative to retractable hardware |
Which size should you choose?
For most Australian businesses, the 850mm wide pull-up is the right starting point. It fits comfortably in a standard 3x3m trade show booth, aligns with the most common hardware cassette widths, and is what the majority of event venues accommodate. If you are ordering for the first time and unsure, go standard.
For the full-width backdrop that sits behind the booth, a media wall is the standard pairing.
The 1000mm and 1200mm wide options are worth considering for permanent or semi-permanent retail installations where you have a fixed wall space and want the banner to fill it more completely.
For counter displays and indoor wayfinding arrows where a full-height banner would be disproportionate to the setting, a compact X-banner is often the better fit.
Paperlust Pull-Up Banner Options
Paperlust Print Shop offers three retractable banner options plus an X-banner alternative, all produced in Australia with express delivery available.
Premium Pull-Up Banners
The Premium Pull-Up Banner is the most popular starting point for Australian businesses. Available in three sizes (850mm x 2100mm, 1000mm x 2000mm, and 1200mm x 2000mm), it uses a printed vinyl panel wound on a spring-loaded roller inside an aluminium base. The package includes the printed vinyl panel, aluminium roller base with spring mechanism, extending support pole, and a carry bag for transport and storage. Replacement vinyl panels are available separately if you want to refresh your graphic without replacing the hardware. From $117.83 inc. GST.
Double-Sided Pull-Up Banners
The Double-Sided Pull-Up Banner is the right choice when your banner will be viewed from both directions. Each face measures 850mm wide x 2100mm tall. The base is a twin-panel silver anodised weighted aluminium unit that holds both printed panels, front and back. Setup takes around two minutes with no tools required. Included in every order: both printed banner panels, the silver anodised aluminium base, support pole and top rail, and a carry bag. Digital proofs are supplied for both faces before production begins. From $233.15 inc. GST.
For a full discussion of when to choose single versus double-sided, see the section below.
Luxury Pull-Up Banners
The Luxury Pull-Up Banner is built for corporate environments where presentation standards are highest. The stand features a black anodised weighted aluminium base (rather than the silver of the standard range), and the banner panel uses an anti-curl satin substrate that hangs flat and sits photo-ready without the edge-lifting common on thinner pull-up media. This is the right choice for permanent office receptions, executive conference rooms, and premium exhibition booths. The banner measures 850mm x 2100mm. From $204.32 inc. GST.
X-Banner Stands (Lightweight Alternative)
The X-Banner Stand is a tripod-style X-frame display rather than a retractable cassette system. At 600 x 1600mm and printed on 440gsm polyester, it is the lightest and most compact option in the range. The X-banner suits promoters, pop-up markets, and small retail situations where budget and portability take priority over the premium finish of a cassette retractable. From $91.60 inc. GST.
Single vs Double-Sided: Which Should You Choose?
The choice between single and double-sided comes down to one question: will people see your banner from both directions, or only from the front?
Choose single-sided when:
– Your banner is positioned against a wall, pillar, or backdrop
– You are at a trade show booth where the back of the stand faces a wall or neighbouring exhibitor
– You are in a retail aisle and foot traffic moves predominantly in one direction
Choose double-sided when:
– Your banner is placed in the middle of an aisle at a trade show or conference
– You are at a conference registration area with foot traffic approaching from both sides
– You need a banner that functions as a freestanding divider between two zones
The double-sided unit uses different hardware to a single-sided banner. The base is wider and weighted to accommodate two panels, which means the overall unit is heavier. Budget accordingly for transport.
On artwork: double-sided orders require two separate artwork files, one for each face. They do not need to be identical, so you can use face one for your main brand message and face two for a supporting message, event schedule, or contact details.
For double-sided orders, visit the Double-Sided Retractable Banner Stand page for full specifications and pricing.
Setting Up Your Artwork: File Requirements and Bleed
Getting your artwork right before sending it to print is the single biggest factor in whether your banner looks professional or disappoints. The most common errors are setting up at the wrong dimensions, missing bleed, and supplying low-resolution raster images.
Accepted file formats
Paperlust Print Shop accepts PDF, SVG, and Adobe Illustrator (.ai or .eps) files. PDF is the most common and reliable format for most designers and studios.
Dimensions and bleed
Set your artboard to the full finished size of the banner (for example, 850 x 2100mm for a standard single-sided). Add 3mm bleed on all edges and include crop marks in your export.
One important consideration specific to pull-up banners: the bottom 50-100mm of the artwork feeds into the cassette base and is not visible when the banner is displayed. Keep all critical content (logos, headlines, contact details) at least 70-100mm above the bottom trim edge. Background artwork should extend to the bleed boundary, but never place text or key graphics in the base zone.
Resolution
For raster (photographic) elements, 150dpi at the final full output size is the standard for large-format banner print. If your software struggles with very large file sizes, you can work at 50% of the final size at 300dpi, which produces the same output. For logos, icons, and text, always use vector formats (SVG, outlined paths in Illustrator, or PDF vector) so these elements remain sharp at any size.
Colour mode
Work in CMYK, not RGB. RGB colours will shift when converted to CMYK at the printer, and dark backgrounds in particular can look different on screen versus in print. For large dark areas, use a rich black (approximately C30 / M0 / Y0 / K100) rather than flat 100% K for a deeper result.
Fonts
All fonts must be outlined (converted to curves) or fully embedded before exporting. If a font is not embedded or outlined, the print file may substitute a different font. For Adobe Illustrator files, use Type then Create Outlines before saving. For PDF exports, ensure “Embed Fonts” is enabled in your export settings.
Safe zone
Keep all important content (logos, text, QR codes) at least 10-15mm inside the finished trim edge on the top and sides, and at least 70-100mm above the bottom trim line. This protects against minor production tolerances and the cassette base zone.

Pull-Up Banner Design: What Works and What to Avoid
A pull-up banner competes for attention in a busy environment. People read it from 2-5 metres away, usually while walking. The design principles that work for small print (brochures, business cards) do not translate to banners.
Structure your banner from top to bottom
Your viewer’s eye lands at approximately head height, which on a standard 2100mm banner is around 1500-1700mm from the ground. Put your most important element there: your logo or headline. Work down from there with supporting information, imagery, and contact details.
The bottom 300-400mm of a standing banner is below natural eye level. Do not put critical information there.
Use large, legible type
Text on a pull-up banner needs to be readable from 3 metres. As a starting rule, your headline should be no smaller than 60-80mm tall at the final print size. Body text is rarely useful on a banner because it is too small to read at distance. Use short bullet points rather than sentences.
Limit your messages to one or two
The most common banner design mistake is fitting too much content. A banner should answer one question: “Who are you and what do you offer?” If your banner needs to be read top to bottom before it communicates a clear message, it is carrying too much.
Use high-contrast colours
Dark backgrounds with light text or light backgrounds with dark text both work well. Avoid mid-tone combinations (grey text on beige, or pastel text on white) that read poorly at distance or in uneven exhibition lighting.
Leave breathing room at the edges
Do not run text or logos to the edges of the design. A banner that looks “full” in the design software will feel cramped on the printed stand. Leave generous margins, especially on the sides where the banner can pull slightly away from the pole.
QR codes work well on pull-up banners
If you include a QR code, make it at least 80 x 80mm at the final size and test it from 1-2 metres with a phone before sending to print. QR codes printed at smaller sizes or at low resolution do not scan reliably.
How to Compare Pull-Up Banner Suppliers in Australia
Australian businesses searching for pull-up banners will encounter a range of suppliers with different production setups, lead times, and quality levels. Many buyers start by comparing the big-name options, from office-supply chains like Officeworks to online printers like Vistaprint and large-format specialists like Easy Signs. Before you order from any of them, here is a neutral way to evaluate the offer.
What to check for
Substrate quality. The banner material (vinyl or polyester) determines how flat the panel hangs and how long it lasts. Thicker, heavier substrates hang flatter and resist curling better. Ask specifically whether the banner media is a standard vinyl or an anti-curl premium substrate.
Hardware quality. The base mechanism determines how many times the banner can be retracted and extended before the spring weakens. Budget hardware from mass-market retailers often fails within 20-30 uses. A commercial-quality aluminium cassette base should handle 200+ event deployments without issue.
Lead time versus turnaround guarantee. Some suppliers display headline turnaround times that refer to production only, not delivery. Confirm whether the turnaround includes delivery or just the print production stage.
Proof process. A digital proof before production goes to press is standard for quality suppliers. If a supplier does not offer a proof, you have no opportunity to catch a colour or layout error before the banner is printed.
Panel replacement. Once the hardware cassette is worn out or the brand has changed, can you replace just the panel? This is more economical than buying a new complete unit every time. Not all budget hardware supports panel replacement.
Australian production versus imported. Australian-produced banners ship faster and avoid customs delays. Australian production (as with Paperlust Print Shop) means metro delivery in 1-2 business days after the print stage, with no customs hold-ups.
The main practical difference between large-format specialist suppliers and general print retailers (office stationery chains and mass-market online printers) is substrate quality and hardware durability. For a one-off event or a short-term campaign, the difference may not matter. For a banner that will travel to 10-20 events per year, the substrate and cassette quality will have a visible impact on how the banner looks and performs over time.
For a full overview of banner types available for Australian businesses (teardrop banners, mesh banners, fabric banners, and more), see our Top 10 Types of Banners for Business guide.
Pull-Up Banner Cost: What Affects the Price?
Pull-up banners vary widely in price across the Australian market. The main factors that drive cost are:
Base hardware type. A standard silver anodised aluminium base (as on the Paperlust Premium range) is less expensive than a weighted luxury base (black anodised, anti-curl substrate). Budget cassette units with plastic components cost less again but have shorter lifespans.
Size. Wider banners require more media and larger hardware. An 850mm wide standard is the most economical; 1000mm and 1200mm wide formats carry a price premium.
Single versus double-sided. A double-sided unit requires two printed panels and a more complex base, so the unit cost is higher than a single-sided banner.
Media substrate. Anti-curl satin media (as used on the Luxury range) costs more than standard vinyl, but the flat-hanging result is visible to anyone who has stood next to both at an exhibition.
Quantity. Some suppliers scale pricing for quantities of 5 or more units. If you are fitting out a multi-booth trade show presence or equipping multiple retail locations, ask for a volume quote.
Artwork preparation. If you need a designer to create or adapt your artwork to the correct print template, that is a separate cost that sits outside the banner unit price. Supplying print-ready artwork yourself is the most cost-effective path.
At Paperlust Print Shop, pull-up banners start from $117.83 inc. GST for the Premium single-sided, $204.32 inc. GST for the Luxury single-sided, and $233.15 inc. GST for the Double-Sided unit.
Setup, Transport and Longevity
Setting Up Your Pull-Up Banner
Paperlust retractable banners assemble in approximately two minutes with no tools required. The standard process:
- Open the carry bag and stand the base unit upright.
- Extend the support pole sections and lock them together.
- Pull the banner panel upward from the base until it reaches its full height.
- Insert the top of the support pole into the top rail of the panel.
- Check the panel is tensioned evenly across its width.
For double-sided units, both panels attach to the same base unit and the same top rail.
Packing down and transport
To pack down, reverse the steps above. Retract the panel slowly into the cassette. Do not force the panel if it stiffens in cold conditions, let the banner warm up slightly before retracting. Collapse the support pole sections, place everything into the carry bag, and it is ready for transport.
The carry bag (included with all Paperlust retractable banner options) is designed to be carried by hand or checked as oversized luggage. For regular event travel, use the carry bag rather than improvised packaging to protect the cassette mechanism.
Longevity and care
A commercial-quality pull-up banner used with reasonable care should last 3-5 years across dozens of events. The main risks to longevity are:
- Forcing the panel into the cassette (damages the spring mechanism)
- Exposing the printed panel to prolonged direct outdoor UV exposure without UV-rated media
- Storing the unit in damp conditions
- Placing the banner directly in front of air conditioning vents or heating units, which can warp the panel
The printed graphic is less durable than the hardware. In direct outdoor sun, expect fade over 6-12 months depending on media quality. Paperlust banners are intended for indoor use and short outdoor events; for permanent outdoor signage, a corflute, foam board, or mesh banner is a more appropriate substrate.
Can the panel be replaced?
On Paperlust Premium Pull-Up Banners, replacement printed panels are available separately. This means when your branding updates, you can order a new panel without replacing the hardware cassette, which reduces cost and waste.
Frequently Asked Questions
What is the standard pull-up banner size in Australia?
The most common pull-up banner in Australia is 850mm wide. Paperlust offers the Premium Pull-Up Banner in 850mm x 2100mm, 1000mm x 2000mm, and 1200mm x 2000mm, and the double-sided variant is 850mm wide by 2100mm tall per face. The 850mm width fits a standard trade show booth and is the size assumed in most print templates, so it is the safest starting point if you are unsure.
What is the difference between single-sided and double-sided pull-up banners?
A single-sided pull-up banner has one printed face and a cassette base that is typically lighter and narrower. It is the right choice when the back of the banner faces a wall, booth partition, or backdrop. A double-sided pull-up banner has two printed panels (one per face) attached to a weighted twin-panel base. It is the right choice when the banner is positioned in the middle of an aisle or walkway where viewers approach from both directions. The double-sided unit from Paperlust starts from $233.15 inc. GST and includes both printed panels, the base, pole, top rail, and carry bag.
What file format and bleed do I need for a pull-up banner?
Paperlust Print Shop accepts PDF, SVG, and Adobe Illustrator (.ai or .eps) files. Set up your artwork at the full finished size of the banner (for example, 850 x 2100mm), add 3mm bleed on all edges, and include crop marks. All fonts must be outlined or fully embedded. Images should be embedded in the file, not externally linked. Work in CMYK colour mode. Supply files for both faces separately if ordering a double-sided banner.
How long do pull-up banners last, and can they be used outdoors?
A well-maintained commercial pull-up banner used for indoor events should last 3-5 years. Paperlust banners are designed for indoor use. Short outdoor use (a few hours at an outdoor event in mild conditions) is possible, but prolonged outdoor UV exposure will accelerate graphic fade. For permanent or semi-permanent outdoor display, consider corflute signs or mesh banners, which use weather-resistant substrates rated for outdoor conditions.
Can I replace just the printed panel, or do I have to buy a complete unit?
Yes, on Paperlust Premium Pull-Up Banners you can order a replacement printed panel separately when your branding changes, without replacing the hardware cassette. This is more cost-effective than purchasing a complete new unit each time. Contact Paperlust Print Shop directly to order a replacement panel for an existing base.
How long does production and delivery take?
Production takes approximately 2-3 working days after both your artwork proof is approved and payment is confirmed. Delivery after dispatch is 1-2 business days express for metropolitan areas, or 2-5 business days for standard delivery. For a time-sensitive event, select express delivery at checkout and ensure your print-ready artwork is submitted promptly to avoid delays at the proof stage.
Ready to order? View the full pull-up banner range at Paperlust Print Shop.