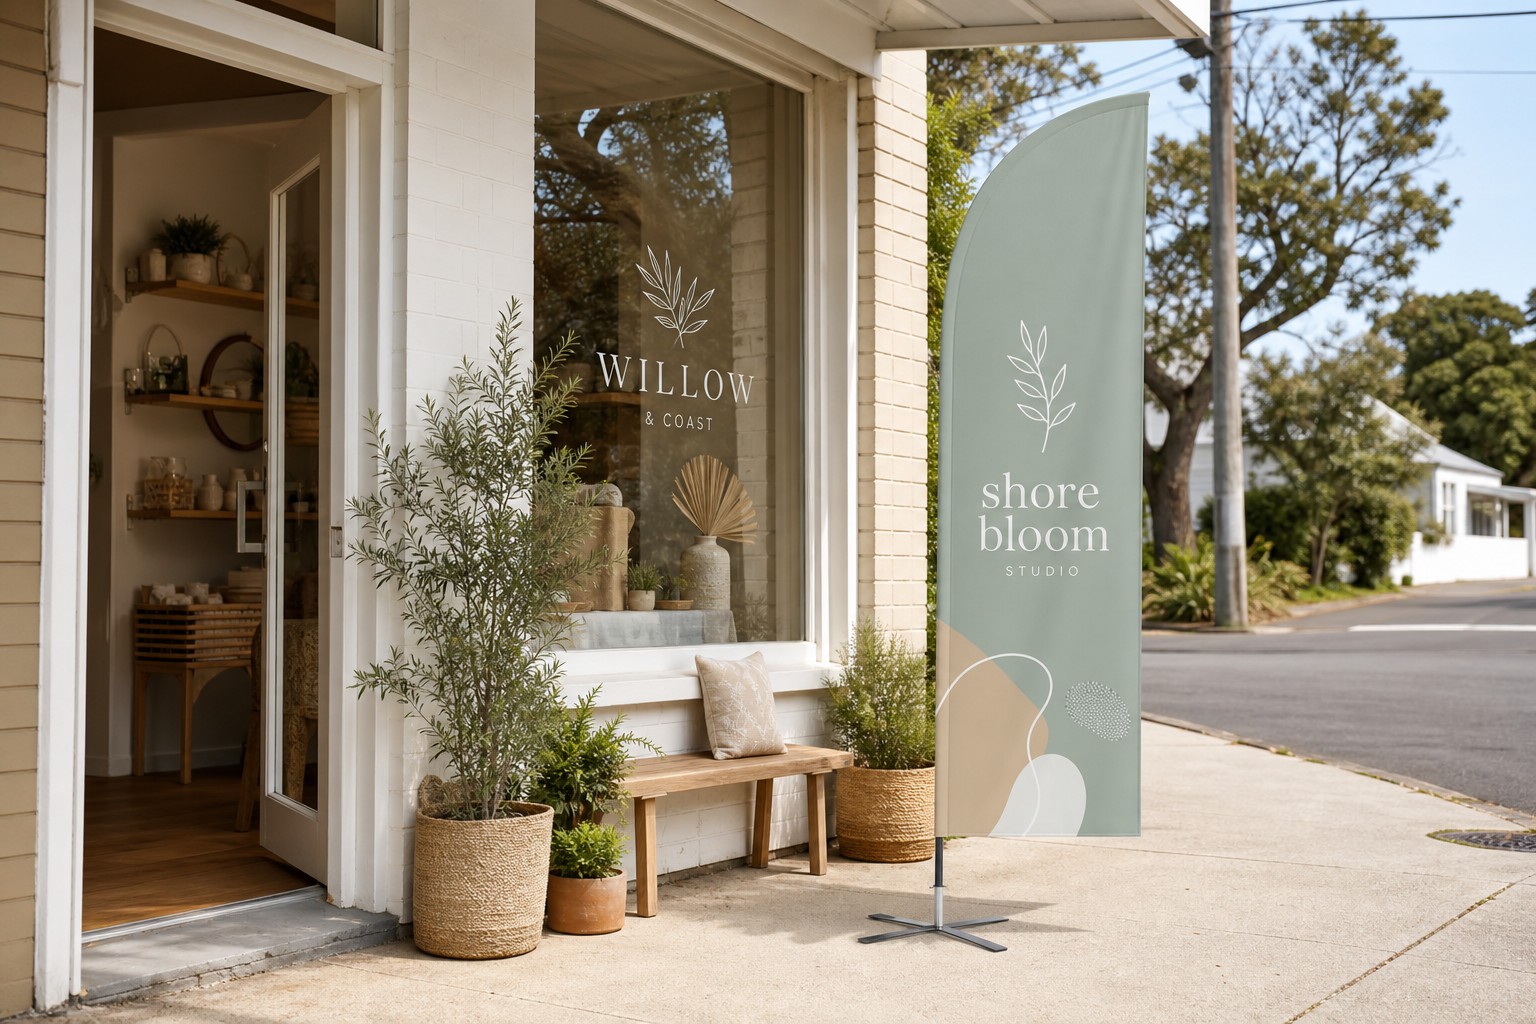
Setting up a bow banner correctly takes under five minutes once you know the sequence. Most problems, a flag that leans, creases, or tips in the wind, come from small mechanical errors: pole sections out of order, a water bag filled halfway, or the wrong base for the surface. This guide covers the mechanics only: base selection, step-by-step assembly, indoor versus outdoor differences, wind thresholds, and storage.
– Ground spike: grass and soft soil only; drive straight down at least 200-250 mm
– Cross base + water bag: fill to 10-15 litres on-site; works on concrete, pavers, and indoor floors
– Square base plate (10 kg): best for exposed sites or anywhere with no water access for the bag
– Assemble pole sections in numbered order before threading the fabric sleeve from the bottom up
– Small (2500 mm) and medium (3500 mm) sizes suit 3-metre ceilings; large (4800 mm) is outdoor only
– Bring banners in when sustained wind exceeds approximately 50-60 km/h
– Rinse fabric after coastal events; store poles flat or upright, never leaning at an angle
Choosing the Right Base
Paperlust bow banner kits include three base options. The right choice depends on your venue surface, banner size, and how long the flag needs to stay upright.
Pole, Spike, Bag
The ground spike ships free with every kit. It is a steel stake that drives vertically into grass, soil, or compacted earth.
For a secure installation:
1. Drive the spike straight down, not at an angle. An angled spike creates a pivot point that lets the pole rock in wind. 2. Push to at least 200-250 mm depth; go to 300 mm in soft or sandy soil. 3. On hard-packed ground, use a rubber mallet rather than forcing the pole. That is how spikes bend. 4. Test by gripping the pole at chest height and pushing sideways. Noticeable movement means it needs to go deeper.
The ground spike is not suitable for concrete, pavers, decking, or indoor floors.
Cross Base + Water Bag
The cross base uses two powder-coated steel arms in an X formation. A water bag underneath provides ballast, making it suitable for any flat, hard surface.
- Fill the bag on-site, not at home. A full 10-15 litre bag weighs 10-15 kg. Transport it empty and fill it from a venue tap.
- Fill it completely. A half-filled bag shifts as the banner moves and reduces effective ballast by more than half.
- The arms have pre-drilled holes. On grass you can peg through them for extra hold alongside the water ballast.
- For medium (3500 mm) and large (4800 mm) banners in exposed or high-wind locations, consider the square base plate instead.
Square Base Plate (10 kg)
The 10 kg flat plate suits permanent or semi-permanent installations and high-wind environments. Choose it over the cross base when:
- Your venue has no water access for filling the bag.
- The flag will be up for multiple days rather than a single event.
- High foot traffic makes the cross base arms a trip risk in a narrow entry or aisle.
- The site is elevated or coastal, where consistent strong gusts make water-bag ballast unreliable.
The plate’s smaller footprint also makes it easier to position in tight retail spaces.
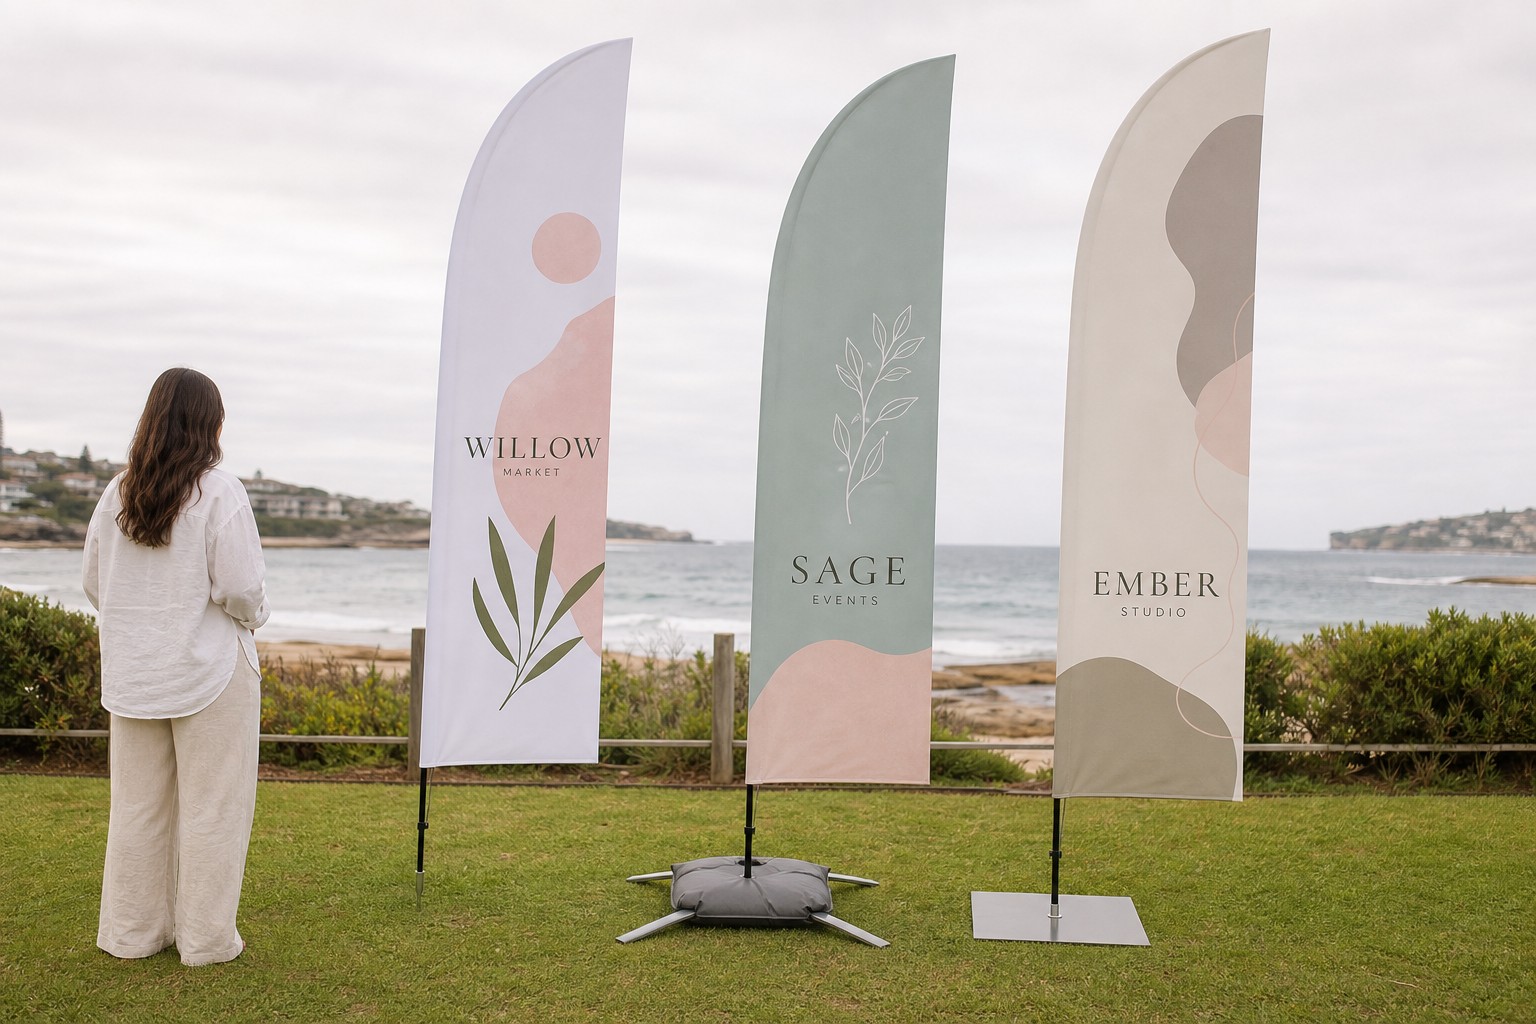
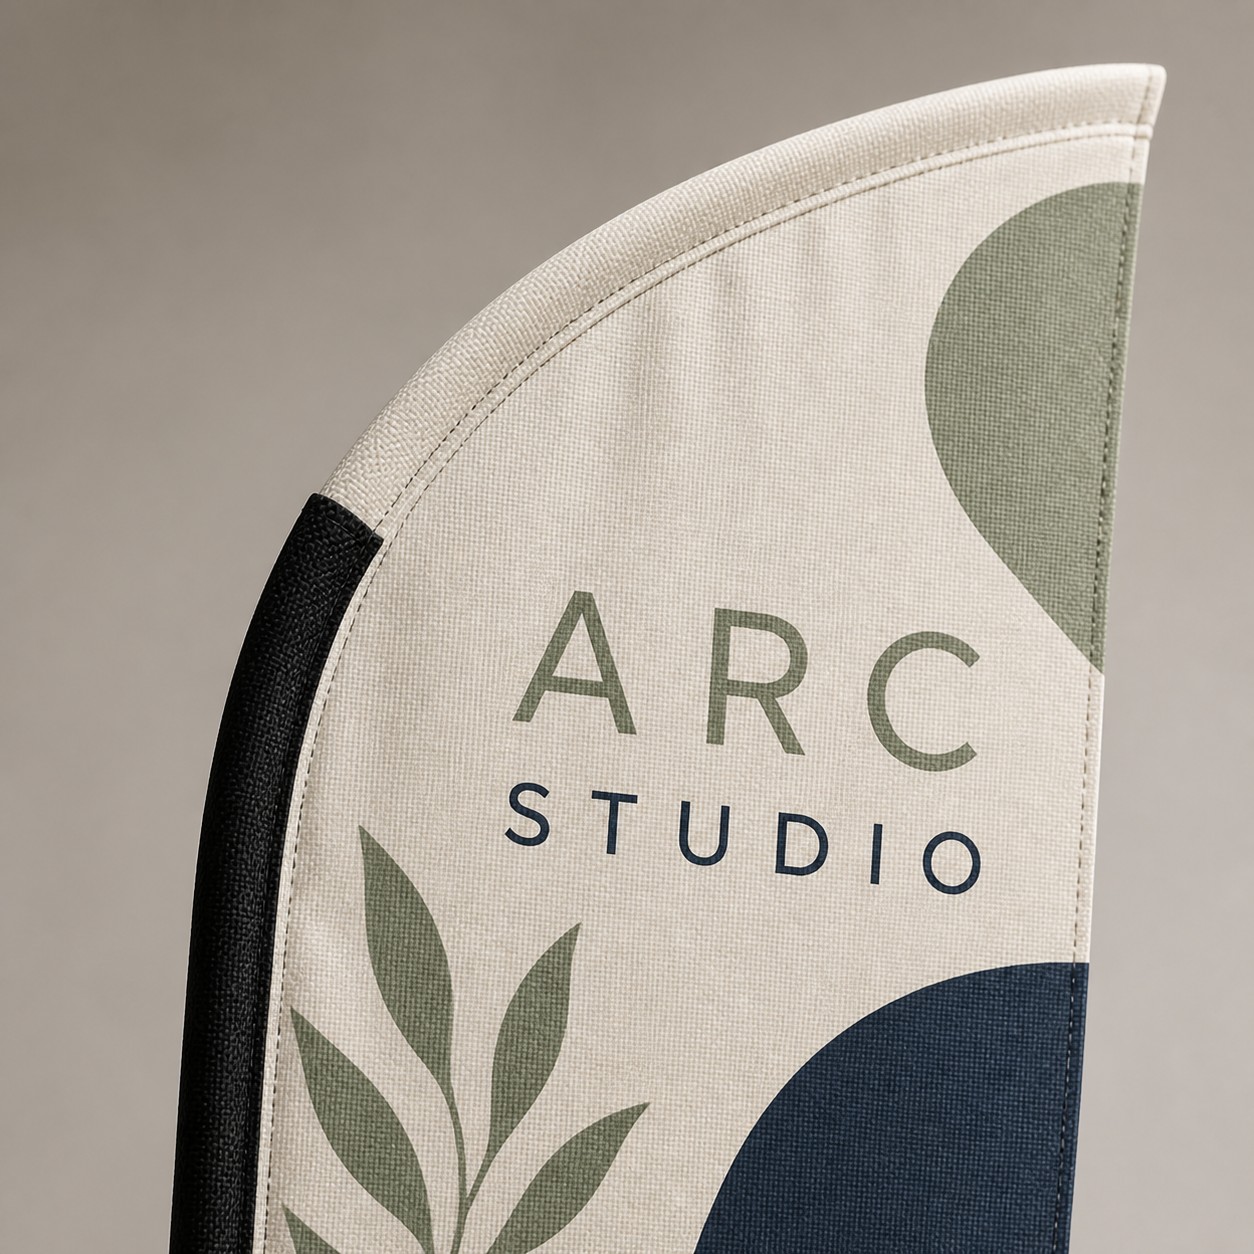
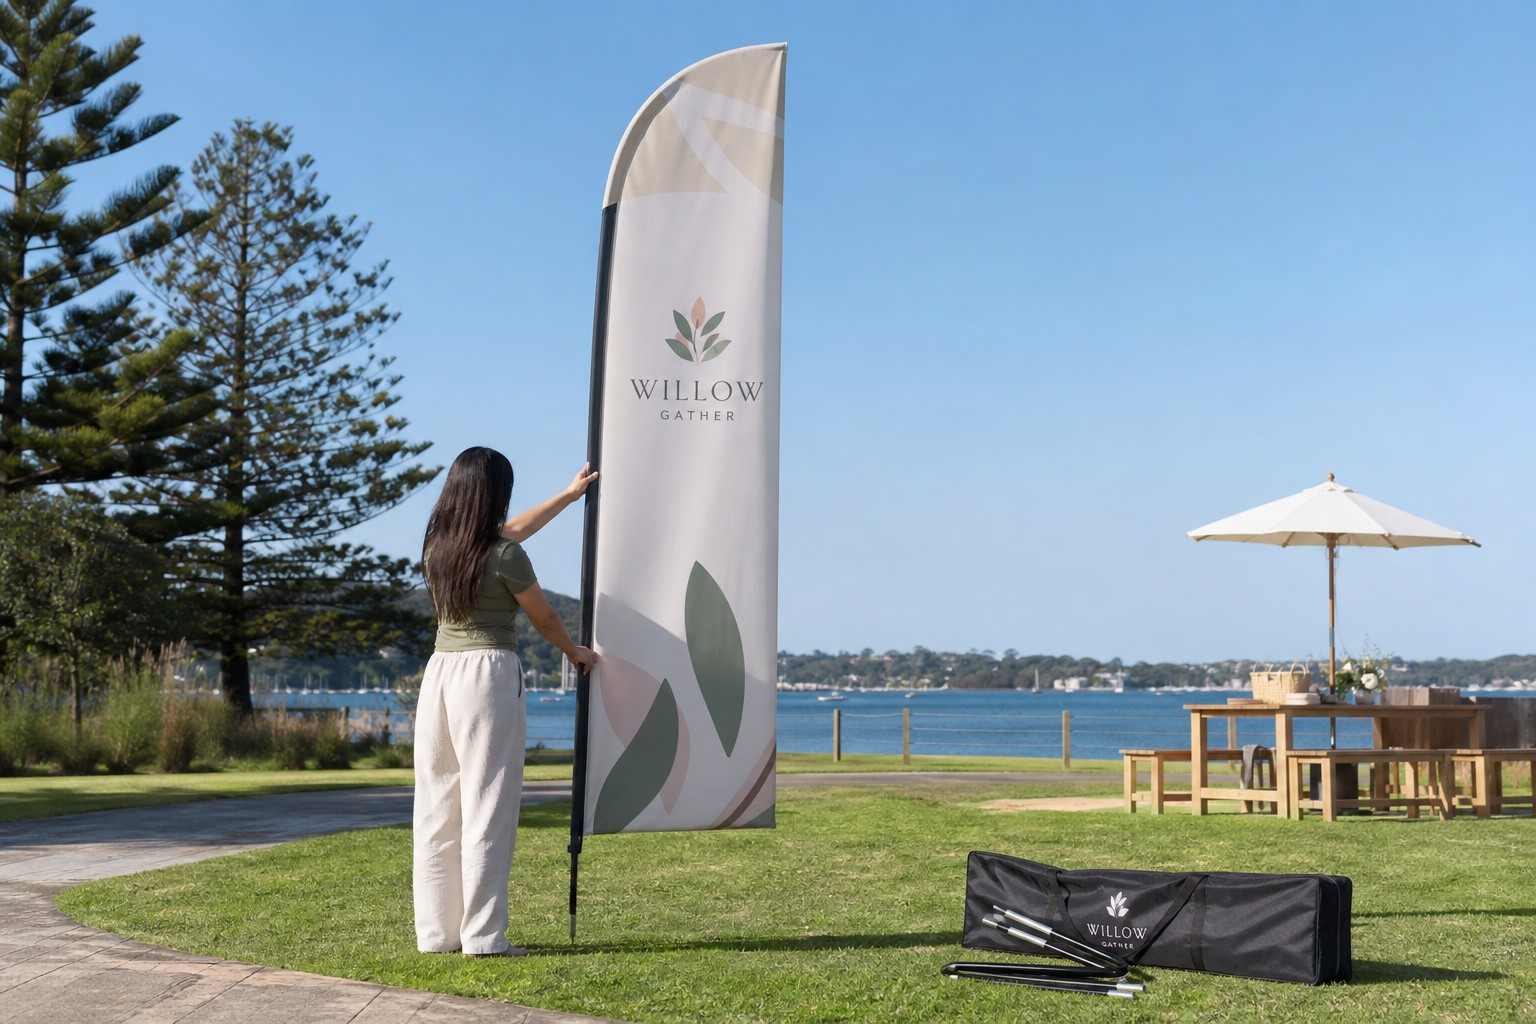
Step-by-Step Assembly
Step 1: Sort the pole sections
Lay all sections on the ground before connecting anything. Identify each section by the number or colour-coding marked on the joint. Sort from thinnest (top, forms the bow curve) to thickest (base). Small and medium kits have 3-4 sections; large kits have 5-6.
Step 2: Connect the sections
Push each section into the next at the male-female joint until it fully seats and the two pieces no longer rotate independently. If a joint resists, check the correct order and clear any grit from the connector. Once assembled, the pole should form a smooth forward-leaning bow curve at the top.
Step 3: Thread the flag fabric
1. Hold the assembled pole vertically. 2. Feed the fabric sleeve onto the pole from the bottom, working upward. 3. Hook the elastic top loop over the peak of the bow curve. 4. Pull the base of the sleeve taut and engage the bottom tensioner.
Thread from the bottom only. Keep the printed face forward; the seam edge faces the back.
Step 4: Fit the pole to the base
- Ground spike: drive the spike first, then insert the pole base into the spike collar.
- Cross base: slot the pole into the central hub, tighten the clamp, then fill the water bag.
- Square base plate: align the pole with the central collar and press down until seated.
Step 5: Check tension and alignment
Step back and look from your primary viewer angle. The bow curve should be symmetrical (if one side droops, the top elastic loop is not fully over the pole peak). The fabric should be taut with no bunching at the base. The printed face should be fully visible with no side-edge folding.
Indoor vs. Outdoor Considerations
Ceiling clearance by size:
| Banner size | Pole height | Minimum ceiling clearance needed |
|---|---|---|
| Small | 2500 mm | 2.7 m (accounts for base height) |
| Medium | 3500 mm | 3.7 m |
| Large | 4800 mm | 5.0 m+ (outdoor only in most venues) |
Small and medium sizes work inside exhibition centres, retail spaces, and function venues with standard 3-metre ceilings. The large size is best reserved for outdoor use.
Floor protection: Cross base arms and the square base plate can scratch polished concrete, tiles, or timber. Place felt pads or a rubber mat underneath. Many venue hire agreements require this.
HVAC airflow: Air conditioning and return-air ducts create airflow that causes banners to sway unexpectedly indoors. Position away from ceiling vents. If sway is still an issue, switch to the square base plate or add a sandbag across a cross base arm.
Outdoor surfaces: Use the ground spike only on workable soil. On compacted gravel or decomposed granite, the spike will not hold; switch to the cross base with a full water bag.
Wind and Outdoor Stability
The fibreglass pole on a bow banner is designed to flex under gusts rather than snap, which gives it better wind resilience than rigid signage. Movement in light wind also increases visibility.
- Up to 25-30 km/h: all base types perform reliably.
- 30-50 km/h: use the square base plate, or ensure the cross base bag is fully filled to 10-15 litres. On grass, drive the spike to 250-300 mm.
- Above 50-60 km/h sustained: bring the banner in. Sustained gusts can shift a cross base on smooth concrete and stress the fabric over time.
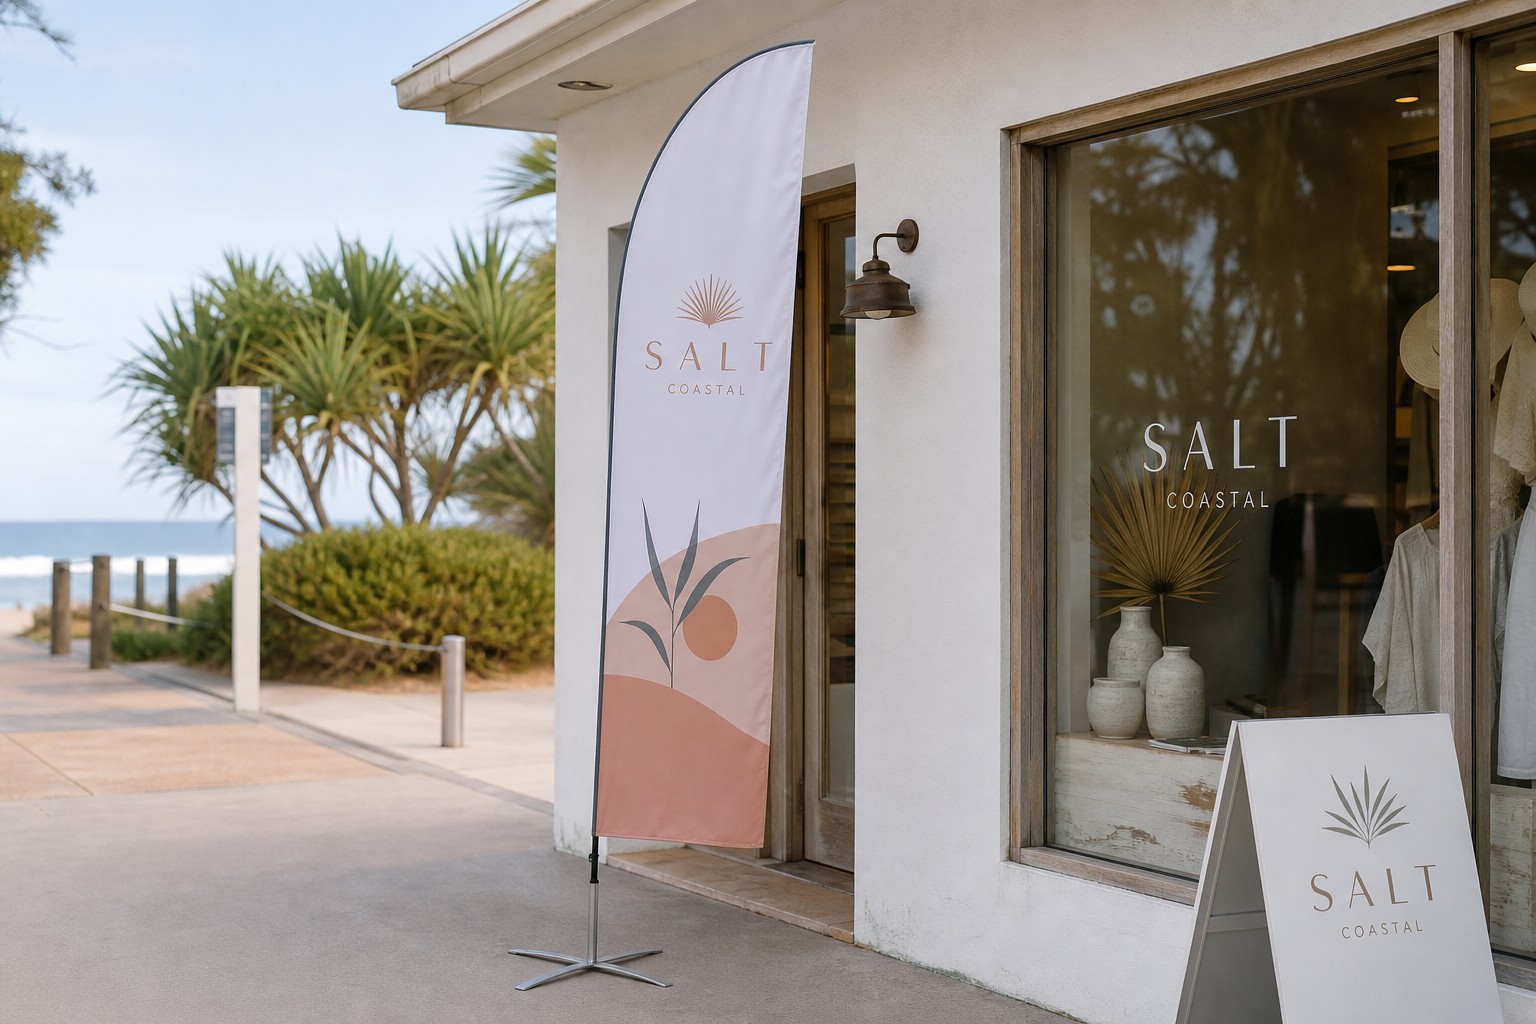
- Coastal sites: salt air accelerates fabric wear. Use the plate base and rinse the fabric with fresh water after each outdoor event day.
Transport and Storage
Every kit includes a carry bag for the collapsed pole sections, flag, and base components.
After each event:
1. Remove the fabric from the pole before disassembling. Pulling sections apart with the sleeve still on stresses both the fabric and the joints. 2. Disconnect sections from the top down, gripping at the joints rather than the pole body. 3. Fold the fabric loosely. Tight rolls held under compression for weeks create permanent creases across the print. 4. Wipe the water bag dry before packing. Residual moisture inside a sealed bag causes mildew on the fabric. 5. Store the carry bag horizontally or standing upright, not leaning diagonally. A long diagonal lean can put a permanent set in the longest pole section.
For off-season storage, remove the fabric and hang it flat or roll it around a wide cardboard tube. Store pole sections on a shelf where they lie straight.
Dye-sublimation print fades gradually with UV exposure. When it starts looking washed out, the hardware will typically outlast the fabric by years. You can order a replacement flag separately rather than replacing the full kit.
If you are mixing formats at the same event, teardrop banners use compatible base hardware and work well alongside bow banners in a branded outdoor setup.
Frequently Asked Questions
How long does it take to assemble a bow banner?
After your first or second setup, assembly takes three to five minutes per flag. The first time typically takes 10-15 minutes while you work through the pole section numbering and fabric threading sequence.
Can I use a bow banner indoors?
Yes. The small (2500 mm) and medium (3500 mm) sizes work indoors in venues with 3-metre or higher ceilings. Use the cross base with a full water bag, or the square base plate, rather than the ground spike on an indoor floor. The large (4800 mm) size requires at least 5 metres of ceiling clearance and is better suited to outdoor use.
How much water goes in the cross base water bag?
Fill to 10-15 litres. A fully filled bag provides 10-15 kg of ballast, sufficient for small and medium banners in moderate outdoor conditions. In strong wind or with a large banner, supplement with the square base plate or peg the cross base arms down.
What is the difference between the cross base and the 10 kg square base plate?
The cross base needs on-site water access but transports as a lightweight empty bag with a wide stable footprint. The 10 kg plate is ready to use immediately with no water required, has a smaller footprint for tight spaces, and provides fixed ballast that does not vary if a bag is underfilled. In high-wind conditions, the plate’s consistent mass is more reliable.
Can bow banners stay outside overnight?
In mild, settled weather, yes. For multi-day installations, use the square base plate and check the base position and fabric tension each morning. Bring banners in during forecast storms, sustained strong wind, or heavy rain to extend fabric life.
When should I replace the flag fabric?
Replace it when the print looks noticeably faded or washed out, or when the fabric holds a permanent crease after washing. The pole and base hardware typically outlast the printed fabric by several years. Replacement flags are available to order separately.