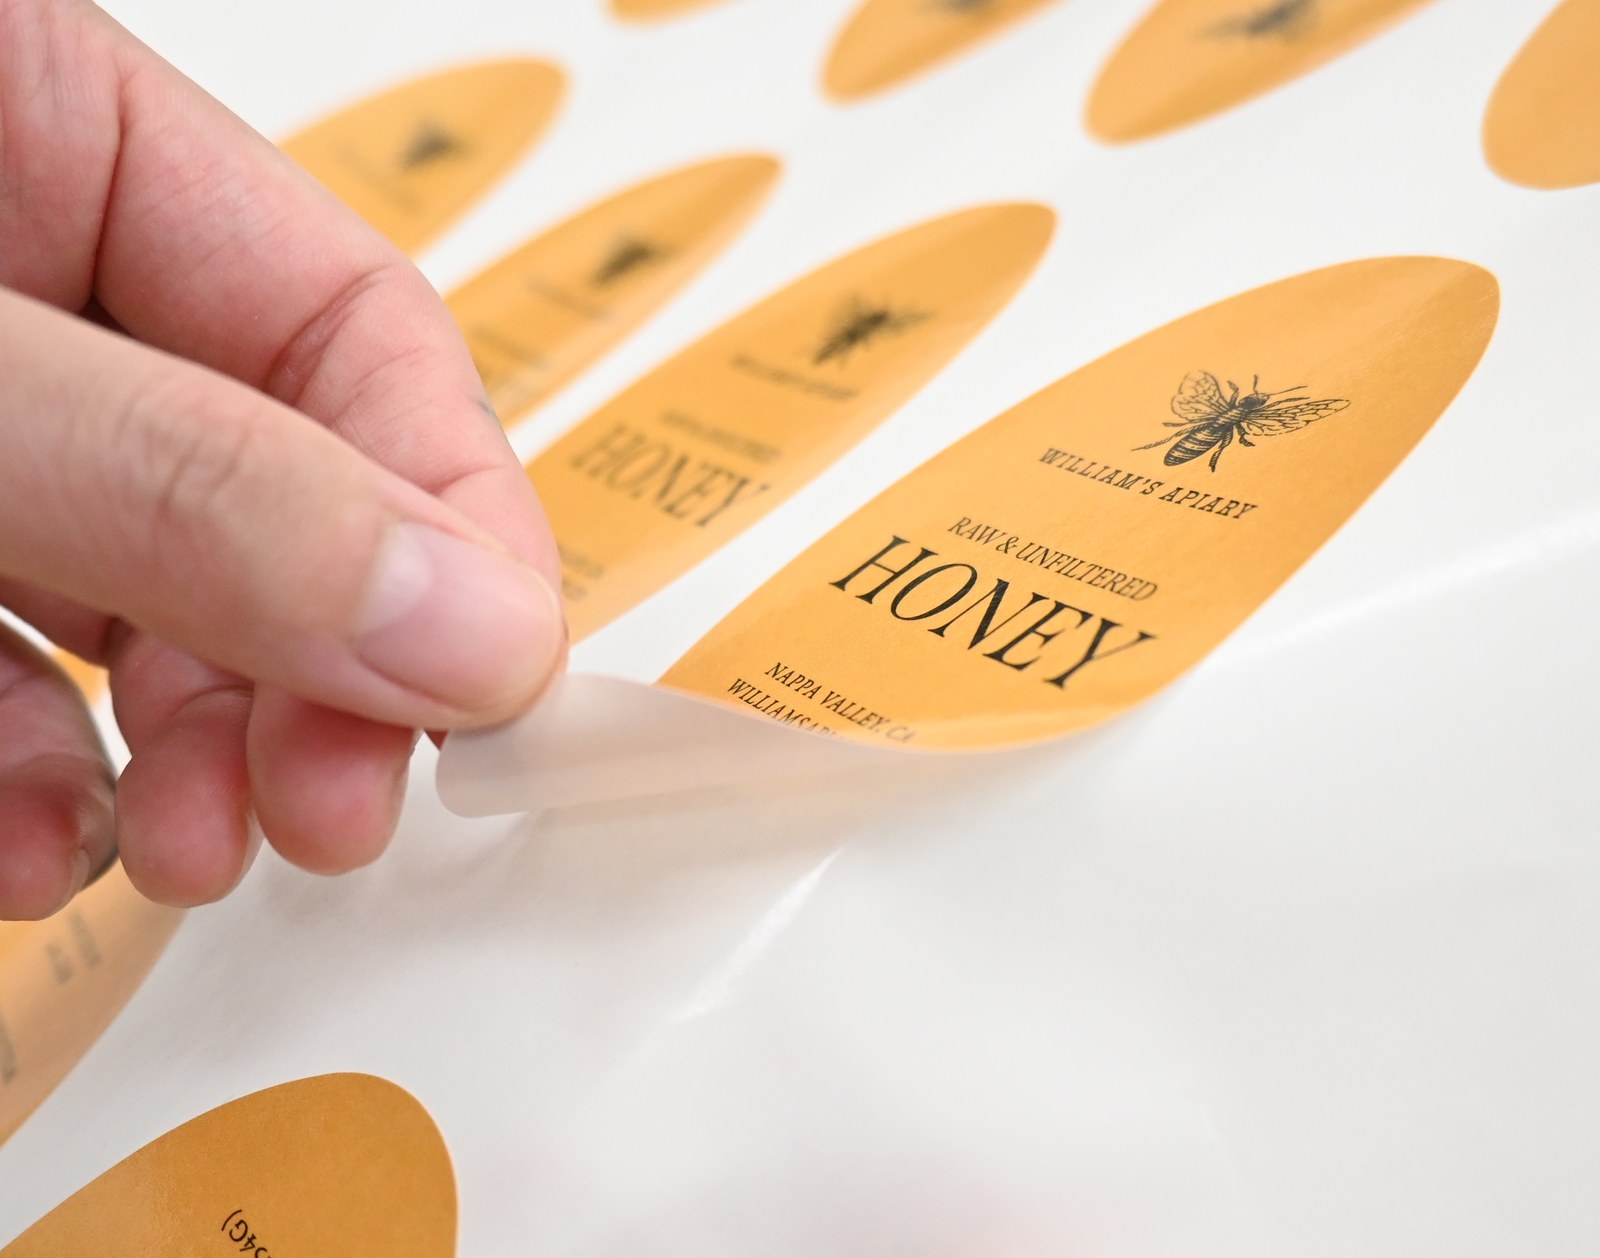
The corner of the sticker on your laptop lid was flat yesterday. This morning it stands up like a tiny sail. A sticker peeled from an old notebook and pressed onto a new one lets go before you close the cover.
Most cases of stickers not sticking are not the sticker’s fault. In practice, the cause is usually the surface, the conditions around the application, the pressure used, or a contaminated sticker adhesive.
This guide gives you a fast diagnosis, then answers the question honestly: can you make stickers sticky again? It also covers what to check before the next order so a full run does not repeat the same corner lift.
The short version
- Clean the surface and let it dry completely before you apply anything.
- Smooth, flat and hard surfaces hold best; textured, powder-coated, silicone and dusty ones do not.
- Apply at room temperature, not onto a cold or damp surface.
- Press firmly from the center out and give the adhesive time to settle.
- An adhesive that has picked up dust, lint or skin oil does not recover; new adhesive behind the sticker is the workable fix.
- For a new order, put one test sticker on the real surface before committing to a full run.
Quick diagnosis for stickers not sticking
The way a sticker fails points to the cause. A corner that lifts after a day is not the same problem as a sticker that falls off within minutes, and a sticker that will not grip after being moved is different again. The table below matches the symptom to the likely cause and the next move.
| What you see | Likely cause | What to do |
|---|---|---|
| The sticker falls off almost straight away. | The surface was dusty, greasy, damp, or coated with soap film or cleaning spray residue, so the adhesive never touched the surface itself. | Wipe hard, non-porous surfaces with rubbing alcohol and let them dry completely. Apply with the surface and sticker at room temperature. |
| The corners or edges lift after a day or two. | The edge was not pressed down, or it sits close to a curve or taper where peeling force concentrates. | Press from the center outward, then run a firm edge along every edge. Re-press any lifted corner before it collects dust. |
| The sticker wrinkles or lifts on a curve. | A flat sticker can follow a simple curve in one direction but struggles on a taper, a dome, or a tight corner. | Choose a smaller sticker or place it on the flattest area. Put a single test sticker on the actual item before a full run. |
| The sticker held, then came loose after washing or heat. | Heat softened the adhesive, or water, flexing, or rubbing worked the edge loose. | Keep stickers away from direct strong heat and avoid washing or flexing them right after application. Press a lifted edge back down, but the bond may not be as strong. |
| A sticker that was peeled and moved will not grip. | The adhesive picked up dust, lint, or skin oil during the peel. Each re-stick picks up more. | A light wipe can lift loose dust, but it will not restore the original bond. Add new adhesive behind the sticker or place it where failure is acceptable. |
| The sticker will not hold on a textured or coated item. | Textured, powder-coated, and silicone surfaces, raw wood, fabric, and dusty walls give the adhesive little to grab. | Results vary. Put a single test sticker on the actual item and check it over time before a full run. |
Start with the surface, the most common cause
Dust, grease, skin oil, soap film, and the residue left by common cleaning sprays sit between the adhesive and the surface. On hard, non-porous surfaces, wipe the area with rubbing alcohol and let it dry completely before you apply the sticker. Even a glass that looks clean can carry a fine film from a kitchen wipe.
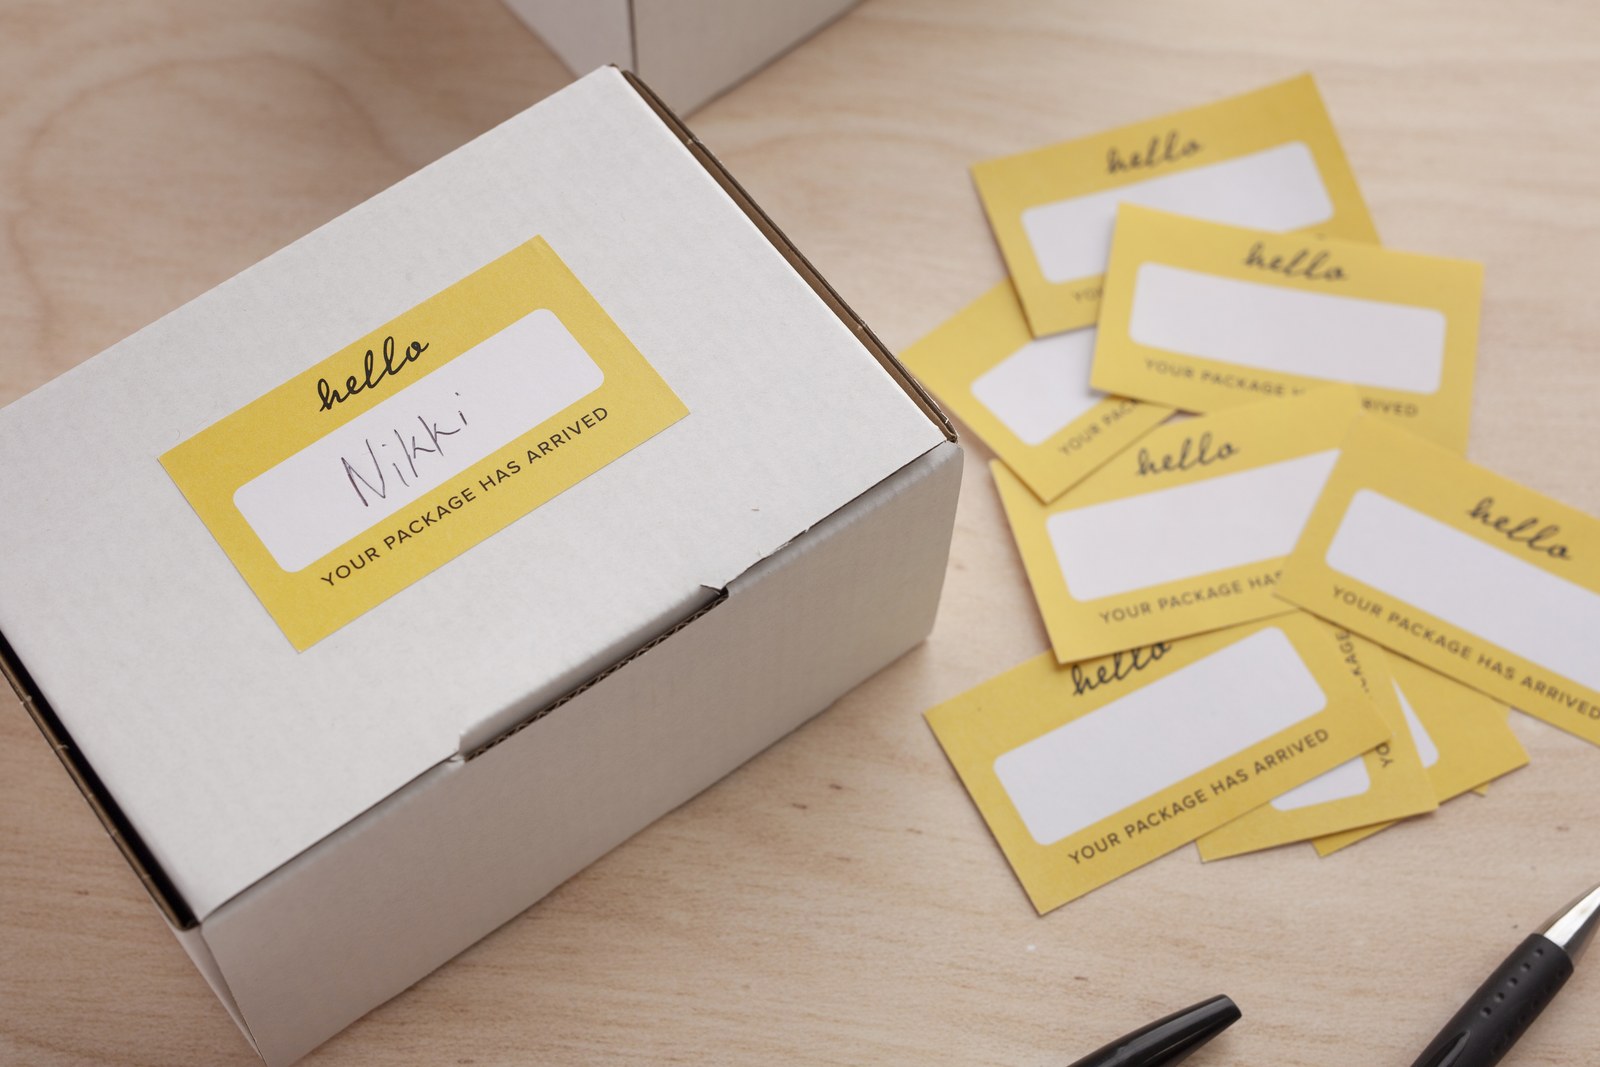
Some surfaces simply give an adhesive very little to hold. Textured, powder-coated, and silicone surfaces, raw wood, fabric, and dusty or freshly painted walls all fall into that group. Curves and tapers add their own problem: a flat sticker can follow a simple curve in one direction, but it will lift or wrinkle on a dome or a tight corner. Edges and corners fail first because that is where peeling force concentrates.
When the surface tends to trap air or dust, the same prep steps that help you apply stickers without bubbles also give the adhesive a better start.
Cold, heat and moisture on the day
A cold surface makes an adhesive stiff and slow to grip, and condensation on a chilled bottle or a window blocks contact before it begins. The same rule applies to a sticker that has been sitting in a cold van or a cold mailbox.
Bring the sticker and the surface to room temperature and make sure both are dry before you apply. If you are working on a cool morning, gentle warmth can help the adhesive conform, but too much heat softens the adhesive and can distort the sticker. Strong heat later can also let edges creep. The fix is prevention: apply in a calm, dry place and keep finished items out of direct, strong heat.
Pressure and settle time do the work
Sticker adhesive is pressure sensitive. The bond forms under firm pressure and keeps building for a while after the sticker goes on. A light pat with your palm does not create that bond.
Press from the center outward, then run a firm edge or a thumb along every edge and corner. The same center-out pressure and edge-sealing routine you use to apply a vinyl decal applies here. After application, avoid washing, flexing, or picking at the sticker. If a corner lifts because it is under tension from a curve, pressing alone may not be enough.
The honest way to make stickers sticky again
What ruins tack is usually dust, lint, skin oil from fingers, and repeated peeling. An adhesive that has picked up any of those loses contact area. The hard truth is that the original adhesive does not come back. A sticker with contaminated adhesive cannot be returned to its original stickiness.
A gentle wipe can lift loose dust from a sticker that only picked up surface dust. It will not restore a full bond. If the sticker has been peeled and repositioned, or if it has been touched across the back, the loss is permanent for that adhesive.
Adding new adhesive behind the sticker is the workable fix when you want to keep it. The table below shows the common methods, and the limits are real: all of these change how the sticker looks or comes off later, and none is suitable for anything that gets washed, heated, or used with food.
| Fix | What it does | Where it makes sense |
|---|---|---|
| Use thin double-sided tape trimmed to the shape. | The tape adds a thin, new adhesive layer to the back of the sticker. | It makes sense on flat stickers going onto smooth, rigid surfaces such as a notebook cover or a tool box. |
| Use a double-sided adhesive sheet. | The sheet covers the whole back with an even layer you can cut to the outline. | It works for die cut or kiss cut stickers that need even support and a clean edge. |
| Use a glue stick. | It adds a light adhesive layer to the back of the sticker. | It fits paper based stickers on paper, card, or journal pages, but not on plastic or metal. |
| Use a repositionable or permanent spray adhesive lightly on the back in a ventilated space. | It creates a thin, even adhesive layer, and a light coat stops it from soaking through. | It makes sense for larger or odd-shaped stickers where tape is hard to trim. |
| Lay a clear sticker or clear tape over the top as a cover on a flat surface. | It holds the original sticker down and seals the edges from lifting. | It makes sense on stickers displayed flat on a case, a bin, or a clipboard where the added cover is acceptable. |
Choose the right vinyl stickers for the surface before ordering
The stock you choose shapes how a sticker grips a given surface, so match the material to the job before you approve a full run. If the item is smooth and flat, vinyl stickers give you two material choices: White Matte Vinyl or Clear Vinyl. Each is printed single sided and contour cut to the outline of your artwork, and the stock is designed for smooth, flat surfaces indoors and out, such as metal, plastic, glass, painted vehicle panels, drinkware, and machinery.
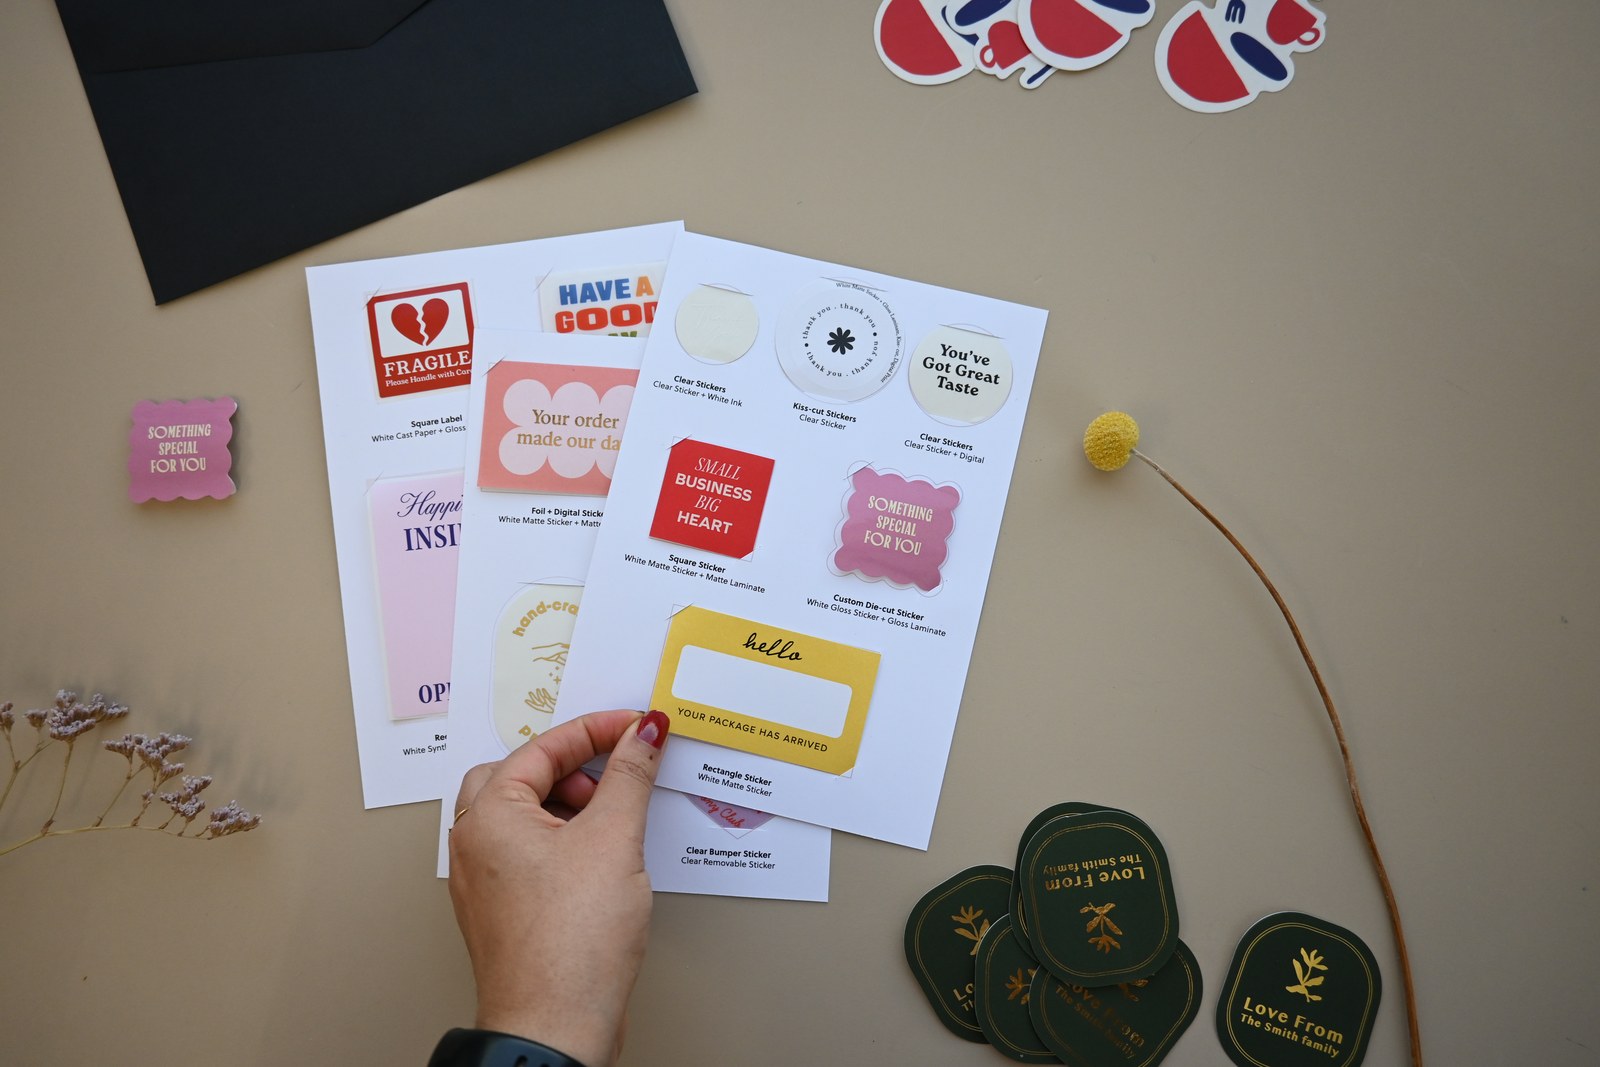
Die cut stickers and kiss cut stickers use a different, paper based sticker stock. It comes in White Gloss Sticker or White Matte Sticker with no laminate, matte laminate, or gloss laminate. A die cut sticker is cut through the backing into a single piece, while a kiss cut sticker stays on its backing sheet until it is peeled.
Bumper stickers are printed on White Gloss Removable or Clear Removable stock with a plastic laminate built in. The order form states print durability of up to 2 years. That removable adhesive is intended for vehicle surfaces, and the result depends on the surface condition and the application.
No sticker product lets you choose an adhesive type on the order form, and there is no removable, permanent, or repositionable option to select. Textured, powder-coated, and silicone surfaces are not promised for any stock. For those surfaces, or any surface you have not tried before, the only reliable check is one test sticker on the actual item, placed before you commit. For an unusual surface, tell customer service what it is going on before you order. The minimum order across vinyl, die cut, kiss cut, and bumper stickers is 10 stickers per design, which makes a small first run a sensible step.
For a hands-on check, order the sticker and label sample pack. It has fixed contents and needs no artwork. It includes vinyl, die cut, kiss cut, clear, and bumper sticker samples, so the stocks can be tried on an actual surface before an order. If the difference between removable vs permanent stickers is on your mind, remember that the order form does not offer that choice.
Store spare stickers so they stay usable
Unused stickers keep best flat, on their backing, in a cool, dry place away from direct sun and dust. A drawer or a storage bin is better than a sunny windowsill or a warm car dashboard.
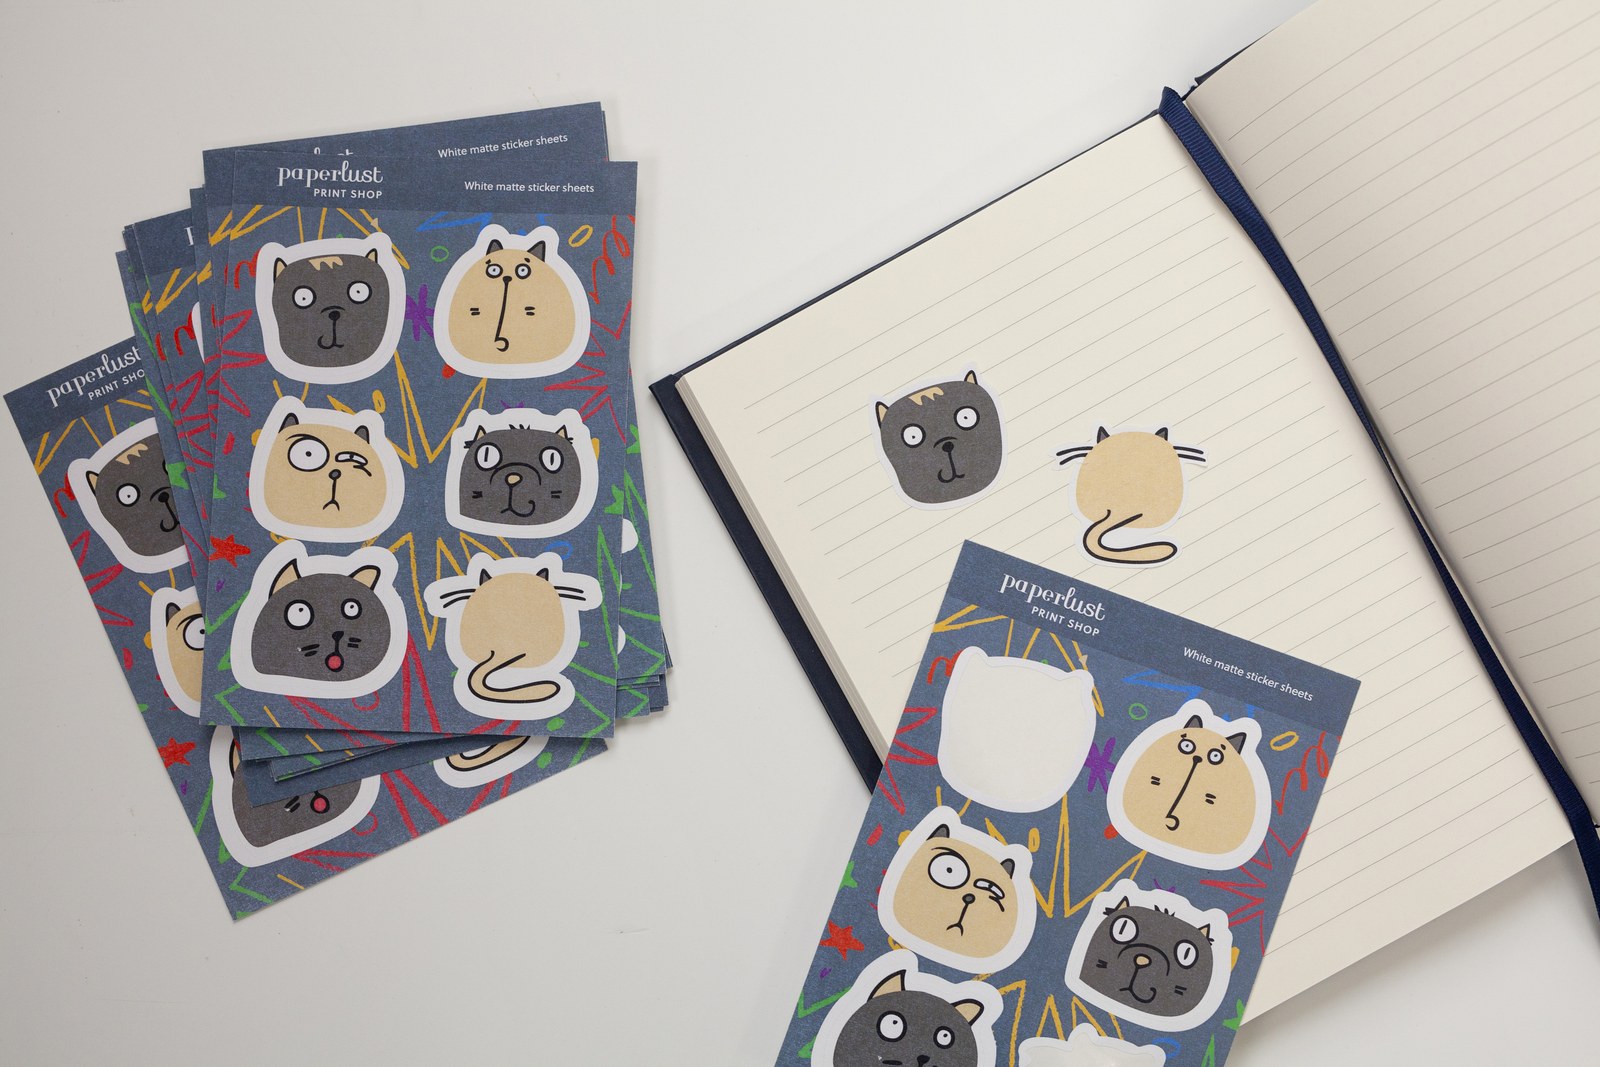
Handle stickers by the edges and keep your fingers off the adhesive. If a sticker has to come off and leaves adhesive behind, you need a different cleanup step; here is how to remove sticker residue without damaging the surface.
Frequently asked questions
Why will my new stickers not stick to the surface?
New stickers fail for three main reasons, in this order. The surface is dirty or too textured for the adhesive to grab. The conditions are cold or damp, which stiffens the adhesive or puts condensation between it and the surface. The pressure is too light, so the bond never gets a chance to form. Clean hard, non-porous surfaces with rubbing alcohol, let them dry, apply at room temperature, and press firmly from the center out.
How do I make a sticker sticky again?
The original adhesive does not recover once it has picked up dust, lint, or skin oil. A light wipe can lift loose dust, but it will not bring back the bond. The workable fix is to add new adhesive behind the sticker with thin double-sided tape, a double-sided adhesive sheet, a glue stick on paper, or a light spray adhesive in a ventilated space. All of these change how the sticker looks or comes off later.
Will a hair dryer help a sticker stick?
A hair dryer can provide gentle warmth that helps an adhesive conform on a cold day. It does not fix a dirty surface or a contaminated adhesive, and strong heat can soften the adhesive or distort the sticker. When the surface is clean, dry, and at room temperature, a hair dryer is rarely needed. If the adhesive has been touched or peeled, heat will not restore it.
Why do sticker edges and corners lift first?
Edges and corners lift first because that is where peeling force concentrates. Curves and tapers pull at the sticker’s outer edges, and a corner that was not pressed firmly has less adhesive contact from the start. A surface that was not clean all the way to the edge has the same effect. Press from the center outward, then run a firm edge along every edge and corner.
Do stickers stick to textured or powder-coated surfaces?
Textured, powder-coated, and silicone surfaces are not promised for any sticker. The adhesive gets far less contact than it would on glass, bare metal, or hard plastic. Results vary by the exact surface finish. The only reliable check is to put one test sticker on the actual item and watch it over time before you order a full run.
How do I check a sticker will hold before a bulk order?
Place a test sticker on the real surface and leave it through the conditions the item will actually meet. For an unusual surface, tell customer service what it is going on before you order. A small first run is the next step because the minimum order is 10 stickers per design. The sticker and label sample pack also lets you try vinyl, die cut, kiss cut, clear, and bumper samples in hand before you commit.