Sticker and label adhesives are engineered to hold on. That is exactly what you want when a label is in place but the reverse side of that reliability is sticky residue left behind when you try to remove it. The gummy film attracts dust and grime and can be surprisingly stubborn on certain materials. This guide covers the most effective removal methods matched to each surface, explains why different adhesive types behave differently, and introduces the cleanest solution of all: ordering labels and stickers with the right adhesive for the job in the first place. If you are buying fresh, you can browse Paperlust’s custom stickers range and specify a removable adhesive from the start.
At a glance
- Start gentle: warm soapy water and a plastic scraper clears about 70% of fresh residue without chemicals
- Match the solvent to the surface – acetone destroys acrylic, polycarbonate, ABS and painted surfaces
- Adhesive age matters: heat the residue first on anything older than a few weeks
- Fabric: freeze first, then treat – never use oil on delicate or dry-clean-only fabric
- Car paint: warm with a heat gun or hair dryer at low setting; WD-40 or eucalyptus oil; no razor blades
- Prevention is the best cure: removable-adhesive labels and stickers leave little to no residue when peeled at the right angle
Why Residue Happens: Adhesive Types at a Glance
Not all sticky residue behaves the same because not all adhesives are the same. Knowing the type you are dealing with tells you which treatment to reach for first.
| Adhesive Type | Common Use | Residue Behaviour | Best Treatment |
|---|---|---|---|
| Acrylic pressure-sensitive (PSA) | Most modern stickers and labels | Stretchy, can smear if rushed | Isopropyl alcohol or citrus remover |
| Rubber-based PSA | Older stickers, some packaging tape | Crumbles or flakes when aged | Heat first, then oil or rubbing alcohol |
| UV-cure adhesive | Security labels, industrial | Very resistant to solvents | Commercial remover (Goo Gone or similar) |
| Removable / repositionable PSA | Temporary labels, sale stickers | Peels clean with minimal treatment | Warm soapy water usually enough |
| Heat-activated | Fabric transfers, iron-on labels | Softens with heat; do not re-heat on delicate fabric | Gentle heat, then peel; rubbing alcohol if residue remains |
If you ordered standard stickers or labels and the adhesive is unknown, assume acrylic PSA and start with heat plus isopropyl alcohol.
Surface-by-Surface Removal Guide
This table gives the fastest answer. Detailed instructions for each surface follow below.
| Surface | Best Method | Second Option | Definitely Avoid |
|---|---|---|---|
| Glass (window, jar, mirror) | Rubbing alcohol or white vinegar soak | Razor blade on flat glass only, plastic scraper | Nothing is off limits on plain glass |
| Hard plastic (general) | Cooking oil or rubbing alcohol | Citrus remover, heat (low) | Acetone, nail polish remover, metal scrapers |
| Car paint | Hair dryer (low) then WD-40 or eucalyptus oil | Commercial adhesive remover | Razor blades, acetone, abrasive pads |
| Painted walls (indoor) | Cooking oil or peanut butter, rubbing alcohol | Baking soda paste | Acetone, strong solvents, razor blades |
| Sealed wood (furniture) | Cooking oil, heat method | Eucalyptus oil | Water soaking, white vinegar (prolonged), acetone |
| Fabric / clothing | Freeze 30 min, then peel; cooking oil if residue remains | Eucalyptus oil | Acetone, nail polish remover, soaking in hot water |
| Electronics / screens | Eucalyptus oil or citrus remover on housing; barely damp cloth on screens | Rubbing alcohol under 30 seconds on housing | Acetone, soaking, nail polish remover |
| Metal (appliances, tools) | Rubbing alcohol or WD-40 | Soapy water soak | Nothing critical, but avoid prolonged soaking on raw steel |
Glass
Glass is the most forgiving surface. Rubbing alcohol (isopropyl 70% or stronger) applied to a soft cloth and held against the residue for 30 seconds will dissolve most acrylic PSA cleanly. White vinegar soaked onto the spot for five to ten minutes works nearly as well and is completely non-damaging. On flat glass (windows, picture frames) a single-edge razor blade held at 30 degrees slides under hardened residue without scratching. Always wet the surface first before using a blade.
For glass jars and bottles, a full soapy water soak for 30 minutes softens both the label and the adhesive, making the residue easy to scrub off with a nylon pad.
Hard Plastic
Plastic is where most people get into trouble. The challenge is that many common solvents that dissolve adhesive also damage certain plastic types.
Plastics that tolerate rubbing alcohol (brief contact only):
- PET (recycling symbol 1)
- HDPE (recycling symbol 2)
- PP (recycling symbol 5)
Plastics where rubbing alcohol needs caution:
- Acrylic / PMMA: limit contact to 15 seconds maximum; rinse immediately
- Polycarbonate: same caution; prolonged IPA contact causes surface cloudiness
Never use acetone or nail polish remover on:
- ABS (lego-type, appliance housings, many electronics)
- Acrylic / PMMA (shower screens, display cases)
- Polycarbonate (safety glasses, water bottles)
- PVC
For all hard plastic, start with cooking oil or coconut oil. Apply, leave for ten minutes, then wipe off with a soft cloth. This breaks the adhesive bond without any chemical risk to the substrate. If residue remains, move to a citrus-based remover (these are gentler than alcohol on most plastics) or eucalyptus oil.
Car Paint
Car paint is a layered system: primer, base coat, clear coat. The clear coat is susceptible to scratching and to solvents. Never use a razor blade, metal scraper, or acetone near painted panels.
The safest approach:
- Warm the residue with a hair dryer on low heat, held 15 cm away, for 20 to 30 seconds. This softens the adhesive without heating the paint enough to cause any lifting.
- Apply a small amount of WD-40, eucalyptus oil, or a specialist automotive adhesive remover to a microfibre cloth.
- Rub in small circles. The residue should roll off without pressure.
- Wash the panel with car shampoo and rinse well to remove any oily residue.
For dealership stickers or boot badges bonded with tape rather than sticker adhesive, use dental floss or fishing line worked back and forth under the badge combined with adhesive remover, rather than trying to peel from one edge.
Painted Walls
Painted walls sit at the junction of two risks: the adhesive residue must come off, and the paint underneath must stay on. Never use acetone or strong solvents. The safest household option is cooking oil or peanut butter: apply a small amount directly to the residue, leave for five minutes, then wipe off with a damp cloth. The oil lubricates without attacking latex or enamel paint.
Rubbing alcohol at low concentration (70%) works on most modern wall paints, but test on a hidden spot first. Apply sparingly, dab rather than rub, and wipe off immediately.
Baking soda paste (equal parts baking soda and cooking oil) is a good option for stubborn residue on textured or matte walls where rubbing might leave a sheen.
Sealed Wood (Furniture, Floors)
Water is the enemy of wood. Any method that involves prolonged water contact risks raising the grain or lifting the finish. Cooking oil or eucalyptus oil applied to a soft cloth and worked into the residue for three to five minutes is the safest method. The oil breaks down the adhesive without penetrating the sealed surface.
White vinegar works but leave it in contact for no more than 60 seconds. Prolonged contact softens some lacquer and polyurethane finishes. Heat (hair dryer on low) is safe on most sealed timber surfaces; just do not let the surface become hot to the touch.
For hardwood floors, avoid standing liquids. Apply oil to a cloth, not directly to the floor, and wipe dry immediately after treatment.
Fabric and Clothing
The freeze method is the most reliable starting point: place the item in a sealed plastic bag and put it in the freezer for 30 minutes. Cold makes acrylic PSA brittle, and you can often crack or peel most of it off in a single motion. Do not flex the fabric while it is still frozen or you risk breaking fibres.
Any residue that survives the freeze can usually be treated with a small amount of cooking oil applied with a cotton ball, left for 10 minutes, then washed with dishwashing liquid before putting the item through the normal laundry cycle. Test on an inconspicuous area first; oils can stain lighter or delicate fabrics permanently.
For dry-clean-only items, do the freeze peel and then take the item to a dry cleaner. Do not attempt solvent treatments at home.
Electronics and Screens
Electronics need two separate approaches depending on where the residue is sitting.
On plastic housing (ABS, polycarbonate): Eucalyptus oil or a citrus-based remover is the safest option. Apply to a cotton tip or cloth, not directly to the device. Rub gently and wipe clean. Rubbing alcohol works but limit contact to under 30 seconds and never let it pool near ports, speaker grilles or seams where it can wick inside.
On screens: Never use any solvent. Use a barely damp cloth to soften the adhesive and a plastic card edge or soft cloth to gently push the residue to the edge, then lift. For laptop screen bezels, eucalyptus oil on a cotton tip applied only to the bezel (not the screen panel) is safe.
Power down all devices before any cleaning.
No-Residue Options: Choosing the Right Adhesive From the Start
The most reliable way to avoid residue problems is to order labels and stickers with an adhesive matched to your intended use and removal plan.
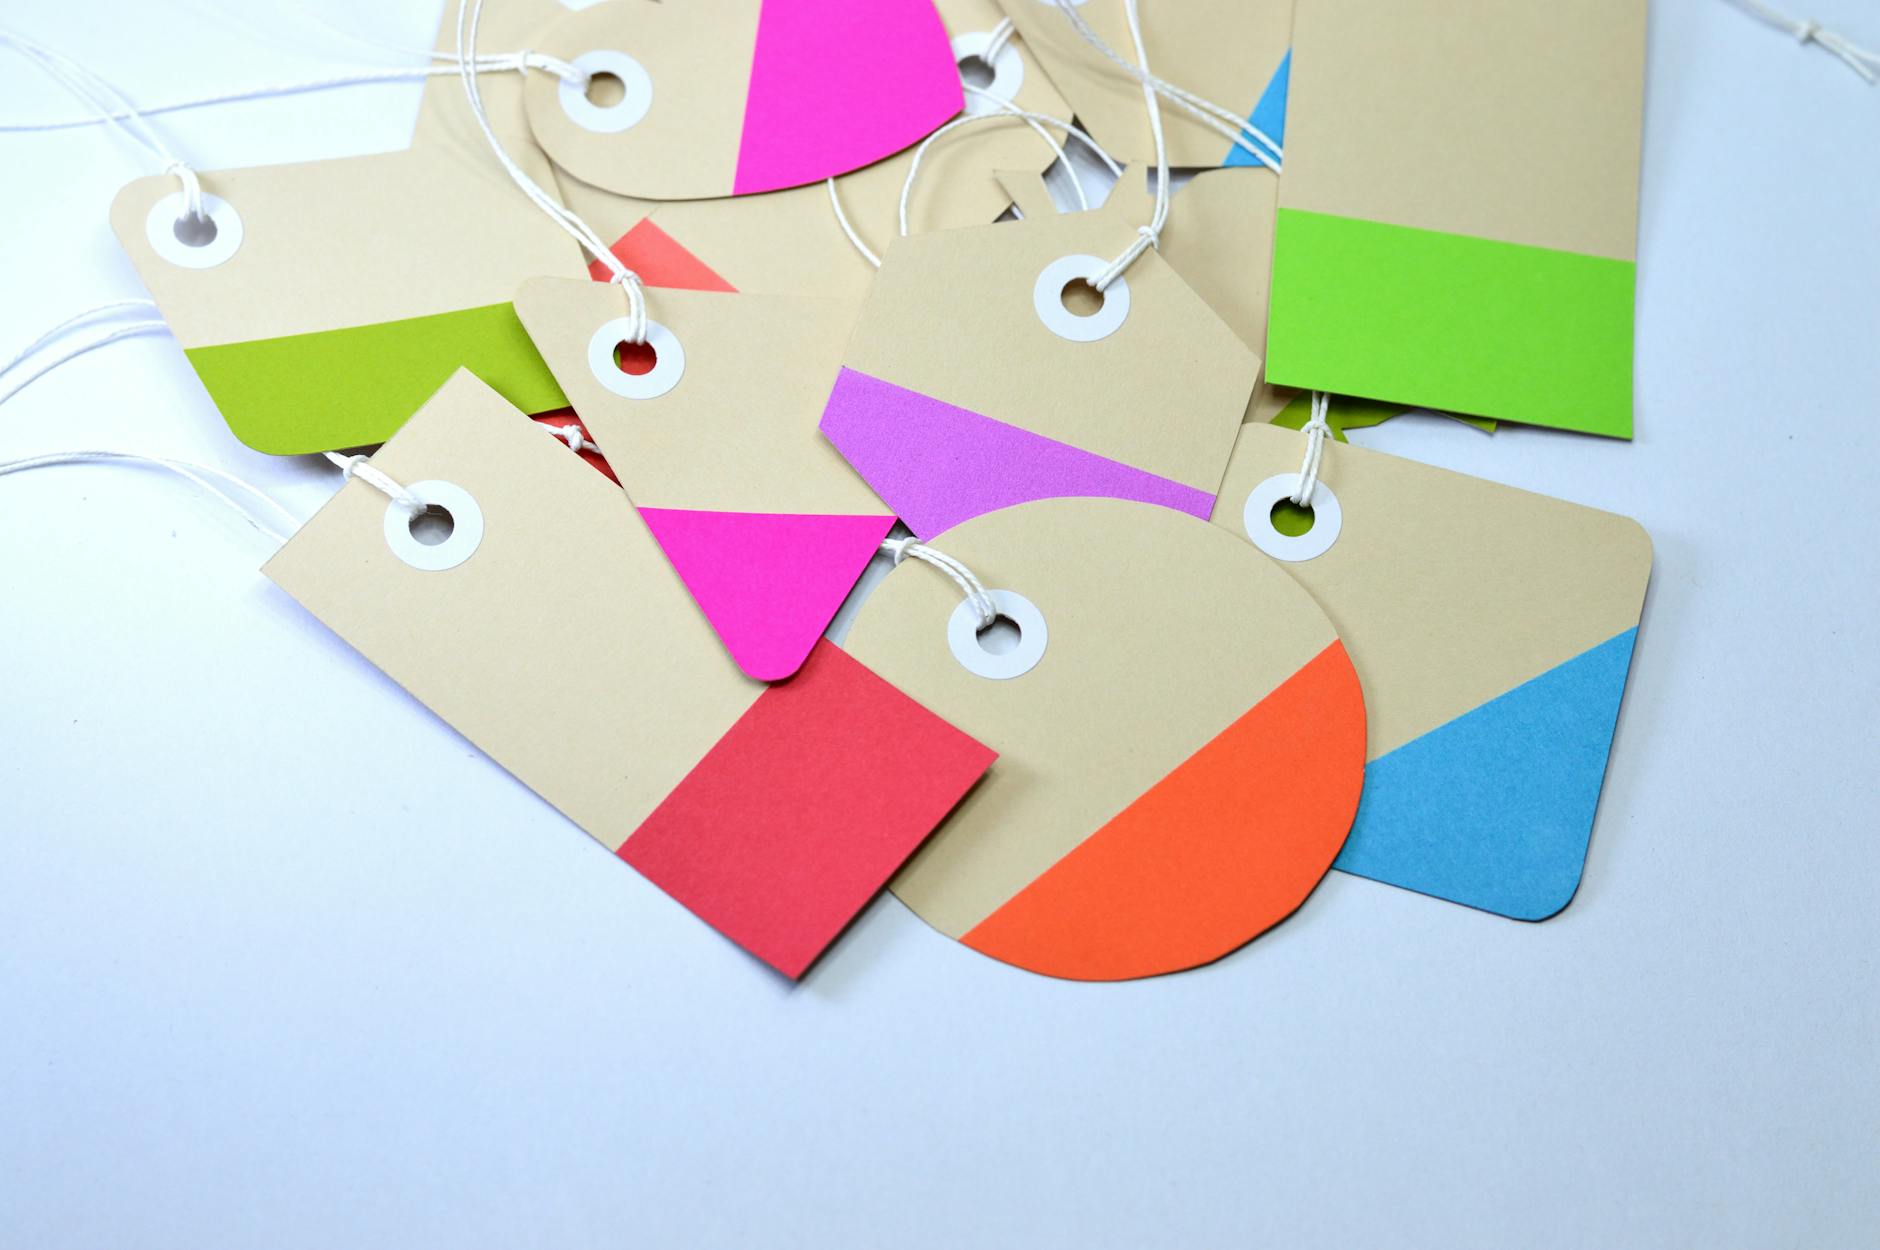
Removable adhesive labels are designed for temporary applications: sale pricing, seasonal packaging, returns, file folders, or any surface where the label will be removed cleanly. They use a low-tack PSA that releases without leaving a film, even after weeks in place. Paperlust’s rectangle labels are available with removable adhesive and print to any design you need.
Repositionable stickers take this further: they can be lifted and re-applied multiple times without losing tack or leaving residue. These suit display windows, event signage, or product staging where placement needs to be adjusted.
Permanent adhesive is the right choice for product labels that must survive handling, shipping, refrigeration or outdoor exposure. The trade-off is that removal requires more effort. If you know you will need to remove a label later, do not order permanent adhesive.
Die-cut stickers with permanent vinyl adhesive are built for surfaces that need to hold: laptops, water bottles, skateboards, car bumpers. They are weather-resistant and long-lasting, but removal requires heat and a solvent. Paperlust’s die-cut stickers are printed on durable vinyl stock and can be specified for permanent or shorter-term applications depending on order requirements.
If you are deciding between adhesive types for a new order, the post Removable vs Permanent Stickers breaks down the decision clearly.
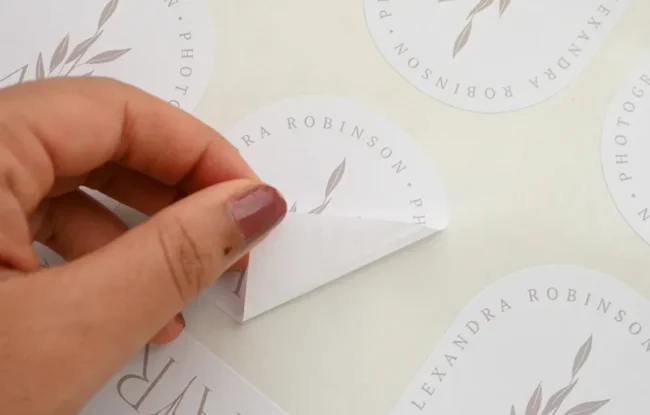
Prevention: How to Peel Stickers for Minimal Residue
Even permanent-adhesive stickers leave less residue with the right removal technique.
- Peel at 15 to 30 degrees. Pulling straight up at 90 degrees tears the adhesive layer, depositing chunks on the surface. A shallow angle pulls the adhesive along with the sticker face.
- Apply heat before peeling. A hair dryer on low for 20 seconds softens the bond enough that even older permanent stickers often peel cleanly.
- Peel slowly. Speed increases the force required, which increases the chance the adhesive layer separates from the face material and stays behind.
- On curved surfaces: soften with heat and peel from one edge in a single slow motion rather than peeling back on itself.
Frequently Asked Questions
What is the best household product to remove sticker residue in Australia?
Isopropyl alcohol (available from pharmacies, Bunnings or Coles) is the most versatile option for non-porous surfaces: glass, metal, sealed plastic. Eucalyptus oil is a close second and safe on a wider range of surfaces including painted walls and most plastics. Cooking oil is the gentlest option for sensitive surfaces and fabric.
How do I remove sticker residue from glass without scratching it?
Apply white vinegar or isopropyl alcohol and leave it for one to two minutes, then wipe off with a soft cloth. For thick or aged residue, a single-edge razor blade held at 30 degrees on flat glass will slide under the residue cleanly. Always wet the surface before using a blade, and never use a blade on curved glass.
Can I use nail polish remover (acetone) on plastic?
Only on PET (recycling symbol 1) and HDPE (recycling symbol 2), and only with brief contact. Nail polish remover permanently damages ABS, acrylic, polycarbonate, and PVC, causing crazing, cloudiness or melting. Use cooking oil or a citrus remover on those materials instead.
How do I get sticker residue off painted walls without damaging the paint?
Cooking oil or peanut butter applied directly to the residue, left for five minutes, then wiped off is the safest method. Rubbing alcohol (70%) works on most modern latex paints when applied sparingly and removed quickly, but test on a hidden spot first. Never use acetone or turpentine on painted walls.
What removes sticker residue from car paint safely?
Heat the residue gently with a hair dryer on low (held 15 cm from the surface) for 20 to 30 seconds, then apply WD-40, eucalyptus oil or an automotive adhesive remover to a microfibre cloth and rub in small circles. Wash the panel with car shampoo afterwards. Never use a razor blade, metal scraper or acetone near painted panels.
How do I remove old, dried sticker residue that has been on the surface for years?
Age makes acrylic PSA harder and more resistant to oil. Apply 30 seconds of hair dryer heat to soften the adhesive, then use eucalyptus oil or a commercial remover (Goo Gone, Citristrip, or De-Solv-it) left in contact for five to ten minutes before wiping. Two treatment passes may be needed. Patience and repeat application work better than scrubbing harder.
Does rubbing alcohol damage wood?
It can. On unsealed or lightly finished wood, rubbing alcohol strips the topcoat. Use cooking oil or eucalyptus oil on wood instead. On well-sealed polyurethane or lacquered surfaces, a brief contact (under 30 seconds) with 70% isopropyl is usually safe, but oil is the lower-risk choice.
How do I remove sticker residue from fabric without staining it?
Freeze the item for 30 minutes, then peel off as much residue as possible while cold. Apply a small amount of cooking oil to any remaining residue with a cotton ball, leave for ten minutes, then treat with dishwashing liquid and wash normally. Test the oil on a hidden area first, especially on light-coloured or silk fabrics.
What is the safest way to remove a sticker from electronics?
For the plastic housing, use eucalyptus oil or a citrus-based remover on a cotton tip. For screens, use only a barely damp cloth with no solvents. Keep all liquids away from ports, speakers and seams. Power down the device first.
Do removable-adhesive labels really peel off cleanly?
Yes, provided they are used within a reasonable time frame (most manufacturers specify up to six months) and on smooth, non-porous surfaces. On porous surfaces like uncoated cardboard or rough timber, even removable adhesive can leave a faint residue. Paperlust’s rectangle labels with removable adhesive are designed to peel cleanly from glass, plastic, glossy packaging and most smooth substrates.
Choosing Labels and Stickers With the Right Adhesive
If you are ordering labels or stickers for a project where removal will eventually be needed, the single best decision you can make is choosing removable adhesive at the order stage. For more on how different sticker types and adhesive options compare, see Kiss-Cut vs Die-Cut Stickers and explore rectangle labels, die-cut stickers, and vinyl stickers at Paperlust Print Shop.