
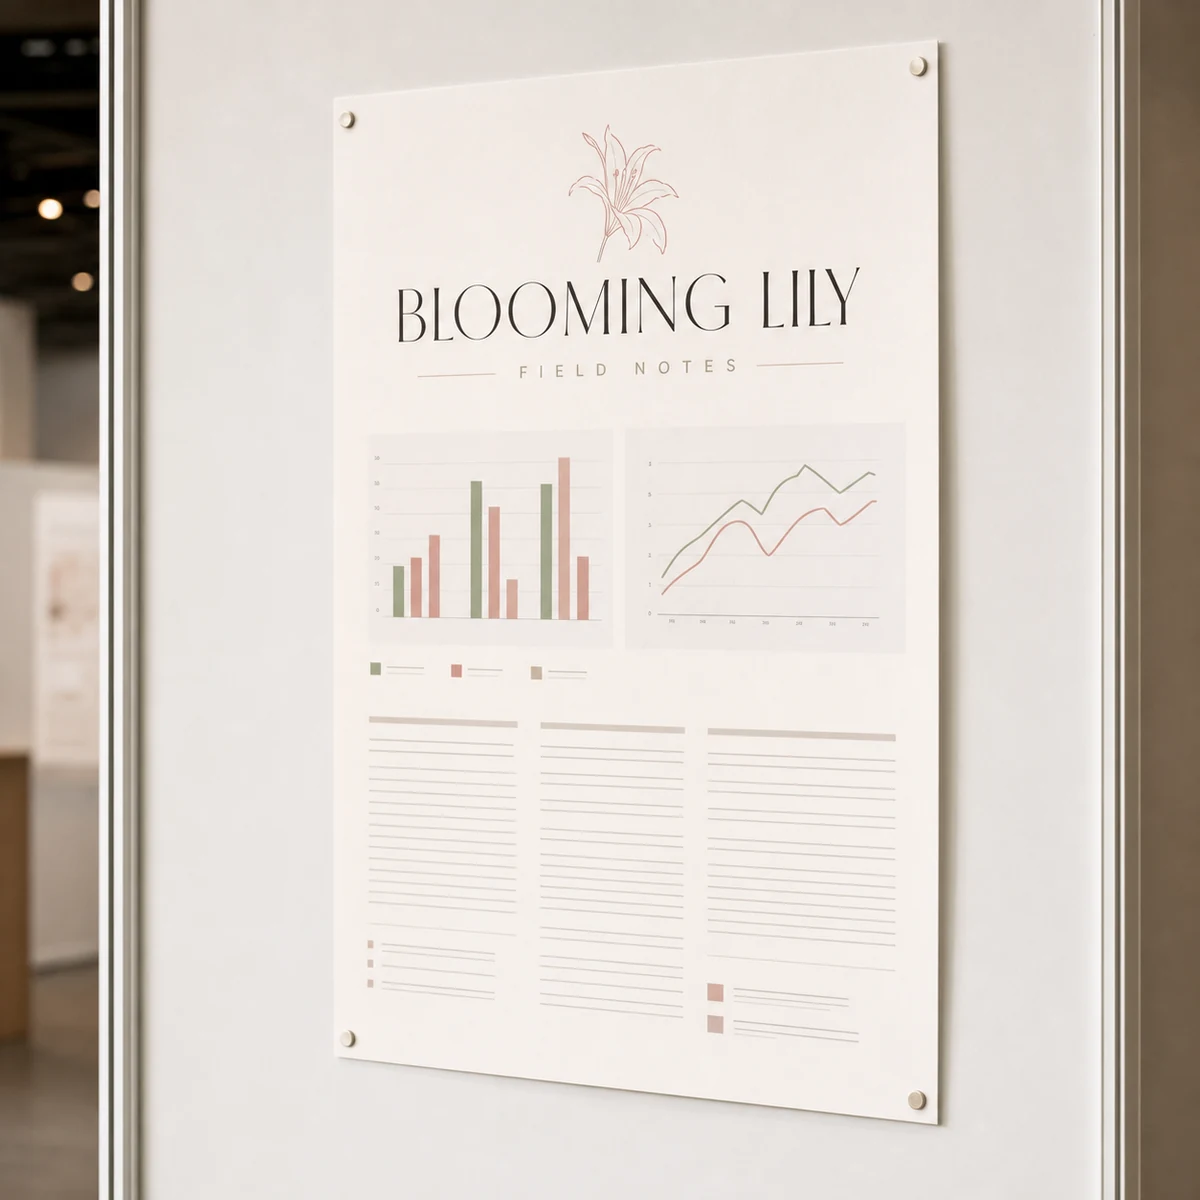
If you have a conference deadline bearing down and a PowerPoint full of research that needs to become a professional printed poster, you are not alone. Australian PhD students, postdoctoral researchers, and academics face the same challenge every semester: turning months of data into a single A1 poster that can hold its own on a crowded exhibition floor. Getting the file specs right, choosing the right print stock, and hitting the production window without losing sleep are all learnable. This guide covers exactly that.
Conference Poster Cheat Sheet
Everything you need to know before you hit print.
- Sizes available: A4 (210 x 297 mm), A3 (297 x 420 mm), A2 (420 x 594 mm), A1 (594 x 841 mm, the conference standard) and A0 (841 x 1189 mm)
- File format: PDF with embedded fonts and images at 300dpi minimum at print size
- Stock: 200gsm Satin Paper and 200gsm Synthetic in A4 to A0; 170gsm Gloss Paper and 350gsm Artboard in A3 and A2 only
- Turnaround: 2 to 3 working days after design proof approval
- Shipping: Standard delivery $15 AUD or express $60 AUD per order, Australia-wide. Pickup from Oakleigh South, Victoria at no charge
- File prep: Set your document to the exact print size before designing; embed all fonts and images before export
What Size Is a Conference Poster in Australia?
The overwhelming majority of Australian academic conferences specify either A1 or A0 for their poster sessions, with A1 being the most commonly accepted format at domestic events. Before you finalise any design, confirm the exact size requirement with your conference organisers. Guessing wrong means a reprint.
A1: the standard for most Australian conferences
A1 measures 594 x 841mm in portrait orientation, or 841 x 594mm in landscape. Portrait is the convention for research posters at the vast majority of Australian conferences. At this size, your poster fits comfortably on a standard exhibition board, and the production costs are significantly lower than larger formats.
Paperlust Print Shop produces A1 posters on 200gsm synthetic stock. You can view the full specifications and order directly at our poster page.
Understanding the A-series sizing chain
For context: each A-series size is exactly half the area of the previous one.
| Size | Dimensions (portrait) | Common use |
|---|---|---|
| A1 | 594 x 841mm | Most Australian academic conferences; departmental seminars |
| A2 | 420 x 594mm | Smaller seminars; poster competitions with limited wall space |
| A3 | 297 x 420mm | Lab presentations; desktop display; supplementary handouts |
Paperlust Print Shop offers A4, A3, A2, A1 and A0 poster sizes. 200gsm Satin Paper and 200gsm Synthetic are available in all five sizes, A4 to A0, while 170gsm Gloss Paper and 350gsm Artboard are available in A3 and A2 only.
Portrait vs landscape: which orientation?
Portrait (tall) is the standard at the great majority of Australian university conferences and international events. Landscape formats do appear at some engineering and medical conferences, particularly where wide-format tables of data are involved. Always check the specifications document from your conference organiser. When in doubt, portrait is the safe default.
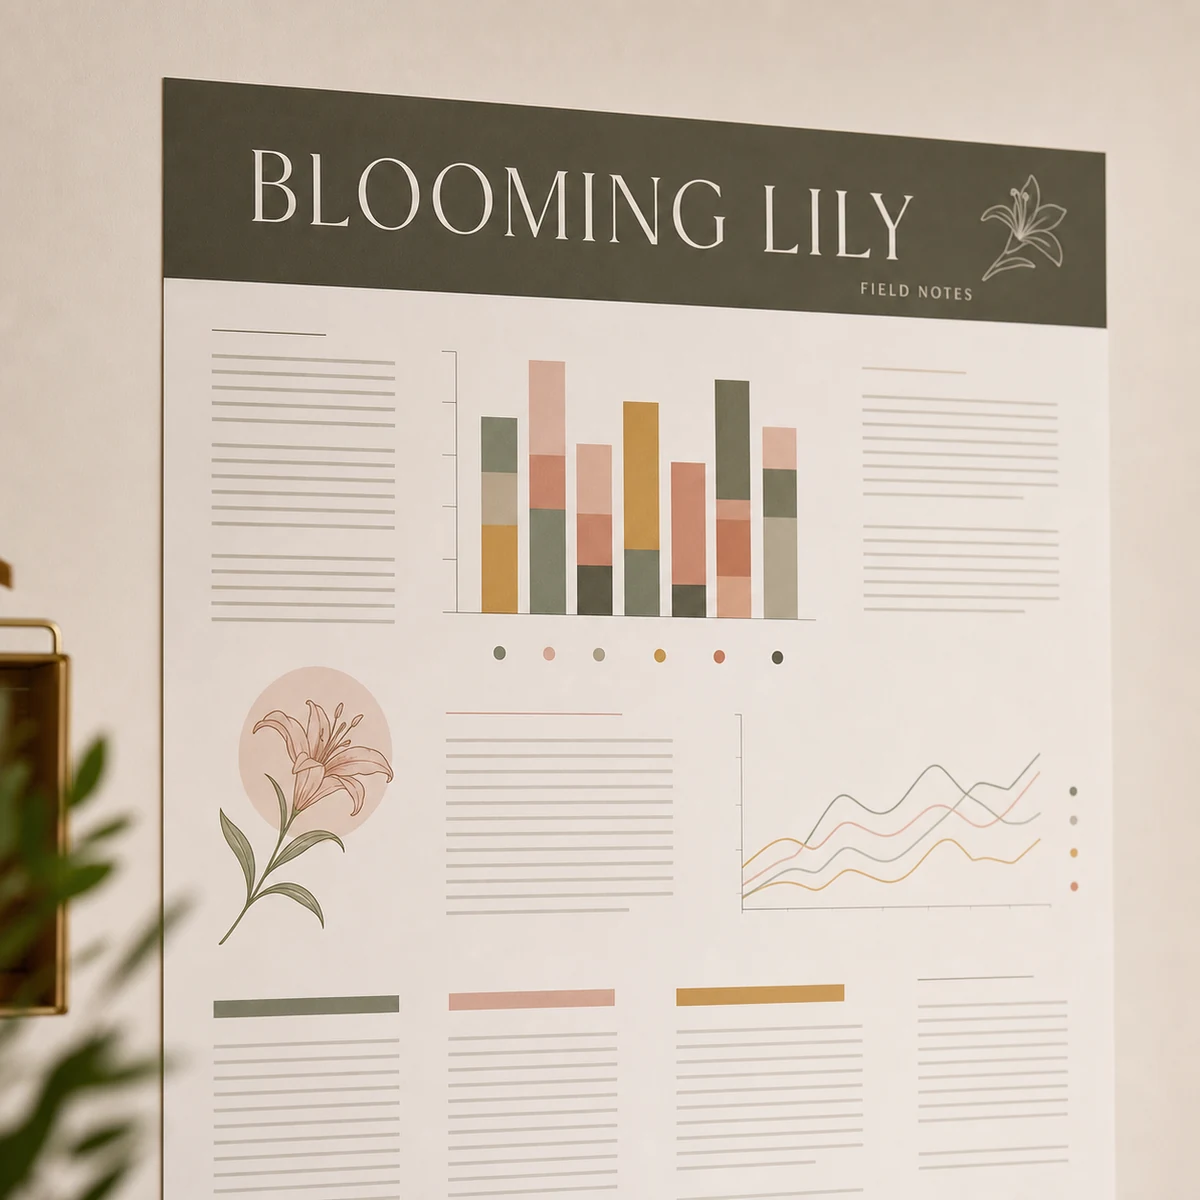
Synthetic Stock for Conference Posters (and How It Compares to Paper)
Traditional conference posters are printed on coated paper (typically satin or matte finish at 170-200gsm). That is still the norm at most local events. However, synthetic stock is increasingly chosen by researchers who need a more robust result in less-than-ideal conditions.
Why synthetic stock works well for conferences
Paperlust Print Shop prints posters on 200gsm synthetic material. Synthetic stock is:
- Moisture-resistant: humidity in crowded conference halls, transit in a tube through rain, or venue air conditioning that causes paper to curl. None of these affect synthetic.
- Scuff-resistant: posters rolled in a tube and carried as hand luggage often pick up scuffs from luggage carousels and conference bag-checks. Synthetic handles rough handling better than standard coated paper.
- Dimensionally stable: standard coated paper can swell and distort in high-humidity rooms, causing visible bowing or curl. Synthetic holds flat.
What about fabric posters?
Fabric conference posters are a genuine option from several Australian specialist printers. They fold flat into a standard folder or briefcase, eliminating the need for a poster tube entirely, which is a real advantage for international travel.
Paperlust Print Shop does not currently produce fabric posters. If fabric is a firm requirement for your travel itinerary, you will need a specialist supplier. For domestic conferences or events where you are travelling by car or checked luggage, the 200gsm synthetic print from Paperlust is a high-quality, durable alternative.
Matte, Satin, or Gloss: Understanding Poster Finishes
Finish affects glare and readability, something most researchers under-think until they see the exhibition floor. Here is how the common poster finishes behave, as general background for comparing print options:
| Finish | Best for | Watch out for |
|---|---|---|
| Matte | Text-heavy layouts; photography; any venue with overhead fluorescent lighting | Colours appear slightly less saturated than on screen |
| Satin | Balanced look; good colour reproduction without excessive glare; widely used for academic posters | Can show fingerprints if handled frequently |
| Gloss | Maximum colour vibrancy; retail and trade show displays | Significant glare under conference venue spotlights; rarely recommended for academic contexts |
Paperlust Print Shop prints posters on 200gsm Satin Paper, 200gsm Synthetic, 170gsm Gloss Paper and 350gsm Artboard, so you select the stock rather than a separate finish when you order. The comparison above is general background for understanding glare and readability, useful when weighing print options or considering a specialist finish elsewhere.
DPI and Resolution: Getting Your Figures Sharp at A1 Size
This is the single most common technical problem with academic conference posters, and it is entirely avoidable with two minutes of checking before you finalise your design.
Minimum DPI for A1 posters
For A4, A3, A2, A1 and A0 poster printing, the minimum resolution requirement is 300dpi at final print size. These figures assume your artwork file is set to the actual print dimensions, not a scaled-down version.
The confusion usually arises from this: a figure exported from R, Python (matplotlib), or Excel at screen resolution (72-96dpi) will look sharp on your monitor but will appear blurry when printed at A1. The difference is the size increase. What is 20cm on screen becomes 60cm on the printed poster.
Checklist for embedded figures and charts
- Save graphs as vector (PDF, SVG, EPS) wherever possible. Vector graphics scale without quality loss, regardless of print size.
- If raster output is unavoidable (PNG, JPEG from analysis software): export at 300dpi at the size it will appear in the final layout, not at screen resolution.
- Avoid upscaling low-resolution images. Scaling a 96dpi figure up to fill a large area in PowerPoint does not add resolution. The pixels simply get larger.
- Check your image resolution in the file setup panel of your design software before exporting. In PowerPoint, this is under File > Options > Advanced; in Adobe Illustrator it is in the Document Raster Effects settings.
Colour mode: RGB vs CMYK
Most academic poster work happens in PowerPoint, Google Slides, or Word, all of which operate in RGB colour space. Professional print workflows use CMYK. When Paperlust Print Shop receives your PDF, their print-optimised workflow handles the colour conversion. For best results, avoid heavily saturated CMYK-specific colours in your design, as these can shift noticeably when converted from RGB. If colour accuracy is critical to your research presentation (e.g. colour-coded brain scans, materials science microscopy), proofing on a calibrated monitor before approval is strongly recommended.
File Setup: Exporting from PowerPoint vs Adobe InDesign
Exporting from PowerPoint (the most common academic workflow)
PowerPoint is not a professional print application, but it is what most researchers use. These steps will get you a print-ready file without issues:
Step-by-step PowerPoint export for poster printing
- Set your slide size to the exact print dimensions. Go to Design > Slide Size > Custom Slide Size. Enter 59.4cm x 84.1cm for A1 portrait (or the exact dimensions from your conference specs). Do this BEFORE you start designing. Changing the size after designing causes element repositioning.
- Use high-resolution images from the start. Do not paste in screenshots. If you are working with charts from Excel or data analysis software, export them as high-resolution PNG (300dpi) or as vector PDF before placing.
- Embed fonts. Go to File > Options > Save > tick “Embed fonts in the file.” This prevents missing-font substitution errors.
- Export as PDF, not as image. File > Save As > PDF. Choose “Best for printing” (not “Minimum size”). This preserves vector graphics as vectors.
- Specify PDF export resolution. In newer PowerPoint versions, File > Options > Advanced > Image Size and Quality > set to HD (330 ppi) or High fidelity. This governs how embedded raster images are downsampled in the PDF.
Exporting from Adobe InDesign
InDesign is the professional choice for complex layouts with precise typographic control. The export process is more straightforward: File > Export > Adobe PDF (Print) > use the PDF/X-4 preset or a custom preset with bleed marks and 3mm bleed allowance. Ensure all placed images are at 300dpi or higher at print size (InDesign’s Links panel shows the effective PPI of every placed image).
Bleed and safe zone guidelines
Include a 3mm bleed on all sides if your design runs to the edge of the poster. Keep all critical content (text, logos, key data) at least 5mm inside the trim edge to avoid cropping during finishing. For academic posters with a white border (common), bleed is less critical, but setting it up correctly never hurts.
Conference Deadlines and Turnaround: Planning Your Print Timeline
This is where most researcher stress originates. The production window is entirely manageable if you build it into your timeline from the moment your abstract is accepted.
Paperlust Print Shop production time
The production time for poster printing at Paperlust Print Shop is 3-4 working days after your digital proof has been approved. Shipping is flat-rate $15 AUD Australia-wide, with metro delivery typically 1-2 business days and regional delivery 2-4 business days.
A realistic planning timeline for a researcher in a capital city:
| Stage | Time needed |
|---|---|
| File preparation and design sign-off | Allow 1-2 days (do not finalise the night before ordering) |
| Digital proof review and approval | Proof turnaround within 1-2 business days of ordering |
| Production | 3-4 working days after proof approval |
| Metro shipping | 1-2 business days |
| Regional/interstate shipping | 2-4 business days |
| Total buffer to build in | Allow at least 8-10 working days before your conference travel date |
Ordering a week and a half before you need to leave is not excessive. It is the realistic window for researchers managing other responsibilities simultaneously.
What happens if you miss the window?
Same-day and next-day printing for large-format posters is available from some local print shops (Officeworks, Kwik Kopy, and independent print centres in major cities all commonly offer this). Quality and stock options at same-day speed are more limited, but they exist. For planned conference posters where quality matters, order in advance.
Design Principles for Academic Posters That Actually Get Read
This section is a digression from printing, but it is worth including because print quality cannot rescue a poorly structured layout.
The 3-metre rule
Your poster should communicate its core message clearly to someone standing 3 metres away. That means a large, legible title (60pt minimum), a clear visual hierarchy, and a single dominant figure or image that draws the eye. Researchers often cram in too much text. If your poster reads like a journal article at A1 size, it will not hold attention on a conference floor.
Font sizing at A1
- Title: 60-80pt
- Authors and affiliations: 30-40pt
- Section headings: 28-36pt
- Body text: 20-24pt (absolute minimum for readability from normal viewing distance)
- Figure captions: 16-18pt
Colour and accessibility
Use a limited palette of 2-3 colours. If your research involves colour-coded data, check your colour choices against colour-blindness simulators (tools like Coblis or the Colour Blindness Simulator are free online). Approximately 8% of male attendees at any conference will have some form of colour vision deficiency.
Ordering Your Conference Poster: Step-by-Step
Ordering from Paperlust Print Shop is a straightforward process. Visit the poster product page to begin.
What to have ready before you order
- Your final print-ready PDF at the correct dimensions (594 x 841mm for A1, 420 x 594mm for A2, 297 x 420mm for A3) with fonts embedded and images at print resolution.
- Quantity: Most conference posters are ordered as a single copy. If you need spares (for your supervisor, your lab, a departmental display), order them in the same run.
- Your delivery address and required-by date: Factor in the 3-4 working day production time plus shipping.
Once you upload your file, the team generates a digital proof for your approval before anything goes to print. Review it carefully, particularly the resolution of any embedded figures, before approving.
Frequently Asked Questions
What is the standard poster size for Australian academic conferences?
A1 portrait (594 x 841 mm) is the most widely accepted size at Australian university conferences and domestic academic events. Some international conferences and larger symposia specify A0 (841 x 1189 mm). Paperlust Print Shop’s standard poster range is A4, A3, A2, A1 and A0; you can order A0 directly on 200gsm Satin Paper or 200gsm Synthetic. Always confirm the exact dimensions with your conference organiser before designing, as this varies by event and discipline.
What DPI do I need for an A1 conference poster?
The minimum recommended resolution for A4, A3, A2, A1 and A0 poster printing is 300dpi at final print size. Figures and charts exported from data analysis software should be saved at 300dpi or as vector formats (PDF, SVG, EPS) to ensure they remain sharp at large print sizes.
How do I export a print-ready file from PowerPoint for my conference poster?
Set your PowerPoint slide size to the exact print dimensions (e.g. 59.4cm x 84.1cm for A1) before you begin designing. Embed fonts via File > Options > Save, set image quality to HD (330 ppi) or High fidelity in Advanced settings, then export as PDF using “Best for printing” rather than “Minimum size.” This preserves vector graphics and maintains image quality.
Can I get a same-day conference poster printed in Australia?
Same-day large-format printing is available at Officeworks, Kwik Kopy, and independent print shops in most Australian capital cities. Paperlust Print Shop has a production window of 2 to 3 working days after design proof approval.
What is the difference between matte and satin finish for academic posters?
In general poster printing, matte finish reduces glare, making it well suited to venues with overhead fluorescent lighting and text-heavy research layouts, while satin offers a slight sheen with stronger colour saturation, and gloss maximises vibrancy but creates significant glare under venue lighting. Paperlust Print Shop prints posters on 200gsm Satin Paper, 200gsm Synthetic, 170gsm Gloss Paper and 350gsm Artboard; satin and gloss are chosen as stock options rather than a separate finish. These descriptions are general background for understanding glare and readability.
Are fabric conference posters available at Paperlust Print Shop?
Paperlust Print Shop’s poster range is printed on 200gsm Satin Paper, 200gsm Synthetic, 170gsm Gloss Paper and 350gsm Artboard. Synthetic is tear-resistant and moisture-resistant, making it well suited to conference travel and exhibition environments. Fabric is not one of these stocks, so for fabric poster requirements specialist academic poster printers offer this option.