Getting a sticker to sit perfectly flat looks straightforward until you peel back the liner and find a bubble sitting right in the middle of your design. The method matters, and it changes depending on the surface. This guide covers dry application for small stickers, the wet slip technique for large shopfront vinyl, and surface-specific steps for glass, vehicles, walls, and laptops.
- Clean with isopropyl alcohol first. Oils and fingerprints are the main culprits behind bubbles.
- Use the dry hinge method for stickers under 200mm; use a soapy water solution (1 drop per 500ml) for anything larger.
- Always squeegee from the centre outward, never inward.
- Leave transfer tape on during wet application; remove slowly at 45 degrees after 10-15 minutes.
- Cure for 24-48 hours before water contact or a car wash.
- Bubbles still present after 48 hours: prick at the edge with a fine needle, then press flat.
Why Bubbles Form
Bubbles come from three sources: surface contamination (oils or dust stopping the adhesive bonding flush), trapped air from laying the sticker down flat rather than hinging from one edge, and temperature extremes (below 10 degrees Celsius the adhesive stiffens; above 35 degrees it grabs instantly). Fixing the surface and the temperature before you peel the liner eliminates most problems before they start.
Surface Prep
Cleaning Correctly
Wipe the surface with isopropyl alcohol on a lint-free cloth and allow it to fully evaporate before the adhesive touches it. On glass, that takes about 30 seconds; on a car panel, give it 60 seconds. Avoid touching the cleaned area with bare hands afterwards.
Do not use glass cleaner or spray-and-wipe products before applying a sticker. Most leave a surfactant film that stops the adhesive bonding properly. Isopropyl alcohol evaporates completely and leaves nothing behind.
Temperature
The sweet spot is 15 to 30 degrees Celsius. A south-facing glass door in winter can be well below ambient temperature; a car panel in full sun in summer can hit 50 degrees. Work in shade or indoors, particularly for vehicle and shopfront jobs.
Dry Application: Small to Medium Stickers
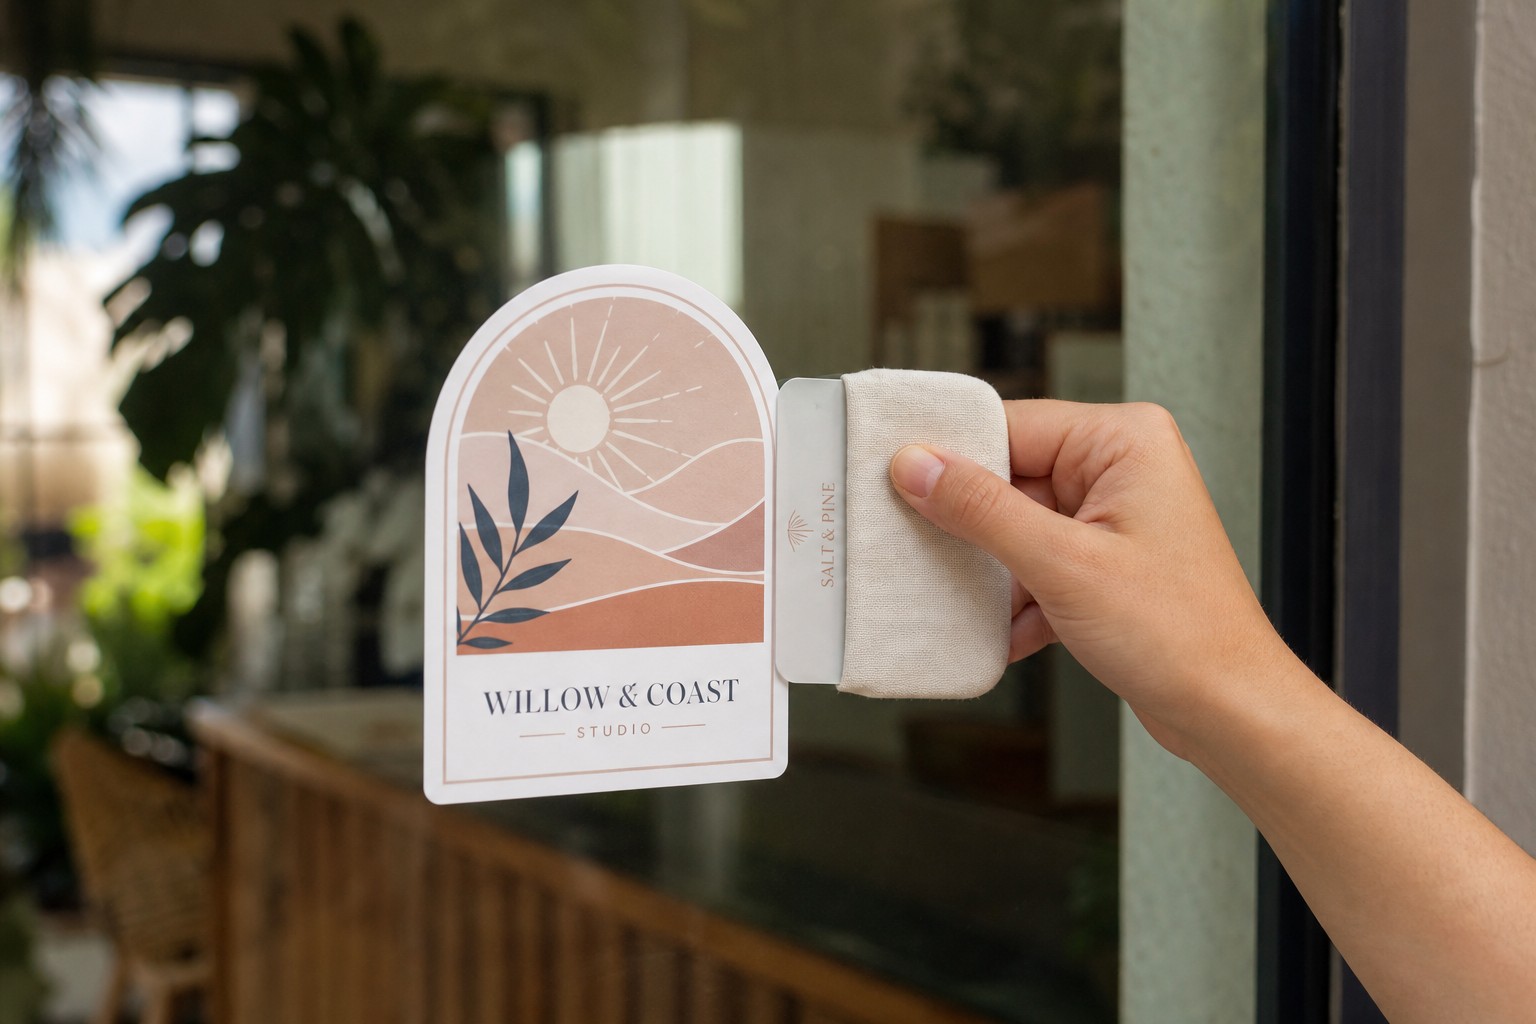
Use dry application for stickers up to roughly 200mm in any direction. You need a squeegee or a credit card wrapped in a cloth, and a strip of masking tape.
The Hinge Method
1. Position before peeling. Lay the sticker on the surface with the backing paper still on. Check alignment from a distance, then run a strip of masking tape along the top edge. The sticker can now flip up and down while staying exactly aligned. 2. Peel the lower half. Lift the sticker at the hinge, peel the backing paper away from the bottom half only, and fold the liner back on itself. Leave the top half covered. 3. Lower and squeegee the bottom half. Lower the sticker onto the surface. Squeegee from the centre hinge outward to each side edge, then downward to the bottom corner. Use firm, consistent pressure. 4. Finish the top half. Peel the remaining liner and squeegee the top half in the same direction, working from the centre out.
Squeegee Technique
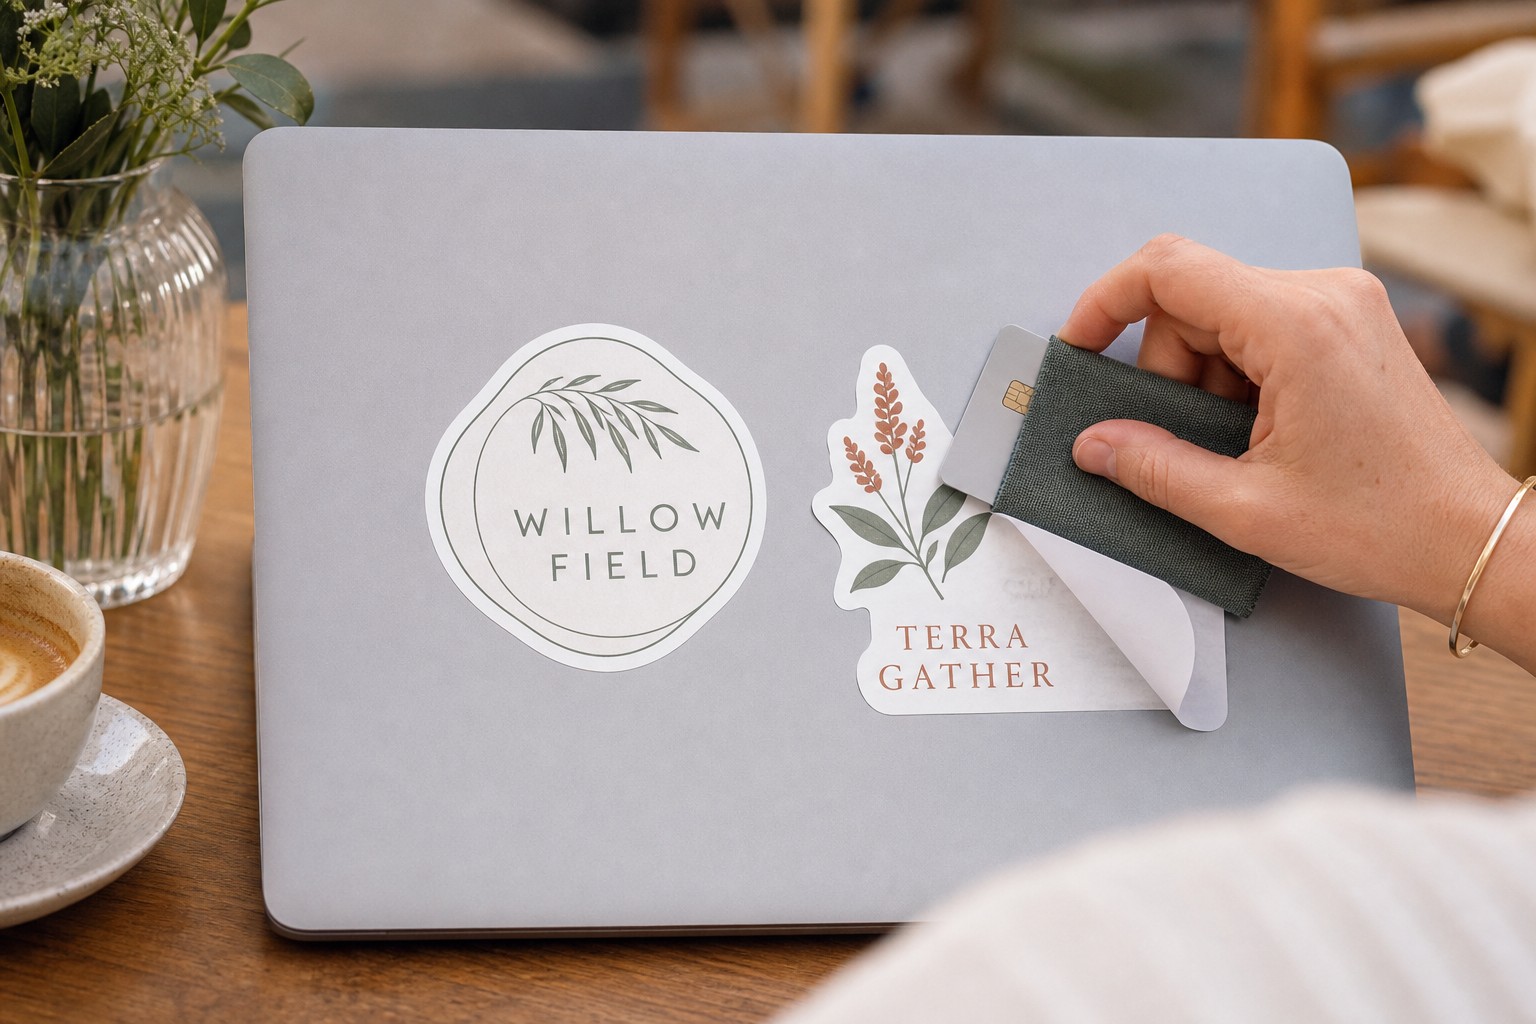
Always move from the centre of the sticker toward the edges. This pushes trapped air outward to escape at the perimeter. Working from the edges inward pushes air to the centre and traps it there. If you are using a credit card, wrap it in a microfibre cloth to protect the sticker face from scratching.
Wet Application: Large Decals and Shopfront Vinyl
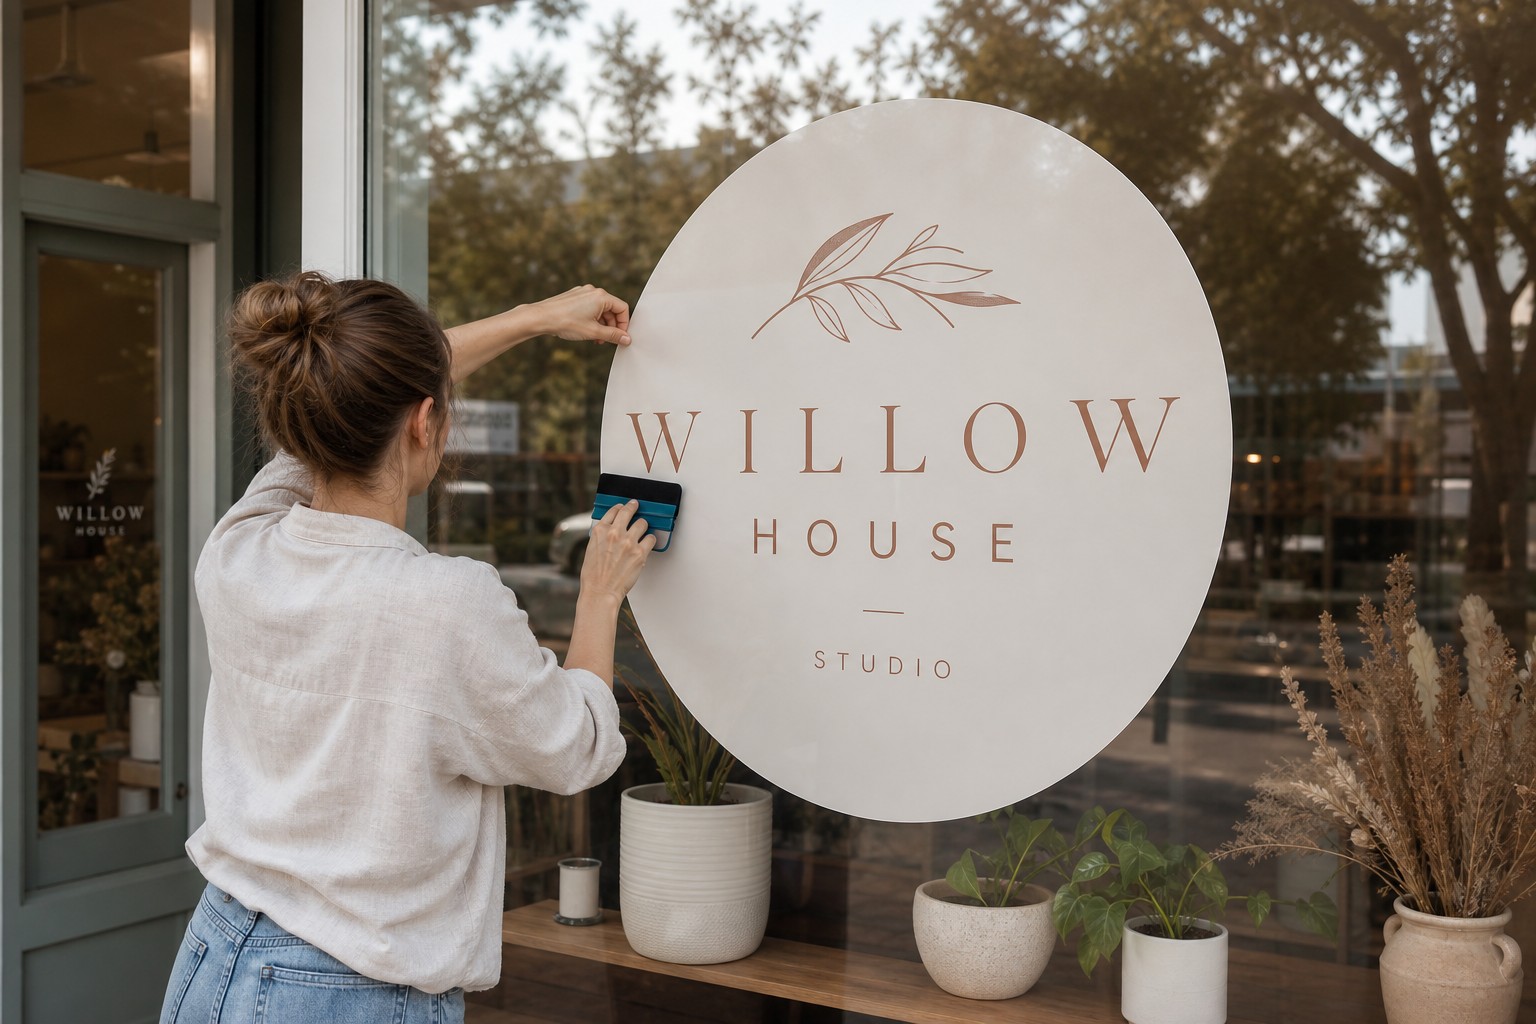
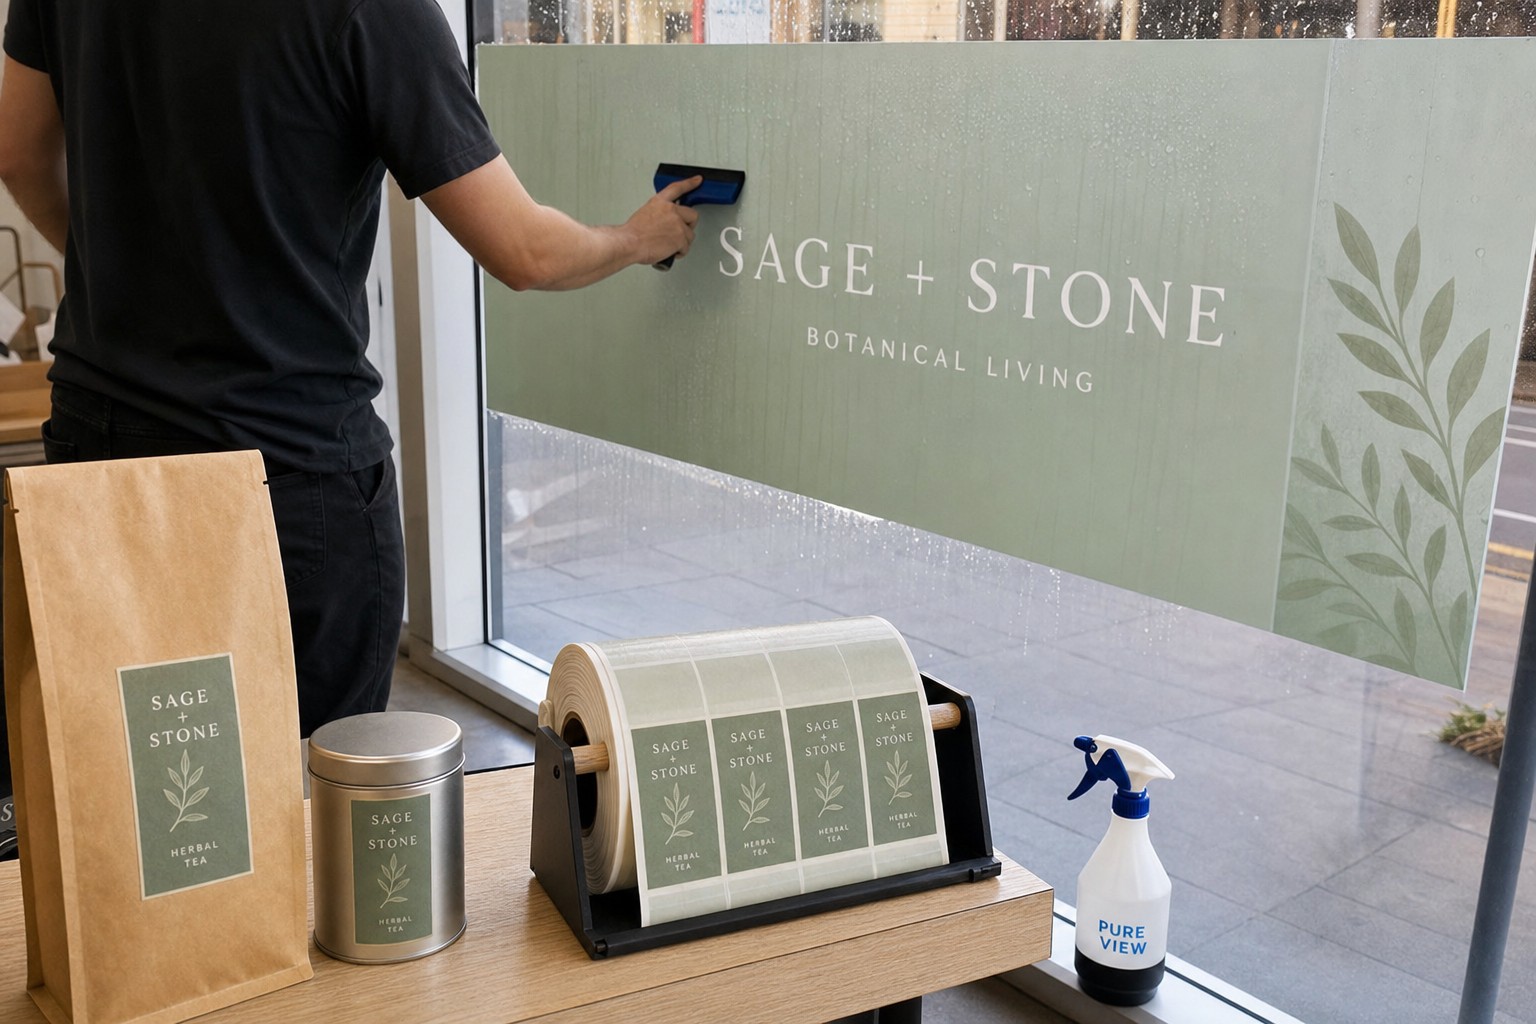
For stickers over 200mm, a soapy water solution delays the adhesive bonding and gives you time to slide the sticker into exact position before it grabs.
Making Your Solution
Mix one drop of dish soap per 500ml of water in a clean spray bottle. Any more soap and the adhesive may not bond fully. Keep the sticker’s transfer tape on for now.
Wet Application Step by Step
1. Spray both surfaces. Spray the cleaned surface lightly. Remove the liner from your sticker and spray the adhesive side. The soapy film lets you slide the sticker freely across the surface. 2. Position and squeegee. Lay the sticker in place and slide it to final position. Squeegee firmly from the centre outward in slow, overlapping strokes, pushing water to the edges as you go. 3. Wait before removing transfer tape. If your sticker arrived with a transfer tape layer, leave it on during squeegeing. Once the surface looks flat, wait 10-15 minutes, then peel the transfer tape slowly at a 45-degree angle from one corner. Pulling it off immediately risks lifting the sticker. 4. Final squeegee and dry. Squeegee once more over the bare sticker face, then allow remaining moisture to evaporate fully before the surface gets wet again.
Application by Surface
Glass and Shopfronts
Glass is the most forgiving surface: non-porous, smooth, and easy to verify alignment through from the inside before the adhesive commits.
- Clean with isopropyl alcohol and check in raking light for smears before starting
- Use the wet method for anything larger than A3 (420 x 297mm); squeegee top-to-bottom then left-to-right to push moisture out in both directions
- Allow 24 hours before pressure washing or window cleaning
Vehicles
Car panels run through heat cycles, UV exposure, and regular car washes, making prep more critical here than on any other surface.
- Never apply to a freshly waxed or polished panel; wax repels adhesive. Clean with isopropyl alcohol even after fresh wax has cured
- On curved panels, warm the vinyl briefly with a hairdryer on a low setting so it becomes pliable enough to conform without lifting at the edges
- Paperlust vinyl stickers are car-wash safe after a 24-48 hour cure period; skip the car wash for the first two days
Walls
Matte painted walls are the hardest surface for bubble-free application because the texture creates micro-pockets where the adhesive cannot bond flush.
- Use a hard-edged squeegee or card and apply very firm pressure in small, overlapping sections across the full sticker face
- Do not use the wet method on walls; water can seep under paint edges or into plasterboard
- Freshly painted walls need at least four weeks to cure before a sticker will bond properly
- Clear stickers work particularly well on smooth feature walls where a borderless floating look suits the space
Laptops
Flat and smooth, laptop lids are technically the easiest surface but also the most closely examined when a bubble appears.
- Wipe with isopropyl alcohol; laptop lids accumulate hand oil faster than most surfaces
- For stickers under 100mm, skip the hinge method: hold one edge, lower the sticker gradually in a rolling motion, and squeegee as you go
- Avoid covering ventilation grilles or raised seams
Air-Release Vinyl: Is It Worth It?
Air-release vinyl has micro-channels embossed into the adhesive that let air escape during application, making bubbles nearly impossible even with imperfect technique. It is worth specifying for large-format shopfront work, complex die-cut shapes, or high-volume retail applications. For a single laptop sticker or a small bottle label, standard vinyl with the hinge method is completely adequate.
Curing and the First 48 Hours
Vinyl adhesive continues to bond for 24-48 hours after application. During this window:
- Keep the surface away from sustained moisture or heavy rain
- Skip the car wash for at least two days
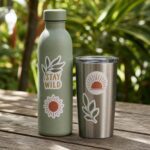
- Do not put vinyl-labelled bottles through the dishwasher; sustained heat weakens the adhesive bond over time
After full curing, Paperlust vinyl stickers are waterproof and weather-resistant, rated to last 3-5 years outdoors with UV-resistant inks that resist fading on surfaces exposed to direct sun.
Fixing Bubbles That Appear After Application
Small bubbles within the first 24 hours sometimes disappear on their own as the adhesive draws the vinyl flat during curing. Check again at the 48-hour mark before intervening.
If a bubble persists after 48 hours:
1. Insert a fine needle or pin at the very edge of the bubble, not the centre, to create a small escape point 2. Press from the far side of the bubble toward the pin hole, pushing air out through it 3. Hold firm pressure for 10-15 seconds using your thumb or the flat of a card 4. The pinhole is typically invisible once the vinyl is pressed flat
For large persistent bubbles on a vehicle panel, soften the adhesive first with a hairdryer on a low setting, then squeegee flat.
Browse our full range of custom stickers including vinyl, clear, die-cut, and kiss-cut options, produced locally in Melbourne. Related guides: removing sticky residue and vinyl stickers and dishwashers.
Frequently Asked Questions
Can I apply stickers in cold weather?
Below 10 degrees Celsius, acrylic adhesive stiffens significantly and bubbles become much harder to work out. Warm the surface gently with a hairdryer first to bring it into the 15-30 degree range before starting.
What is the difference between wet and dry sticker application?
Dry application bonds on contact and suits stickers under roughly 200mm. Wet application uses a soapy water solution to delay the bond, giving you time to slide a large decal into exact position before squeegeing it flat. The moisture also acts as a lubricant that makes large air pockets easier to push to the edges.
How long should I wait before washing a surface that has a fresh sticker on it?
Allow 24-48 hours for the adhesive to cure fully before any sustained moisture contact. For vehicles, skip the car wash for at least two days. For water bottles, hand washing with mild soap after 48 hours is fine; sustained dishwasher heat is not recommended as it weakens the adhesive bond over time.
My sticker on a textured wall has lots of small bubbles. What can I do?
Air sits in the recesses of a textured wall and cannot be squeegeed out the same way as on smooth glass. Use a hard credit card wrapped in a cloth and apply firm pressure in small, overlapping sections. For bubbles that persist, prick each at the edge with a fine needle and press flat. On heavily textured surfaces, always test a small sticker in a hidden spot first.
Can I reposition a sticker after it has been applied?
Standard acrylic adhesive begins bonding on contact. Within the first few seconds on a smooth surface, a slow, low-angle peel may allow repositioning. After a few minutes the adhesive has set enough that attempting to lift the sticker risks tearing the vinyl or leaving residue behind. If repositioning is important, specify a removable or low-tack adhesive when ordering.
What can I use as a squeegee if I do not have one?
A standard credit or loyalty card, the flat edge of a ruler, or a firm gift card all work well. Wrapping the card in a microfibre cloth or a folded piece of cling wrap gives it a slightly padded edge that will not scratch the vinyl face during application.