You have spent hours, sometimes days, producing an image worth printing. Whether it is a photograph you captured at golden hour or an original illustration you have been refining for weeks, there is one question that deserves a careful answer before you hit “send file”: will the print actually honour the work?
Fine art and photographic poster printing in Australia has never been more accessible, but accessible does not automatically mean accurate. Colour fidelity, tonal range in shadows, resolution matched to viewing distance, and the practical realities of scaling artwork without introducing softness. These details separate a print you will frame and display from one you will quietly roll back up. This guide works through every decision point, with specific guidance for photographers and illustrators printing on our 200gsm synthetic stock in A1, A2, and A3.
Quick answers for photographers and illustrators ordering poster prints in Australia.
- Available sizes: A3 (297x420mm), A2 (420x594mm), A1 (594x841mm) on 200gsm synthetic stock
- Minimum resolution: 100 dpi at final print size for A1/A2; 150-300 dpi for A3
- File format: PDF (preferred), AI, EPS, SVG, or high-resolution PNG with embedded colour profile
- Production turnaround: 3-4 working days after proof approval; proof delivered in 1-2 business days
- Flat-rate shipping: $10 AUD tracked Australia-wide; express domestic option available
- Need A0, cotton-rag, or giclee archival stock? Contact us for a custom quote
Why colour fidelity matters more than megapixels
Most photographers instinctively focus on resolution when preparing a print file. Resolution matters, but colour accuracy is often the more visible failure point. A slightly soft A1 can still look compelling on the wall. An A1 where the warm shadow tones in a portrait have shifted to grey-green, or where deep navy skies have reproduced as flat black, is immediately obvious.
Colour shifts happen at two points in the workflow. The first is colour mode: screens display in RGB, which has a larger gamut than CMYK printing. If you send an RGB file without an embedded profile, the printer’s workflow makes assumptions about the conversion. Those assumptions can flatten luminous highlights and desaturate midtones in a way that is easy to overlook on a proof but obvious on a 594mm-wide print.
The second point is soft-proofing. Before you finalize a file, simulate the output on screen using your printing profile. In Photoshop, this is View > Proof Colours. Even without a custom ICC profile from your printer, applying a standard CMYK simulation will reveal where saturation cliffs off and where highlights need protecting. Adjust curves to compensate before exporting rather than hoping the print corrects for the file.
For our 200gsm synthetic stock, we print in CMYK. Export your file as CMYK or embed a well-matched RGB profile (sRGB or AdobeRGB) and convert on save. If your file is AdobeRGB, a straight conversion to sRGB can clip a small number of highly saturated greens and cyans that exist outside the sRGB gamut. Check those areas specifically before submitting.
Resolution and DPI: matching quality to viewing distance
The confusion around DPI for large-format printing is persistent, so here is a clean framework.
What the numbers actually mean
DPI (dots per inch) describes how many printed dots the printer lays down per linear inch. PPI (pixels per inch) describes the pixel density of your digital file at a given output size. The two interact: a file with 3000 pixels along its longest edge, printed at a final size of 30 inches (762mm), gives you 100 ppi at that output size.
The key insight for large-format printing is that viewing distance increases with print size. You stand much closer to an A3 on a desk than to an A1 on a wall. Your eye integrates detail differently at distance, which means the effective resolution threshold drops as the print gets larger.
Our recommended minimums by size
| Size | Dimensions | Minimum DPI | Recommended DPI |
|---|---|---|---|
| A3 | 297 x 420mm | 150 dpi | 300 dpi |
| A2 | 420 x 594mm | 100 dpi | 200-250 dpi |
| A1 | 594 x 841mm | 100 dpi | 150-200 dpi |
| Size | Dimensions | Minimum DPI | Recommended DPI |
|---|---|---|---|
| A3 | 297 x 420mm | 150 dpi | 300 dpi |
| A2 | 420 x 594mm | 100 dpi | 200-250 dpi |
| A1 | 594 x 841mm | 100 dpi | 150-200 dpi |
Practical pixel counts by size
If you are working backwards from a camera file, here are the pixel dimensions you need at those target DPI levels:
- A3 at 300 dpi: approximately 3,508 x 4,961 pixels
- A2 at 200 dpi: approximately 3,307 x 4,677 pixels
- A1 at 150 dpi: approximately 3,508 x 4,961 pixels
A full-frame 24MP camera delivers roughly 6000 x 4000 pixels per shot, which gives you comfortable resolution at 200 dpi for A1. A 12MP file from a mirrorless or smartphone at maximum quality can print cleanly at A2. The limitation is rarely the camera. It is what happens to pixel data when you export, compress, and scale that degrades quality.
Scaling artwork from smaller originals
Illustrators and mixed-media artists often start from a scan or a screen-native file at 72 or 96 ppi. Scaling up naively in Photoshop using bicubic interpolation adds pixels but loses sharpness. Two approaches that preserve quality:
Preserve Details 2.0 (Photoshop). Image > Image Size > Resample: Preserve Details 2.0. This AI-based upscaling method handles edge sharpness and texture better than standard bicubic. Use a sharpening amount of around 50-70% and reduce noise if the upsample introduces grain.
Dedicated upscaling tools. Applications like Topaz Gigapixel AI or Adobe Super Resolution (Camera Raw / Lightroom) use machine learning to reconstruct fine detail during scaling. For illustrations with clean line work or photography with fine texture (fabric, foliage, hair), these tools routinely produce 2x-4x upscale results that hold at 150 dpi on A1.
The test is always to zoom in at 100% on the upscaled file in your preview application. If fine lines look crisp and not stepped, the upscale has worked. If horizontal edges show obvious stairstepping, the source resolution was too low and further upscaling will not recover it.
Shadow detail and tonal range
Shadow rendering is where poster prints diverge most dramatically from screen previews. Screens are backlit; prints rely on reflected light. A deep shadow that looks rich and dimensional on your calibrated monitor will print darker than expected if the ink density is not managed correctly.
Checking your shadow values
Before exporting, examine the darkest areas of your image in your editing tool. In Photoshop, use the Info panel with a point colour sampler placed on your deepest shadow. In CMYK, total ink coverage above 300% (C+M+Y+K combined) often produces flat, inky shadows rather than deep ones.
For photographic prints, a total ink limit of 280-300% is a sensible working range for most offset and digital CMYK processes. For our synthetic stock, ensure the darkest shadows sit at around 90-95K on the black channel with limited CMY support rather than maxed-out ink on all channels.
Preserving shadow separation
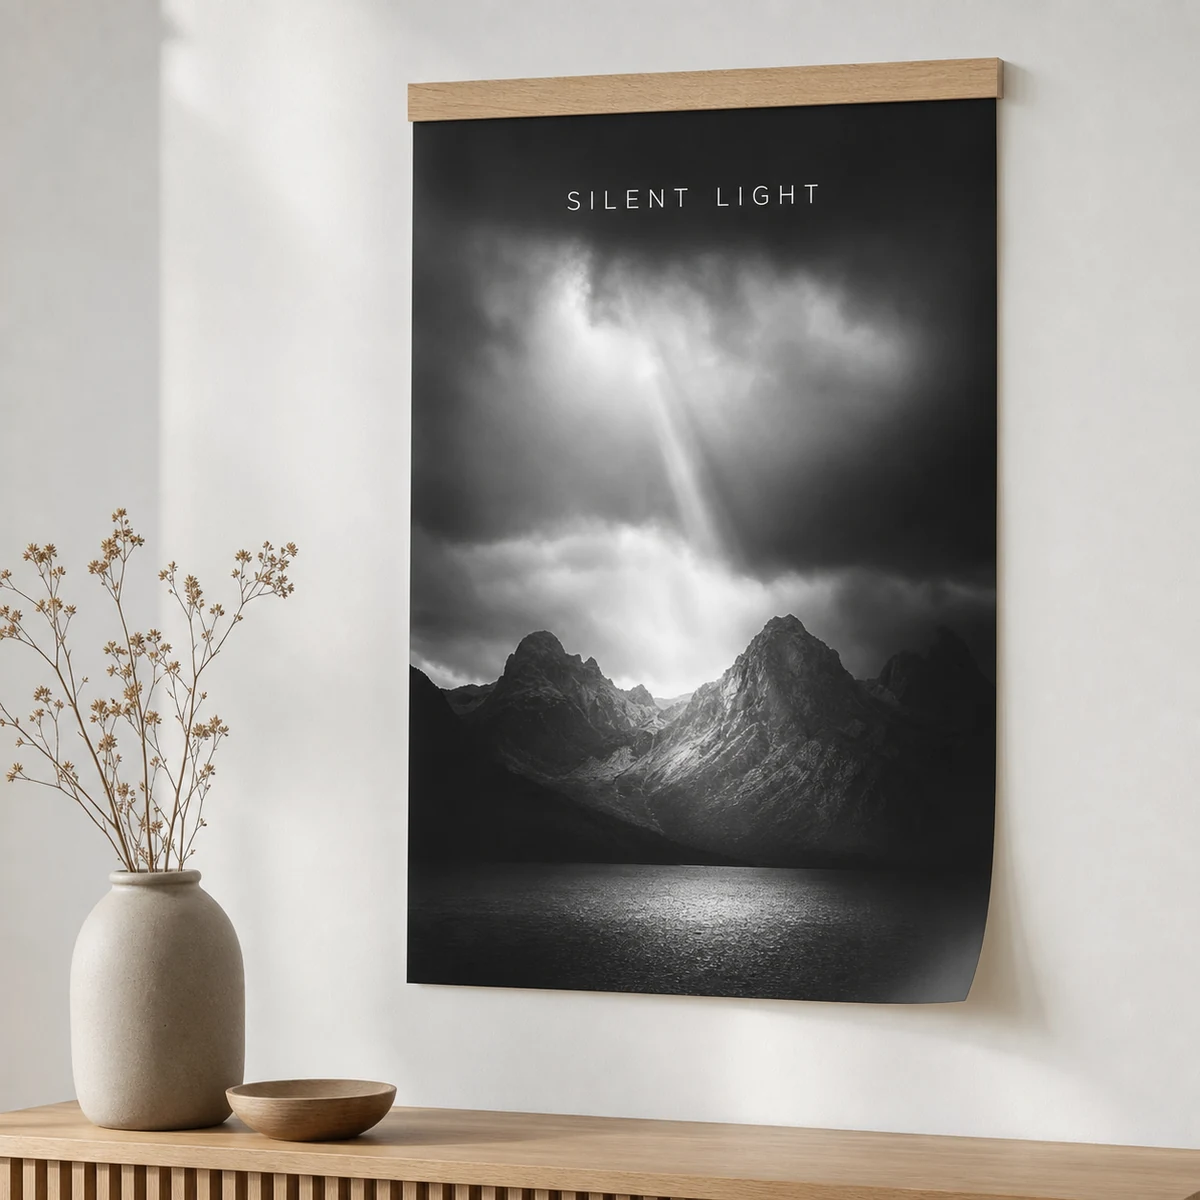
Shadow separation, the ability to distinguish between dark grey, very dark grey, and near-black, is what gives a black-and-white landscape or architectural photograph its three-dimensional quality. To protect it:
- Work in 16-bit throughout your editing workflow, converting to 8-bit only at the final export step
- Apply a gentle S-curve that lifts the deepest shadows to around 10-15 on a 0-255 scale, preventing full black ink density on areas that should still show texture
- Use a black-and-white conversion that preserves luminance detail rather than desaturating in CMYK (Photoshop’s Black and White adjustment is far better than Image > Mode > Grayscale for this purpose)
Choosing the right size for your artwork
A1 (594 x 841mm): statement pieces and hero walls
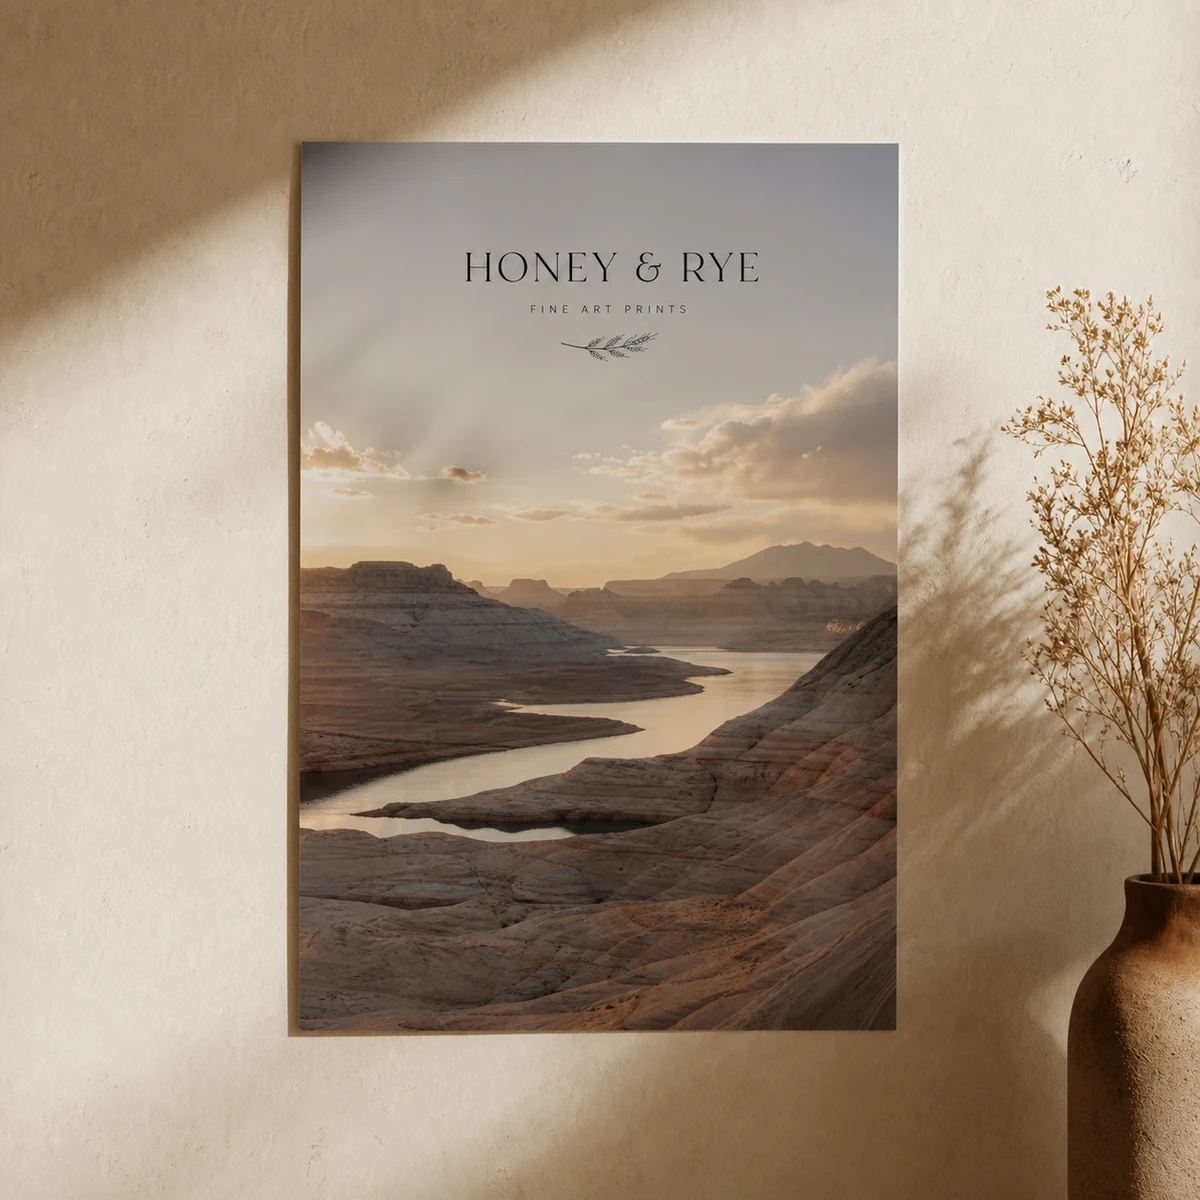
A1 is the largest size we offer from our standard poster range. At just under a metre tall, an A1 print commands a wall and works well as a solo statement piece or as the centrepiece of a gallery arrangement. It suits wide landscape photographs, large illustrated maps, and typographic artwork that benefits from scale.
If your project requires A0 (841 x 1189mm) or larger, these fall outside our standard range. Contact us for a custom quote on larger sizes.
A2 (420 x 594mm): the most versatile format
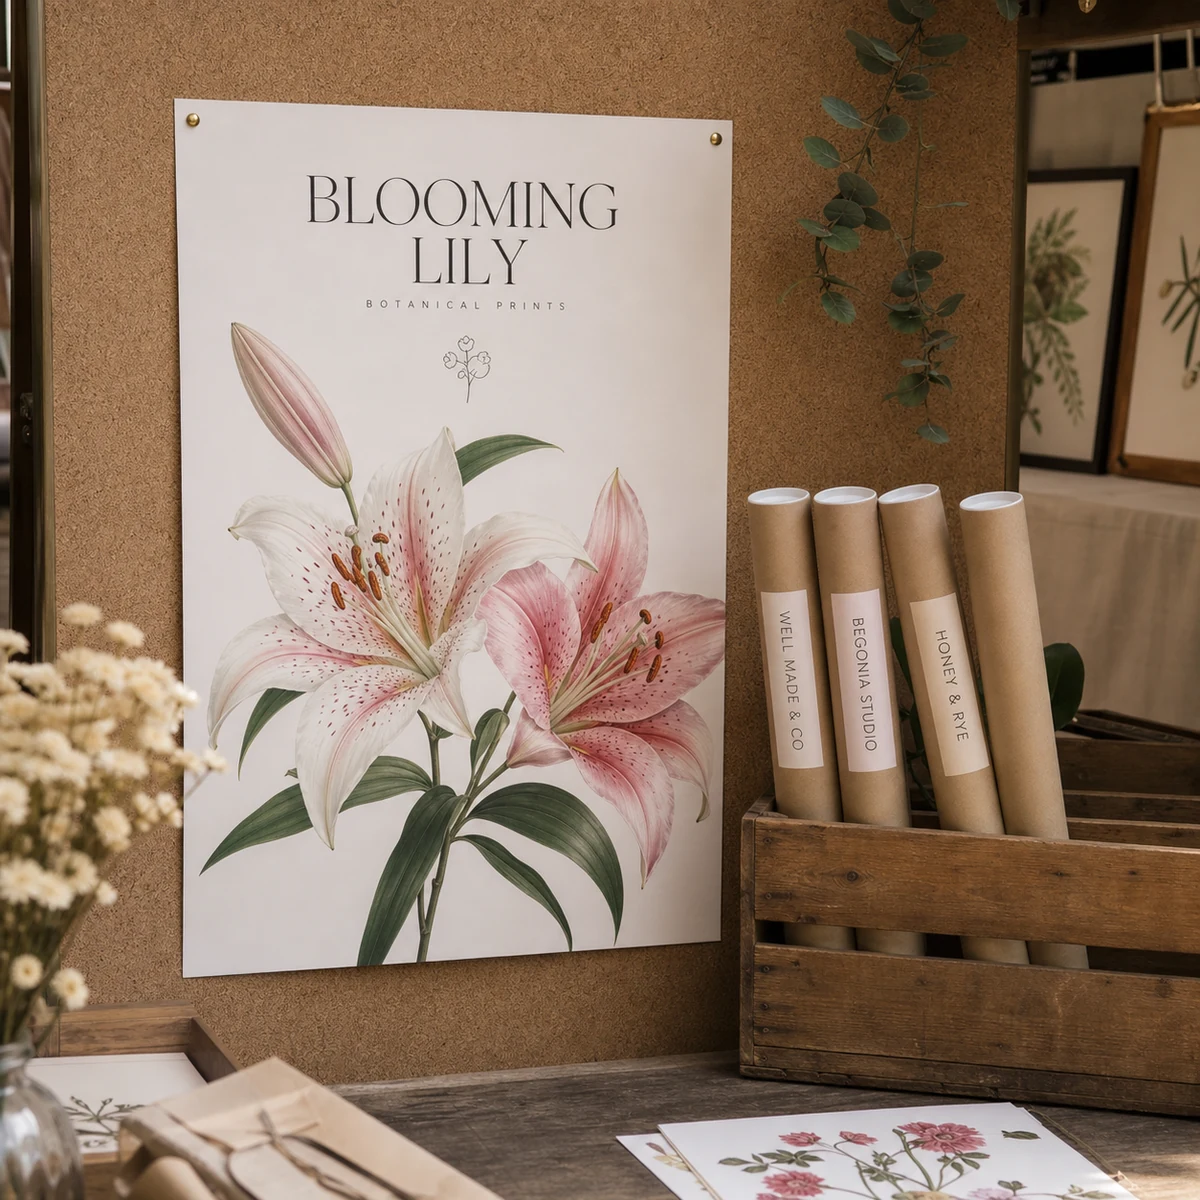
A2 is the workhorse of fine art poster printing. It is large enough to hold complex photographic detail and fine illustration linework, but proportional enough to fit comfortably in most rooms without requiring a feature wall. It suits portrait and landscape photography equally, botanical illustrations, and editorial-style artwork.
A3 (297 x 420mm): prints and multiples
A3 works for desk-to-wall prints, small-space installations, and edition printing where the audience will view the piece from close range. It is also the right scale for text-heavy artwork, poster art with significant typographic content, event posters, and illustrated infographics, where readability at arm’s length matters more than scale.
Our 200gsm synthetic stock: what it means for image quality
Our posters print on a single 200gsm synthetic material. Understanding what “synthetic” means in the context of fine art reproduction helps set accurate expectations.
What synthetic stock does well
Synthetic stock is manufactured from a polymer base rather than wood-pulp paper. This gives it several properties that matter for photographic and illustrative prints:
- Moisture resistance. The surface does not absorb humidity, which means prints do not curl, cockle, or warp over time the way uncoated paper can, particularly in humid climates like coastal Queensland or tropical areas.
- Scuff and tear resistance. A synthetic poster can be rolled, stored, and unrolled without surface abrasion. This matters for photographers who display work at markets or rotate prints between frames.
- Consistent surface. Unlike handmade or textured papers, synthetic stock has a uniform surface, which means ink sits evenly and colour consistency is predictable across the print.
What cotton-rag and giclee papers offer (industry context)
Higher-end archival print services use cotton-rag papers from Hahnemuhle, Canson, or Ilford, printed with 9-12 colour pigment ink systems on large-format Epson or Canon plotters. These “giclee” prints offer archival ratings of 80-200+ years, richer tonal range in blacks (from dedicated photo-black and matte-black channels), and papers with texture that complements fine-art illustration.
These processes are the standard for limited-edition art prints destined for galleries, collectors, and archival storage. If you are producing an edition of signed prints with an expected collector lifespan of decades, a specialist giclee printer is the right choice.
Our synthetic posters are designed for high-quality photographic reproduction, interior display, commercial artwork, and event applications where production speed, moisture resilience, and accessible pricing are the priority. If you need archival cotton-rag or A0+ sizing, we recommend contacting us for a custom quote on your project.
See also: Canvas vs Paper Posters for a detailed comparison of substrate options for art reproduction.
Framing and mounting a fine art poster
UV-protective glazing
Whether you choose glass or acrylic glazing for your frame, UV filtering is worth the additional cost for any print you intend to display long-term. Even prints on non-archival stock will hold their colour longer under low-UV glazing. For rooms with direct natural light, consider museum-grade acrylic (such as Tru Vue Museum Grade or equivalent), which filters more than 98% of UV.
Float framing vs. standard framing
Standard framing mounts the print behind a mat board with the mat covering the edges of the print. This is the most common approach and works well for all three A-series sizes.
Float framing positions the print so that the edges are visible, suspended against the backing board. This approach suits artwork where the composition extends to the edges of the poster, and it gives the piece a contemporary gallery aesthetic. Float framing requires precision trimming of the print to exact dimensions.
Dry mounting
Dry mounting uses heat-activated adhesive tissue to bond the print flat to a rigid backing board (typically foam core or aluminium composite). The result is a completely flat, wrinkle-free surface. It is the correct approach for synthetic prints that will be displayed unframed or under acrylic clips, since the rigid backing prevents the poster from bowing.
Clip mounting and snap frames
For commercial, retail, and event display, aluminium snap frames in standard A-series sizes are the most practical option. They allow quick print changes and keep the print flat under the front lip. Our synthetic stock is well-suited to this format because its dimensional stability prevents the rippling that paper prints can show when humidity changes during an event.
Artwork setup checklist before you submit
File format and colour mode
Submit as PDF where possible. A print-ready PDF preserves layer flatness, embeds fonts (if any), and keeps colour profiles intact in a single portable file. For Illustrator artwork with vector elements, export as PDF X-4 or X-1a. For Photoshop composites, flatten to a single layer before exporting.
If you submit a PNG, ensure it is at the correct output dimensions at 100 dpi or higher. Screen-resolution PNG files exported at 72 ppi will not hold up at A2 or A1.
Bleed and safe zone
Add 3mm of bleed on all four sides beyond the trim line. This means an A1 PDF canvas should measure 600 x 847mm (not 594 x 841mm). Keep all critical content and text at least 5mm inside the trim line to account for minor variations in cutting position.
Use a magenta Spot Colour for the dieline on a dedicated top layer if you are submitting a file that includes a die-line or crop-mark reference.
Embedded colour profiles
Always embed your colour profile on export. For RGB files, embed sRGB or AdobeRGB. For CMYK, embed the working CMYK profile you used during editing. An untagged file forces the printer’s workflow to make assumptions about the colour space, which is where the most visible shifts occur.
Resolution check at final size
Before submitting, confirm the resolution is correct at the actual output size, not at the original canvas size. In Photoshop, Image > Image Size with “Resample” unchecked will show you the print dimensions and DPI without altering pixel data.
Ordering process
Step 1: Upload your file
Submit your print-ready file through our poster product page. Accepted formats are PDF, AI, EPS, SVG, and high-resolution PNG. PDF is preferred for the reasons above.
Step 2: Receive your proof
Our team sends a digital proof within 1-2 business days. The proof shows how your file will reproduce at the selected size. Review colour, check text readability, and confirm bleed placement before approving.
Step 3: Production and dispatch
Production takes 3-4 working days after proof approval. Shipping is flat-rate $10 AUD tracked Australia-wide. Express domestic delivery (1-2 business days metro, 3-5 business days regional) is also available. International shipping is $35 AUD flat rate.
Frequently asked questions
What is the minimum DPI for a fine art poster print at A1?
The minimum we recommend for A1 (594 x 841mm) is 100 dpi at final print size. For photography with fine detail, hair, fabric texture, foliage, aim for 150-200 dpi if your source file allows it. A 24-megapixel camera file at full resolution typically gives around 175-200 dpi at A1, which is well within the range for a high-quality photographic print.
Do you offer cotton-rag, giclee, or archival paper options?
Our standard poster range prints on 200gsm synthetic stock, which is moisture-resistant, dimensionally stable, and suited to photographic and illustrative work. We do not offer cotton-rag or specialist giclee papers as a standard option. If you have an archival requirement or need specialty paper stocks, contact us and we can discuss a custom quote for your project.
Can I print in RGB or does the file need to be CMYK?
We print in CMYK. You can submit an RGB file with an embedded sRGB or AdobeRGB profile and our workflow will convert it, or you can convert to CMYK yourself before submitting for the most control. If you convert yourself, use a well-matched output profile (such as Coated FOGRA39 or CMYK Generic) and review the conversion in soft-proof before exporting. Self-converting is recommended for images with critical colour matching requirements.
What is the largest size available for poster printing?
Our standard poster range goes up to A1, which measures 594 x 841mm. This is equivalent to approximately 23.4 x 33.1 inches. If you need A0 (841 x 1189mm) or a non-standard oversized format, contact us for a custom quote. Our poster product page lists the full standard size range and current pricing.
How should I prepare a scanned illustration for poster printing?
Scan at a minimum of 300 dpi at the original artwork size, then use an AI upscaling tool (Photoshop Preserve Details 2.0 or Topaz Gigapixel AI) if you need to scale up to A2 or A1. Export as a flattened PDF or TIFF with embedded colour profile. For watercolour and mixed-media work, check that the scan has captured shadow separation in the deepest tones, these areas are most likely to lose detail in conversion.
Do you offer proofs before printing?
Yes. Every order includes a digital proof sent within 1-2 business days. The proof confirms your artwork layout, bleed, and colour profile at the selected size. Production begins after you approve the proof, so there is a clear checkpoint before any printing takes place.