Vinyl decals are straightforward to apply once you understand two things: the surface must be genuinely clean (not just visually clean), and temperature matters more than most people expect. Both the dry method and the wet method are covered below, with a full troubleshooting guide at the end.
- Clean with isopropyl alcohol (IPA), not dishwashing liquid or furniture spray
- Apply between 15°C and 30°C, always in shade, never in direct sun
- Hinge method: tape one edge as a pivot before committing to position
- Dry method: squeegee at 45 degrees from hinge outward, peel backing as you go
- Wet method: 1 to 2 drops dishwashing liquid per 500ml water; slide into position, squeegee from centre out
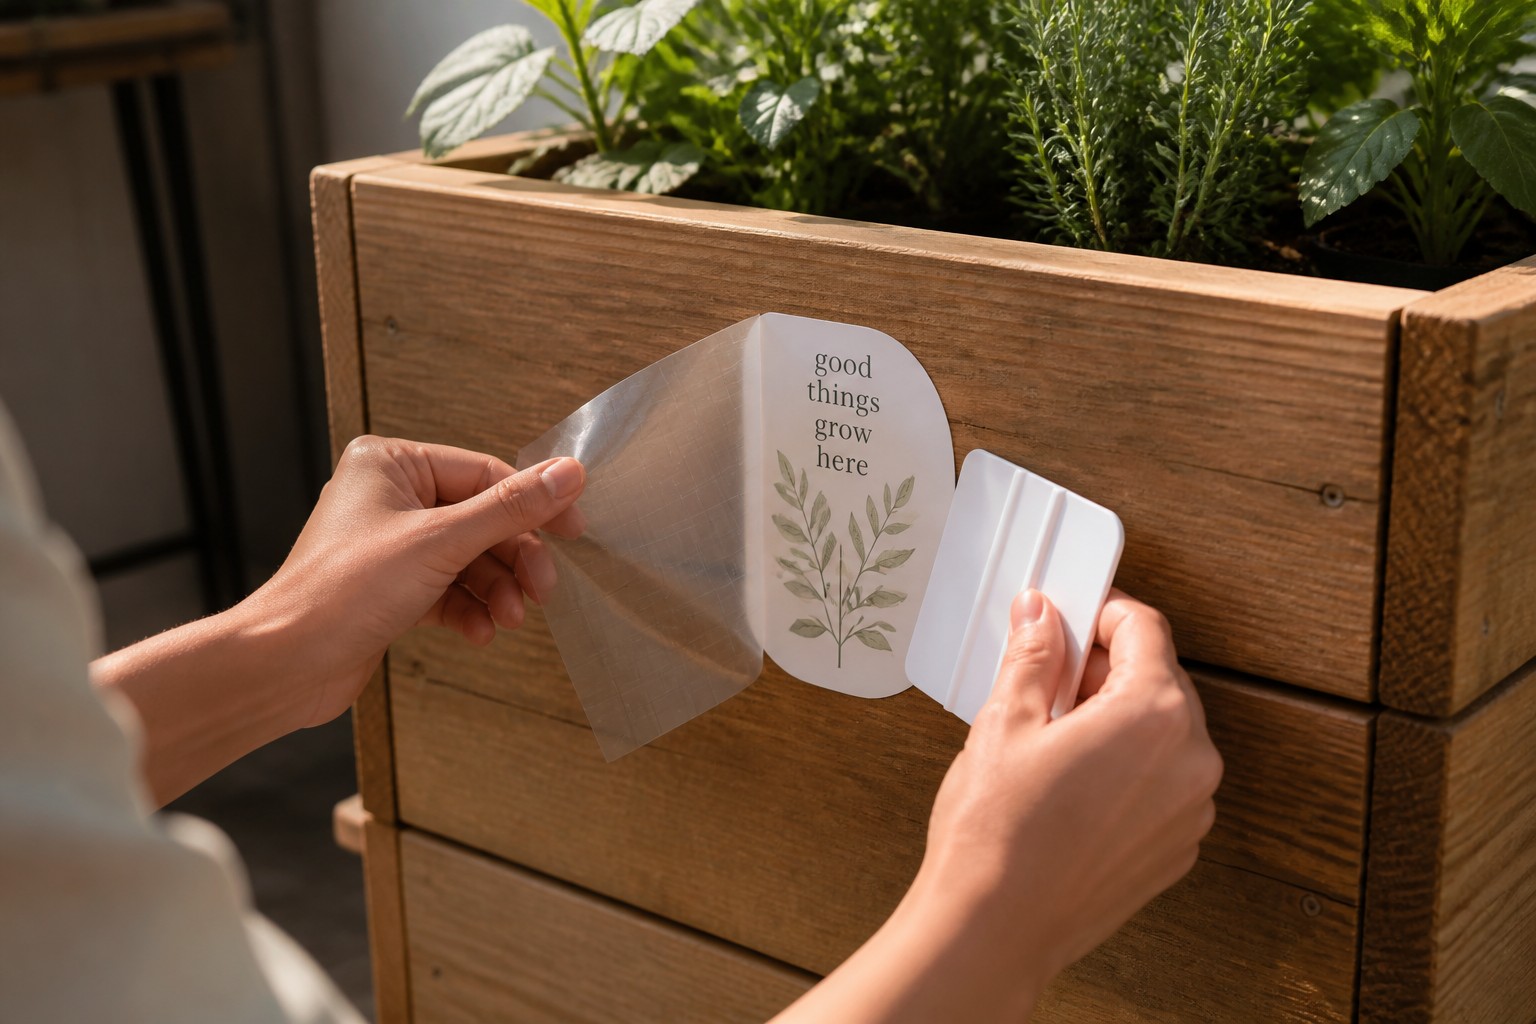
- Peel transfer tape at 180 degrees (flat to the surface), not 45 degrees (an upward pull lifts the vinyl)
- Cure time: 24 hours before water exposure, 72 hours before pressure washing
Surface Preparation: Why Most Decals Fail
A vinyl decal bonds to a molecular layer, not to what you can see with your eyes. A surface that looks clean can still carry enough silicone, wax, or body oil to stop the adhesive keying properly.
Start with warm water and a lint-free cloth to remove loose dirt. Follow with a wipe of 70% isopropyl alcohol (IPA), applied with a clean cloth in a single direction. Let it dry for 30 seconds before touching the surface again.
The reason household cleaners fail here is worth understanding. Most glass cleaners, furniture sprays, and multi-surface products contain silicone, wax, or lanolin as a streak-reducer or conditioner. Even one wipe leaves a microscopic film. Silicone in particular is the leading cause of lifted decal edges: the adhesive grabs in the IPA-cleaned zone and releases at the silicone zone, producing the classic crescent-lift pattern. Once silicone is on a surface it is difficult to fully remove. Always use IPA only.
Other surfaces that need extra care:
- Fresh paint: wait at least 30 days. The solvents in new paint are still off-gassing and will weaken the adhesive bond.
- Powder-coated metal: wipe with IPA and check that the coating is not factory-sealed with a silicone release agent.
- Unsealed timber: seal the timber first. Porous surfaces absorb adhesive unevenly and lift at the grain lines.
Temperature and Light (What Most Guides Skip)
The practical temperature window for vinyl decal application is 15 to 30 degrees Celsius, measured at the surface, not the air.
In direct Australian summer sun a dark surface can reach 60 to 70 degrees. At those temperatures a pressure-sensitive adhesive grabs in under two seconds. You cannot slide, reposition, or smooth the decal: it locks before you have finished placing it. Moving into shade is not optional on a hot day. The surface itself must be shaded, not just the person doing the applying.
On the cold end, below roughly 10 degrees Celsius the adhesive stops flowing into surface texture. The decal appears stuck immediately after application but lifts at the edges within days because the bond never fully formed. If you must apply in cold conditions, warm the surface with a hairdryer from 30cm away, apply immediately, and press the edges firmly for a full 10 seconds each.
High humidity above 85% does not stop adhesion but slows the wet-method cure significantly. In humid conditions, extend the waiting time before peeling transfer tape by at least 15 minutes.
The Hinge Method: Alignment Before You Commit
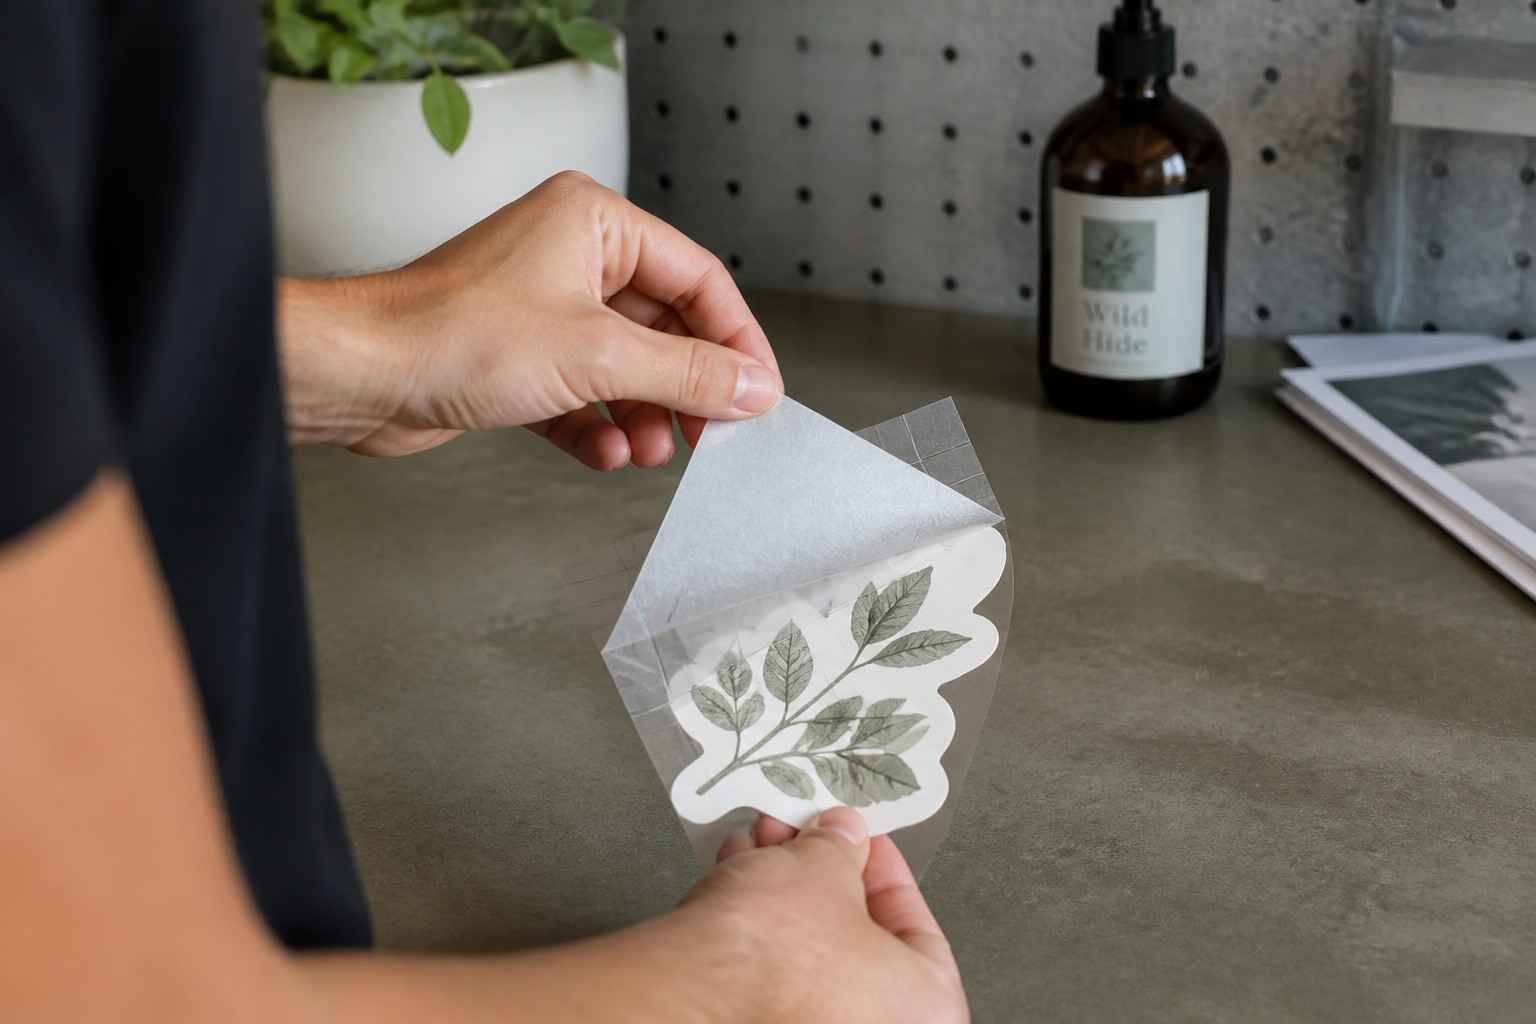
Position the decal (still sandwiched between transfer tape and backing paper) over the target area. Run two strips of masking tape along one edge to form a hinge. This edge is now fixed.
Lift the free side of the decal and peel the backing paper from the hinged side only. Fold the backing paper behind the hinge strip and crease it flat. You now have the adhesive face exposed on one side, held in alignment by the hinge.
Lower the decal from the hinge. It can only move on one axis, so positioning is reliable even for long or text-heavy designs. Begin squeegeeing from the hinge outward, peeling away the remaining backing paper as you advance.
The hinge method works for both dry and wet applications. For the wet method, spray both the adhesive face and the surface before lifting the backing.
Dry Application Method
The dry method is fastest and works best for decals under 300mm in any direction, firm flat surfaces, and applications where repositioning is not needed.
Steps
- Position and hinge the decal as described above.
- Lift the free side, peel the backing paper completely. Hold the decal by the transfer tape face only; do not touch the adhesive.
- Lower the decal from the hinge and squeegee at a 45-degree angle to the surface. Work in firm, overlapping strokes from the hinge outward toward each edge.
- Once the full face is applied, make a second pass over the entire decal with firm pressure.
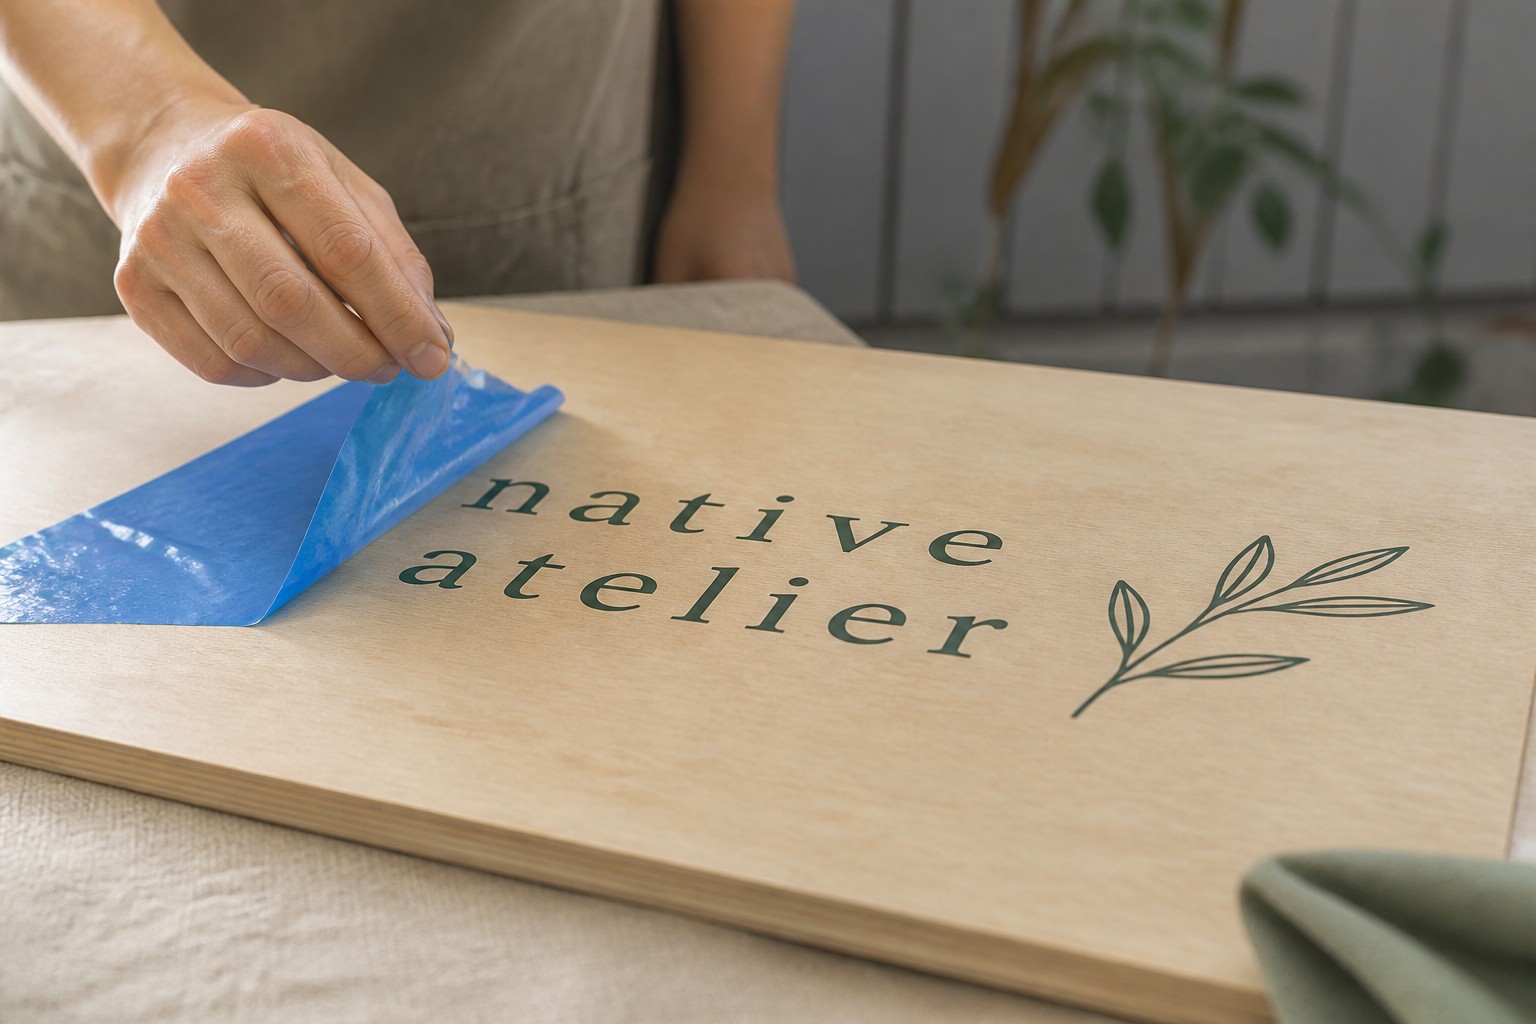
- Peel transfer tape at 180 degrees: fold it back on itself close to the surface rather than pulling it upward. An upward pull creates lift at fine detail areas. If any section of vinyl lifts with the tape, press it back down, wait 60 seconds, and try again.
Wet Application Method
The wet method is better for large decals, curved surfaces, and any application where you need to reposition after laying the decal down. This method is described for standard vinyl decals. The high tack film is applied the way its own instructions say, to a flat surface and pressed down well, with no wet method given for it.
The soap solution is key: add 1 to 2 drops of standard dishwashing liquid to 500ml of water in a spray bottle. The soapy film delays the adhesive from keying immediately, giving you time to slide the decal into position after laying it down. More soap extends this window but delays cure and can leave residue. Do not use detergent concentrate, hand soap, or any product that contains a conditioning agent.
Steps
- Spray the surface and the adhesive face of the decal lightly. Do not saturate.
- Remove the backing paper completely and lay the decal onto the surface. Slide it into position with flat palms. You have roughly 60 seconds to reposition before adhesion begins.
- Squeegee from the centre out in firm, overlapping strokes at 45 degrees to the surface. Work progressively toward each edge. The squeegee is pushing water and air outward; any change in stroke direction traps both.
- Lift one corner of the transfer tape slightly and squeegee the face again from that corner to drive out any remaining water at the edges.
- Wait at least 30 minutes before peeling transfer tape. In cold or very humid conditions, wait 45 minutes. Peel at 180 degrees, close to the surface.

Squeegee Angle and Pressure
Hold the squeegee at 45 degrees to the surface, never perpendicular. A 90-degree angle digs the edge into the film and can scratch both the vinyl and the substrate beneath it.
Apply firm, consistent pressure. On smooth glass or coated steel, reasonably firm strokes work well. On textured surfaces such as embossed powder coat, use lighter pressure and more passes: heavy pressure on texture presses the vinyl into pits without removing the trapped air.
Direction matters. Always move from the centre of the decal toward an edge. Squeegeeing from one edge straight to the other pushes air toward the centre with no escape route.
Cure Period
After application the adhesive is still flowing into the microscopic peaks and valleys of the surface. The decal looks fixed but the bond continues to strengthen.
For White Matte Vinyl, allow 24 hours before any water exposure and 72 hours before pressure washing or prolonged submersion. Do not rub the edges, apply cleaning products, or attempt to peel and reapply during this window.
In Australian summer conditions (high UV, high ambient temperature) cure is faster. In winter, especially below 15 degrees, cure takes longer. If the decal will be exposed to rain within 24 hours of application, plan the job for a different day if possible.
Troubleshooting
Bubbles after application
Small bubbles under 5mm will usually disappear within 24 hours as the adhesive continues to key in. Leave them.
Bubbles over 5mm: pierce at a 45-degree angle with a fine pin (not straight in), then press flat from the centre of the bubble toward the pin hole.
A cluster of small bubbles that does not disappear after 24 hours usually indicates silicone contamination beneath the decal. The section needs to be lifted, the surface re-cleaned with IPA, and a replacement decal applied if the vinyl is no longer pliable.
Lifted edges
Common causes are surface contamination (silicone, wax, or moisture), application below 10 degrees, or insufficient squeegee pressure at the perimeter.
Fix: lift the edge gently and wipe the surface beneath with IPA. Wait 30 seconds, press the edge back down, and apply heat from a hairdryer at 30cm distance for 10 to 15 seconds. Then firm pressure for a full 10 seconds.
If edges continue to lift, the surface may not be compatible with pressure-sensitive adhesive: freshly painted surfaces, powder coat with a silicone release agent, and unsealed porous timber are the most common problem substrates.
Decal tore on removal from backing paper
Causes: cold vinyl (stored below 10 degrees), old stock, or the adhesive bonding to the backing in high heat before application.
Prevention: store decals at room temperature. Before peeling, flex the decal gently in both directions to break the perimeter seal. For large decals, start peeling from a corner rather than an edge centre.
Recovery: realign the torn section as closely as possible and apply firmly. The join will be visible under close inspection but is often acceptable at reading distance.
Transfer tape will not release
For dry applications: the adhesive has not had enough time to key in. Wait 10 minutes and try again. Light heat from a hairdryer at 30cm warms the adhesive, helping it release the tape while remaining bonded to the surface.
For wet applications: the soap solution is still wet beneath the film. Wait a full 30 to 45 minutes before trying again. If the transfer tape is pulling the vinyl cleanly off the surface, the adhesive has failed: re-clean with IPA and reapply a replacement decal.
Applying Vinyl Decals to Cars
Vehicles introduce additional variables: wax removal, curved panels, heat near exhaust outlets, and pressure-wash durability. A companion article covers the complete process for applying vinyl decals to cars specifically. Keep that guide handy if your application is automotive.
Ordering Vinyl Decals
Vinyl Stickers from Paperlust Print Shop are printed on White Matte Vinyl with an optional laminate for outdoor UV resistance. Sizes range from 30mm x 30mm up to 295mm x 425mm, with a minimum of 10 per design. Pricing starts at $0.76 each at 50, falling to $0.09 each at 5,000.
For applications larger than 295mm x 425mm, Large Format Stickers use Monomeric Vinyl in three sizes: 600 x 200mm, 600 x 900mm, and 200 x 200mm. They are available in White Vinyl, Hi-Tack White Vinyl, and Clear Vinyl, with die-cut shapes available. The same high tack film comes in small sizes too, with nine presets from 30 x 30 mm to 120 x 120 mm ordered as high tack stickers.
Frequently Asked Questions
Can I apply a vinyl decal to a textured surface?
A standard vinyl decal wants a smooth surface, so it is not the right choice for coarse texture. For brick, smooth concrete or patterned tile, use High Tack Stickers. Apply them to a flat surface above 10 degrees Celsius and press the film down well. On rough surfaces the deepest crevices must be under 3 mm. If the surface is rougher than that or outside this list, contact us first.
How long does a vinyl decal take to cure fully?
Allow 24 hours before water exposure and 72 hours before pressure washing. The bond continues to strengthen for up to a week in normal Australian conditions.
Can I remove and reapply a vinyl decal?
Pressure-sensitive vinyl decals are removable but not designed for multiple reapplications. The adhesive weakens after each removal, and the vinyl can stretch during the first removal, making precise realignment difficult.
What is transfer tape?
Transfer tape (also called application tape) is the clear or semi-opaque film that holds the decal in position after the backing paper is removed. It keeps letters and design elements aligned during application and peels away once the decal has bonded to the surface.
Can I use a credit card instead of a squeegee?
A credit card works for small decals on smooth surfaces but is narrow and requires many more passes. The edge of a credit card can also crease soft vinyl films. A plastic squeegee with a rounded edge applies even pressure across a wider area with fewer passes.
How long do vinyl decals last outdoors?
White Matte Vinyl without a laminate typically lasts 2 to 3 years in Australian UV conditions. With a gloss or matte laminate, outdoor life extends to 4 to 6 years depending on exposure. Direct north-facing sun shortens this; shaded south-facing positions extend it.
At what temperature should I apply a vinyl decal?
The practical window is 15 to 30 degrees Celsius, measured at the surface. Below 10 degrees the adhesive does not key properly. Above 35 degrees, or in direct sun at any temperature, the adhesive grabs too fast for accurate placement.
What causes a white haze on the surface after application?
A white haze after peeling transfer tape is usually soap residue from the wet application method. Wipe the surface gently with a clean damp cloth after the 24-hour cure period. If the haze persists, a light wipe with IPA should clear it without affecting the decal.