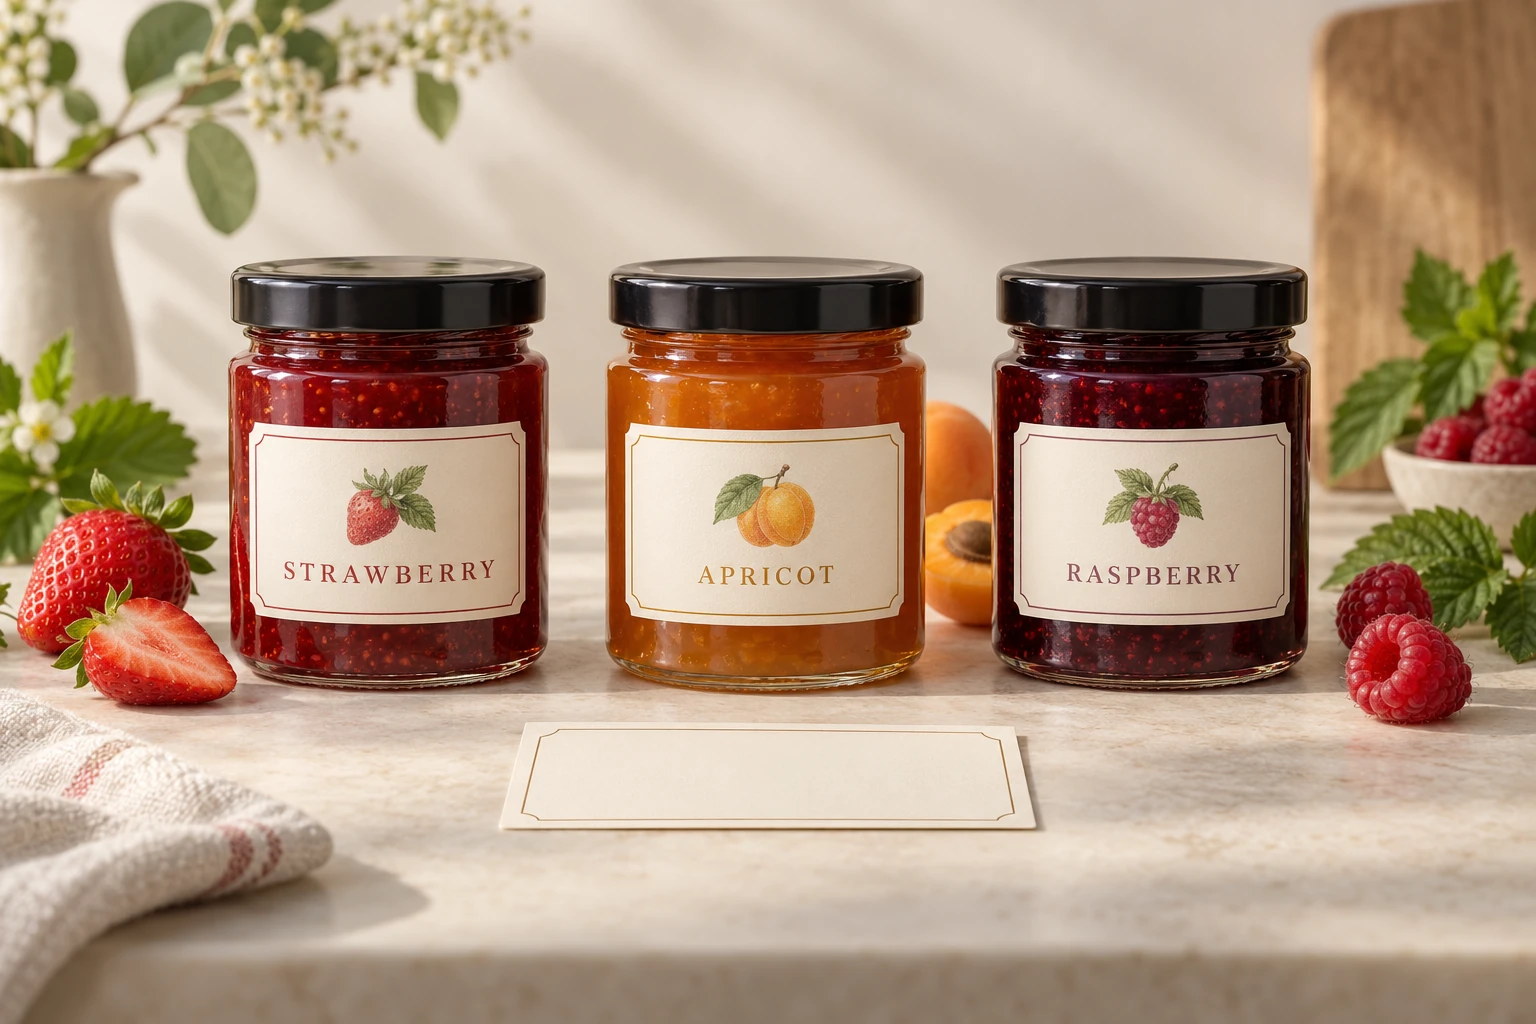
The honey looks right in the jar, but the label plan falls apart the moment you try to fit a strong brand mark, a clear flavour name and all the product detail onto one small panel. Honey and jam jar labels work better when you split the job across the surfaces people actually see: the front facing the shelf, the lid visible from above, and the back that carries maker-approved product information. At Paperlust Print Shop, custom honey and jam labels are printed one up, die cut and supplied on rolls of 500, with up to five designs in one order on their own rolls.
Decide what each panel is for
A label layout is a reading order. On a market table or shop shelf, the front is the first thing a buyer sees; the lid is what they see looking down into a box of mixed jars; the back is where they look after they have picked the jar up. If your range spreads beyond honey and jam into sauces, spreads or dry pantry goods, the broader jar labels range carries the same core shapes and stock logic.
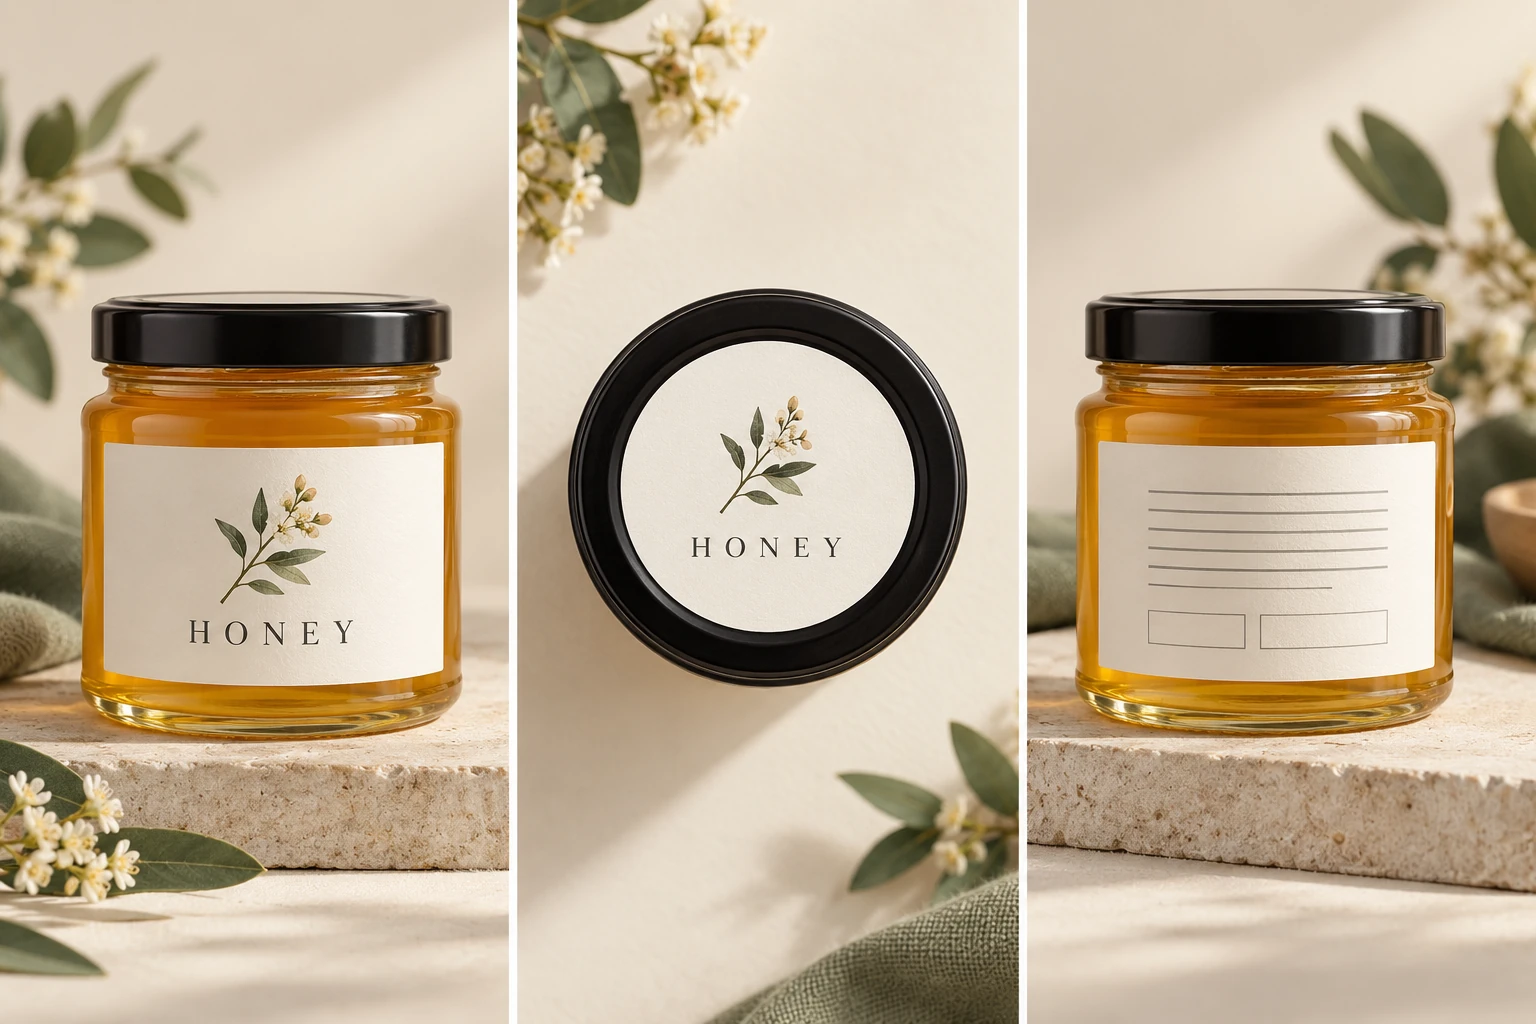
Front label: product identity
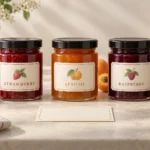
The front label is the product identity panel. It is the place for the maker or brand, the product name and the visual style that tells the buyer what kind of honey or jam this is. Keep this panel clear enough to read at arm’s length.
Lid label: quick flavour recognition
The lid label does not replace the front and it is not a security or tamper device. Its job is quick flavour recognition. When jars are stacked in a crate or displayed with only the lids visible, a small round label with the flavour name or colour cue helps the buyer find strawberry jam or orange blossom honey without pulling every jar out.
Back label: maker-approved product information
The back panel is the natural place for longer maker-approved details such as ingredients, batch or date details, storage notes and contact information. It is a layout hierarchy, not a legal assignment. Some required food labelling has placement or prominence rules, so confirm the exact wording and position for your product before final artwork.
Three layout plans
The plans below are written for one product variant, meaning one product with one jar size and one label set. If the same front or back artwork is reused across flavours, that reuse only works when the printed text is genuinely identical.
Front and back
Use this when the front carries the product identity and the lid stays unprinted, or when you do not need flavour-specific lid labels. The buyer reads the brand on the front, then turns the jar for ingredients and maker details. The longer maker-approved copy moves to the back, so the front stays clean. For one variant, this is two designs: one front and one back, each on its own 500-label roll.
Front, lid and back
This is the useful range plan. The front carries product identity, the lid carries quick flavour recognition, and the back carries the information panel. For one product variant, this is three designs: front, lid and back. If you have three flavours and each panel has different printed text, the job is usually nine designs, not three.
Wrap and lid
A wrap label combines the front and back roles into one body label and is useful when you need more continuous space for copy, or when a single die-cut rectangle or custom shape wraps around the jar. The lid still carries the quick flavour cue. The wrap needs a clean seam gap, so the paper fit check matters before you commit. For one variant, this plan is two designs: wrap and lid.
Match the stock to how the jar is handled
Choose stock around the jar’s real life. White Cast Paper with Matte Laminate or Gloss Laminate suits jars that stay dry on a pantry shelf. White Synthetic with Matte Laminate or Gloss Laminate is the waterproof stock for jars that get sticky, wiped down or kept in the fridge. Clear Synthetic with Gloss Varnish gives a no-label look on glass, and white ink underprinting can form white printed areas or sit beneath coloured areas. This is a transparent film, not clear PVC. For a deeper stock comparison across wet and dry jar products, see the jar, candle and food label printing guide.
Do the paper fit check before artwork
Measure the actual jar you will fill and label. Capacity in millilitres or grams does not tell you the panel width or height. For a cylindrical jar with a straight labelling zone, measure the circumference with a paper strip or soft tape, then choose a seam gap. The wrap width is the measured circumference minus that gap. Tapered, ribbed or shouldered jars need a paper fit test. The bottle and jar label sizing guide includes a printable ruler with a 100mm calibration line; print it actual size or 100% and verify the line against a physical ruler. Apply the label to a clean, dry container and follow the supplier’s dwell guidance before the jar is wet or handled.
Count labels correctly
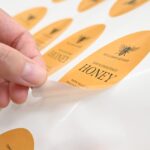
Roll labels from the Honey and Jam Labels page are supplied one up, die cut and in rolls of 500 labels. The minimum is one roll of 500 per design and per size. A total of 1500 labels across three designs of 500 each does meet those minimums, but a total figure on its own only works when every design and size reaches its own 500-label roll.
Suppose one product variant has 500 jars and uses a front, lid and back design. That is 500 front labels, 500 lid labels and 500 back labels, or 1500 labels in total. You would set up three designs, each as a 500-label roll. If a second flavour needs different lid and back text while the front stays truly identical, the front design can be shared, but the new lid and back designs still need their own rolls.
| Panel | Design example | Illustrative quantity | Roll requirement | What to watch |
|---|---|---|---|---|
| Front | Brand identity | 500 | One 500-label roll | Fits the visible panel without wrapping the shoulder |
| Lid | Flavour cue | 500 | One 500-label roll | Small text stays legible at a glance |
| Back | Maker-approved information | 500 | One 500-label roll | Declared details match approved artwork |
These quantities are a planning example only, not a customer result. Price each selected configuration on the live product page.
Keep flavour variants consistent
Flavour ranges are easiest to produce when the label system stays fixed and only the variable details change. Give each panel its own identifier and filename, and record the shape, finished width and height in millimetres, material, finish, quantity, version and proof status. Example only: one product variant’s three panels might be saved as orange_blossom_front_v1.pdf, orange_blossom_lid_v2.pdf and orange_blossom_back_v2.pdf. Those filenames describe the panels of one variant, not three variants.
The multi-flavour artwork workflow applies the same version control thinking across several product variants. There is no automatic per-label variable data in the standard roll route, so ask the team if each label must carry different printed details before you build artwork. Store the approved files, version and quote reference together so the next batch uses the same proof history.
Proof and regulatory check
Upload artwork with a 3mm bleed as shown on the Honey and Jam Labels page. Document size, finished trim, bleed and safe area are separate settings, so follow the artwork requirements on the product page and ask the team for a matching guide for your chosen shape and size. The emailed proof checks layout, text and declared dimensions. It is not a physical colour, adhesion or stock sample, and proof approval is not regulatory approval.
If the labels are for a food product such as honey or jam, route your wording through the FSANZ business labelling guidance. Confirm the requirements for your actual product before final artwork, because example label text in a planning article is never a legal template. Production takes 48 hours after proof approval, separate from delivery.
Frequently asked questions
Can I put different flavours on one roll?
No. Each design and size has its own 500-label roll minimum. A total figure alone is not enough; every design and size must reach its own roll.
Is a lid label a tamper seal?
No. A lid label is for quick flavour recognition. It does not replace a tamper or security seal.
Do I need to measure the jar before artwork?
Yes, on the actual container. Capacity does not give panel dimensions. Use a paper strip or soft tape for a straight cylindrical zone and check any taper with a paper fit test.
Does the proof confirm colour and adhesion?
No. The emailed proof checks layout, text and declared dimensions. Physical colour, adhesion and stock behaviour need a material sample or test on your actual container.
Are the example label texts legally complete?
No. The layout plans show roles only. For food, confirm wording and placement against FSANZ guidance before final artwork.