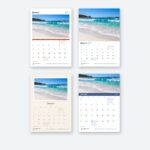
The committee drive holds a folder of photos, and no one is sure how to turn them into money. Fundraising calendars solve that because the product is already familiar: 13 photos, twelve months, and a place on the wall, hung on a nail or hook.
This guide steps through the practical decisions: whether the calendar suits your group, planning the 13 photos, giving sponsors a footer, quantity and the cost per calendar, setting a selling price, and the timeline from photos to proof to hand out.
The short version
- A wall calendar takes 13 photos: a cover and one for each month, January to December.
- The smallest order is 25 calendars, with quantity options up to 1000.
- The footer on every month page and the cover takes one logo and one details line.
- The cost per calendar is the product page total for the quantity divided by that quantity.
- Money raised is the number sold times the selling price, minus the order total.
- A PDF proof arrives by email before anything prints.
Deciding if fundraising calendars fit your group
A fundraising calendar works when the group has a natural audience and photos it can use. Schools, sports clubs, community groups and charities all sell them to families and supporters who already know the cause.
Before anything else, settle permission. Every photo needs approval from the person who took it and, where children appear, from the school or club under its own photo rules. Do not skip this step just because the photo lives on a committee member’s phone.
Pre-orders answer the next question. Ask families and members to commit before you choose a quantity, and tell supporters what the money raised will pay for. One volunteer should own the product page order, another should collect the money, and one more should hand out the calendars. A charity calendar follows the same pre-order step.
Planning the 13 photos for the wall calendar
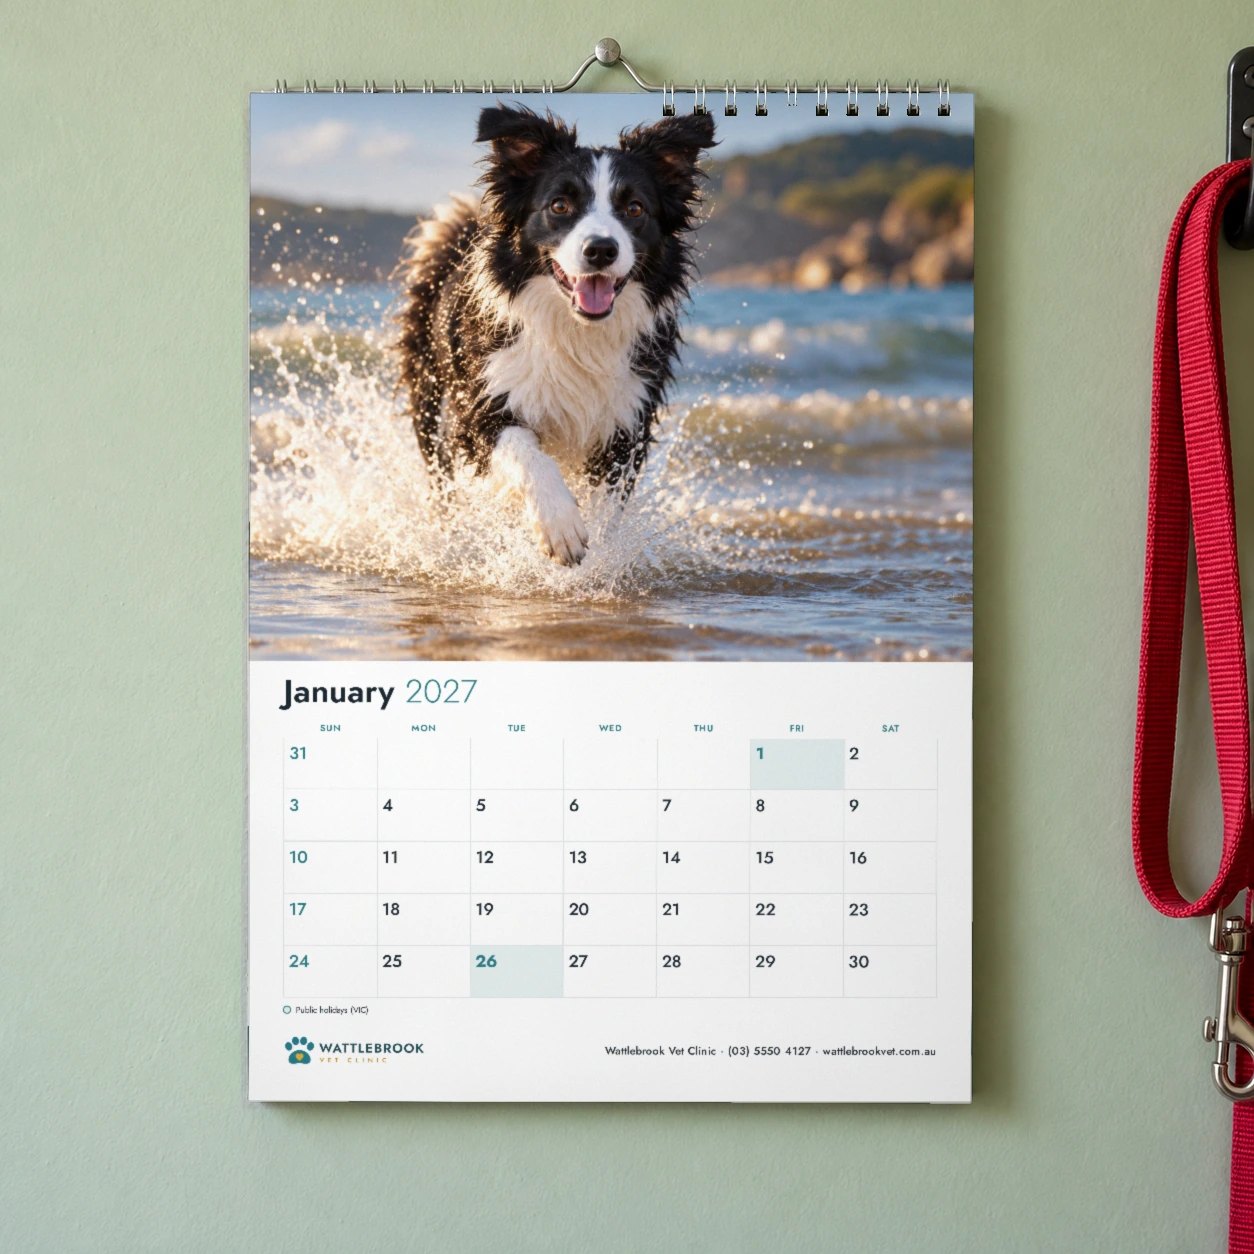
A wall calendar uses 13 photos in total. One becomes the cover. The other twelve sit on each month page, January through to December.
Landscape photos suit the month pages. Full size photos straight from a phone or camera print well, so resist the urge to use a small image saved from social media. The team checks every photo’s resolution before the proof and flags any image that will print soft.
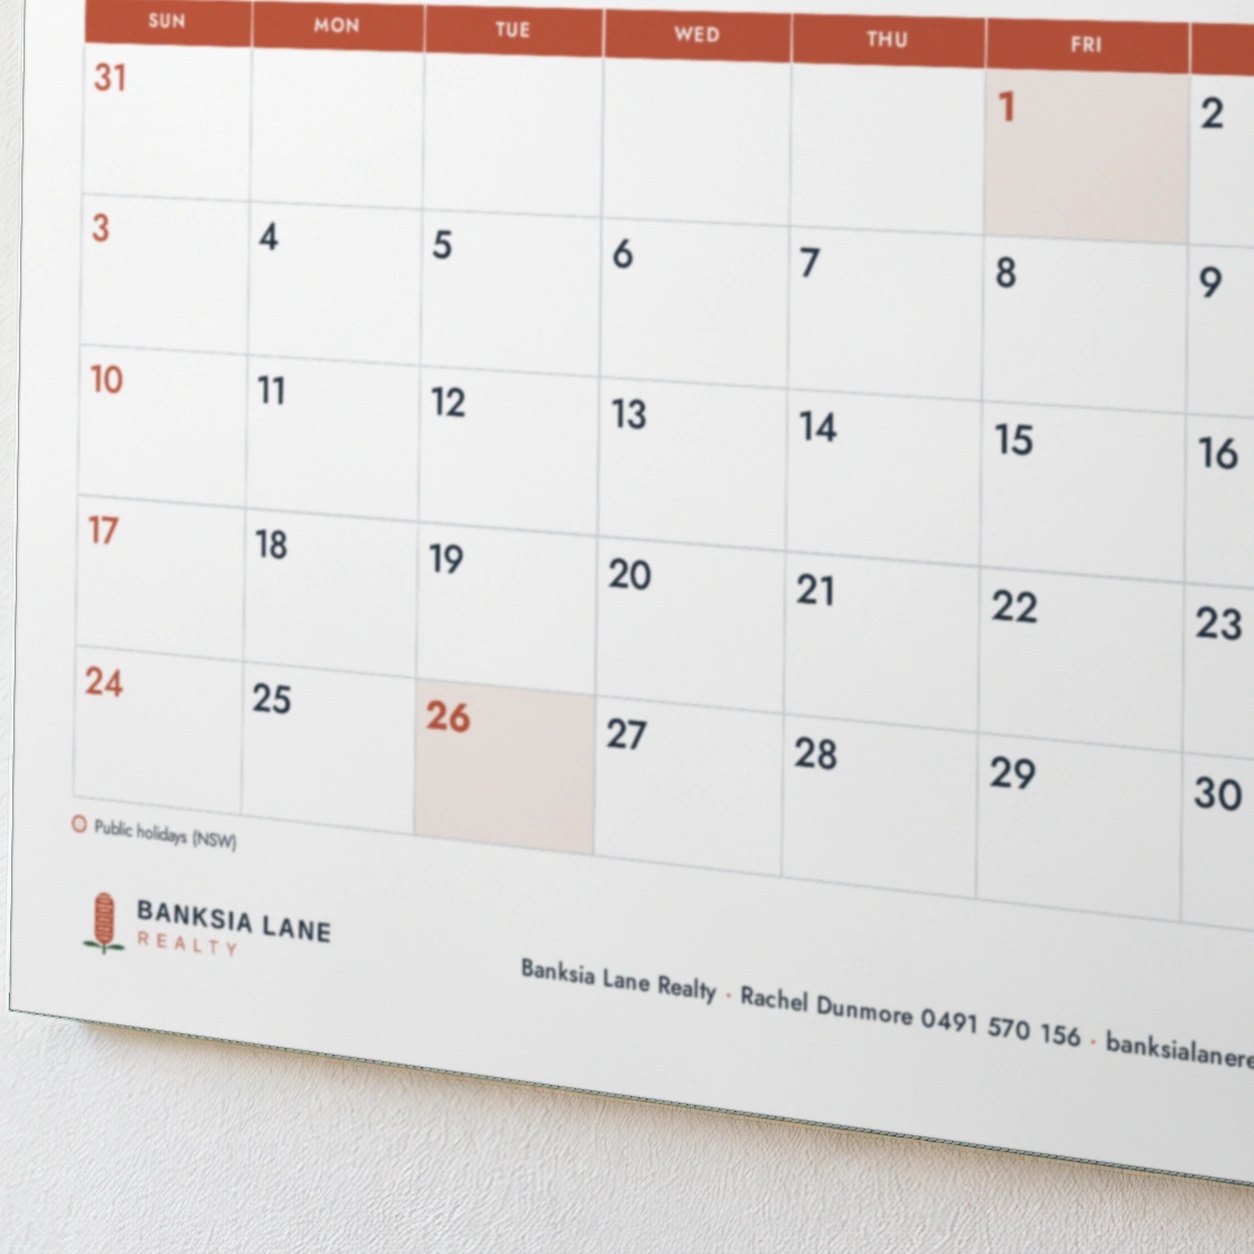
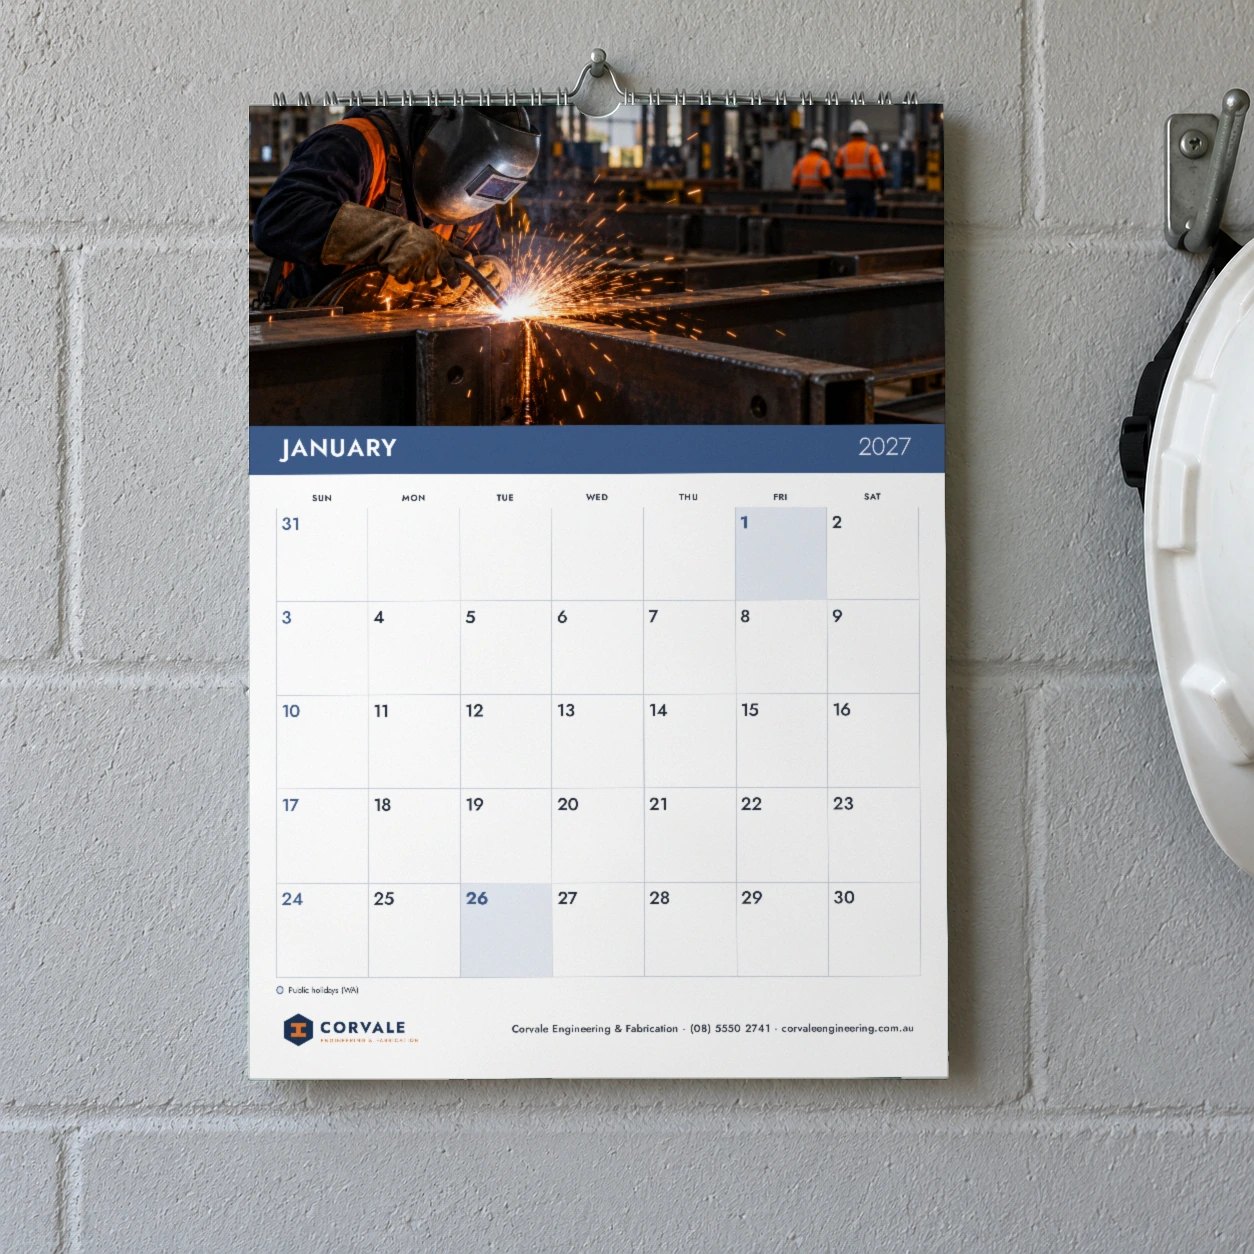
Match each photo to the month it lands on. A winter game looks right in July, while a swimming carnival belongs in the summer pages. You also pick one state or territory for the public holidays, and the grids mark that state’s state wide public holidays for 2027 from the Fair Work Ombudsman list. The wall calendar shows a key on each page.
Name the files cover, then January to December or 01 to 12, so each one lands on the correct page. Add a logo in the same upload as a file named logo. At the Upload Artwork step, upload one ZIP file or paste a shared folder link in the details box. The wall calendars product page shows the layouts by name: Classic layout, Full bleed layout, Framed layout and Planner layout. The Planner layout gives the largest day boxes, with room to write appointments.
Working sponsors into the footer
Sponsors get one simple place to appear. A logo and one details line print in the footer of every month page and the cover.
This is the practical way to share the credit. One main sponsor can take the logo, while other sponsors share the details line. If no outside sponsor is involved, the school crest or club logo goes in the logo position instead.
Leave both the logo and the details line out, and the photo and day grid keep the full space. That same rule helps you pitch it to a local business: one clear spot, repeated across the whole calendar, without extra design work for the committee.
Quantity and cost per calendar
The product page prices every quantity as you choose the options, so you do not need to estimate a unit price from a past order. The total updates on the page for the quantity you select.
Choose the quantity the pre-orders support. Quantity options are 25, 50, 100, 250, 500 and 1000. The cost per calendar is the page total for that quantity divided by the quantity. At larger quantities the price per calendar is lower, but the order total is higher because you are buying more calendars.
Use the letters below to keep the numbers straight without putting a price into the plan.
| Letter | What it stands for | Where it comes from |
|---|---|---|
| Q | Quantity ordered | One of the quantity options on the product page |
| T | Order total | The product page total for the quantity |
| C | Cost per calendar | T divided by Q |
| S | Selling price | Set by the group |
| N | Number of calendars sold | Counted after sales begin |
Work out C first. Then agree on S, and the committee has a clear number to test against what families actually committed to buy.
Setting a selling price with the letters
Keep the pricing decision on paper before you spend anything. Q is the quantity ordered. T is the order total shown on the product page for that quantity. C is T divided by Q, so C is the cost per calendar.
S is the selling price the group sets. N is the number of calendars sold. Money raised is N times S, minus T. The group covers the order total once N times S reaches T. So N has to be at least T divided by S.
That break even point is your first decision. If the required N feels high, the committee can raise S, lower Q, or slow down until more pre-orders are in. The formula does not tell you what to charge. It tells you what has to happen for the order to pay for itself.
School fundraising ideas from photos to proof to hand out
The order moves in a practical sequence. Send the photos, choose the layout and public holiday state, and finish the checkout details. A PDF proof arrives before anything prints, and nothing prints until you approve the proof. Check the photo order, sponsor logo, details line, month grids, public holiday key and cover before you approve it.
At checkout, write the date the calendars are needed in the Special Request box. The product page lists the current production and delivery details for the options you choose, and the clock starts when the proof is approved.
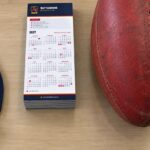
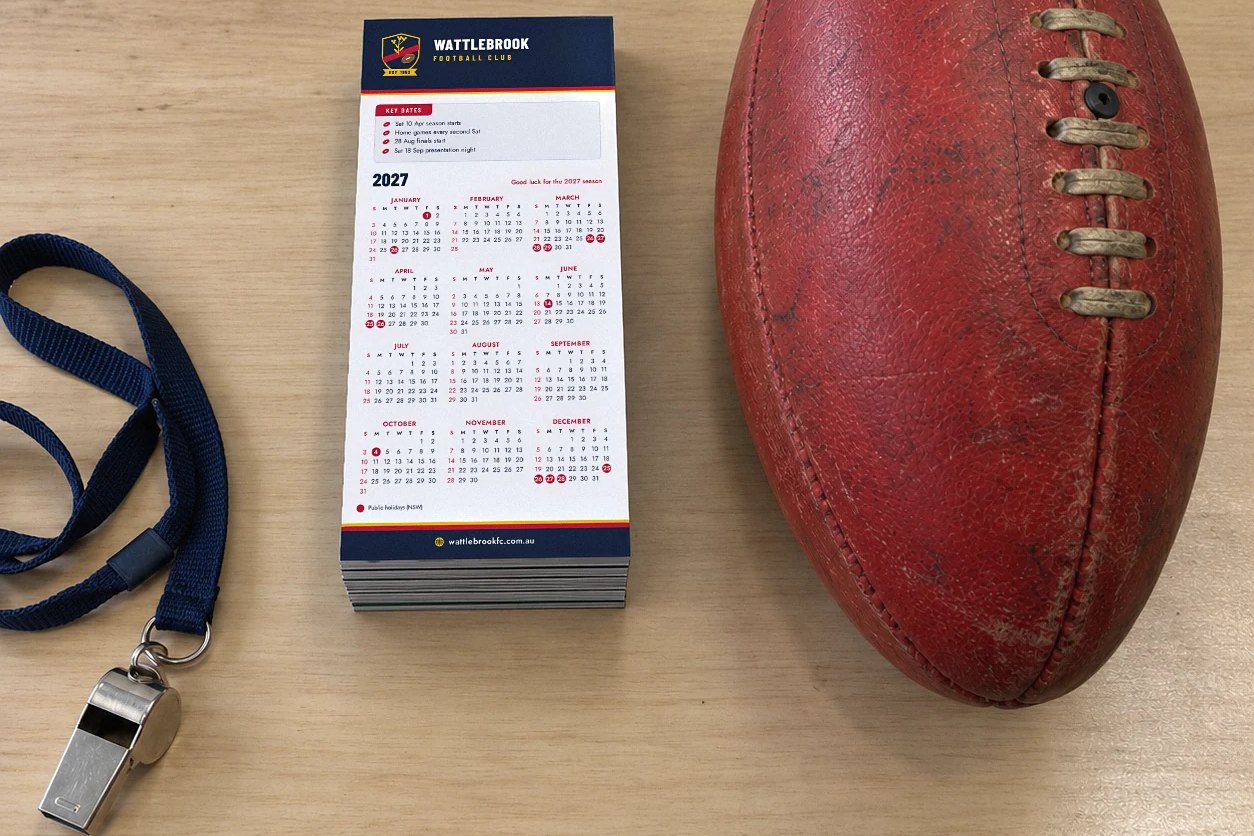
If the main job is getting key dates in front of families all year, fridge magnet calendars are the other option. The Club or school layout holds a crest, club or school name and a box of key dates such as season start, finals, presentation night and term dates. It holds on surfaces that attract a magnet, such as painted steel fridge doors, filing cabinets and magnetic whiteboards. Some stainless steel fridge doors do not attract a magnet, so test the door with a magnet first.
For a wider set of school fundraising ideas, a school committee planning a fete or colour run can use the school and community fundraising print kit for signs, flyers, posters and corflute signs. For sports club fundraising, the same group can pair the calendar with banners, sponsor signage and member print from the sports club season print kit. If the group is running a gala, the charity fundraiser print kit covers that kind of event. For a wider comparison of how these printed calendars work, start with the calendar printing in Australia guide, then open the printed calendars category page to see what is available.
Frequently asked questions
How many photos does a fundraising calendar need?
A wall calendar takes 13 photos. One photo becomes the cover, and one photo sits on each month page, January through to December. Name the files cover, then January to December or 01 to 12, so each image lands on the right page. Upload them in one ZIP file at the Upload Artwork step, or paste a shared folder link in the details box. Landscape photos suit the month pages, and full size photos straight from a phone or camera print well.
Can each sponsor have its own logo?
The footer on a wall calendar has one logo and one details line, and it repeats on every month page and the cover. Each sponsor cannot have a separate logo in that space. One main sponsor can take the logo, and the other sponsors can share the details line. If the group has no outside sponsor, the school crest or club logo can go in the logo position instead. Leave both fields out and the photo and grid keep the full space.
How many calendars should we order?
Start with pre-orders from families and members. The wall calendar quantity options are 25, 50, 100, 250, 500 and 1000, and the smallest order is 25. Choose the quantity the pre-orders support rather than a number the committee hopes to sell. The cost per calendar is the total shown on the product page for that quantity divided by the quantity. The price per calendar is lower at larger quantities. Agree who collects the money and hands out the calendars before you order.
When do we need to order to sell before Christmas?
The production clock starts when you approve the PDF proof. The product page lists the current production and delivery details for the options you choose. At checkout, write the date the calendars are needed in the Special Request box. To sell before Christmas, work back from your hand out date and let that page, not a past order, give you the timing.
Do we see the calendar before it prints?
Yes. Every calendar order gets a PDF proof by email before printing, and nothing prints until you approve the proof. Check the proof carefully: the photo order, the sponsor logo and details line, the month grids, the public holiday key and the cover. The team also checks every photo’s resolution before the proof and flags any image that will print soft. Any change should be requested at the proof stage, before you approve the job.
Can we make a fridge calendar of our key dates instead?
Yes. Fridge magnet calendars print on a DL magnet, 99 x 210mm portrait, with a full magnet back and a full colour front under gloss or matte laminate. The Club or school layout includes a crest, club or school name and a box of key dates such as season start, finals, presentation night and term dates. It holds on surfaces that attract a magnet, such as painted steel fridge doors, filing cabinets and magnetic whiteboards. Test stainless steel doors with a magnet first.