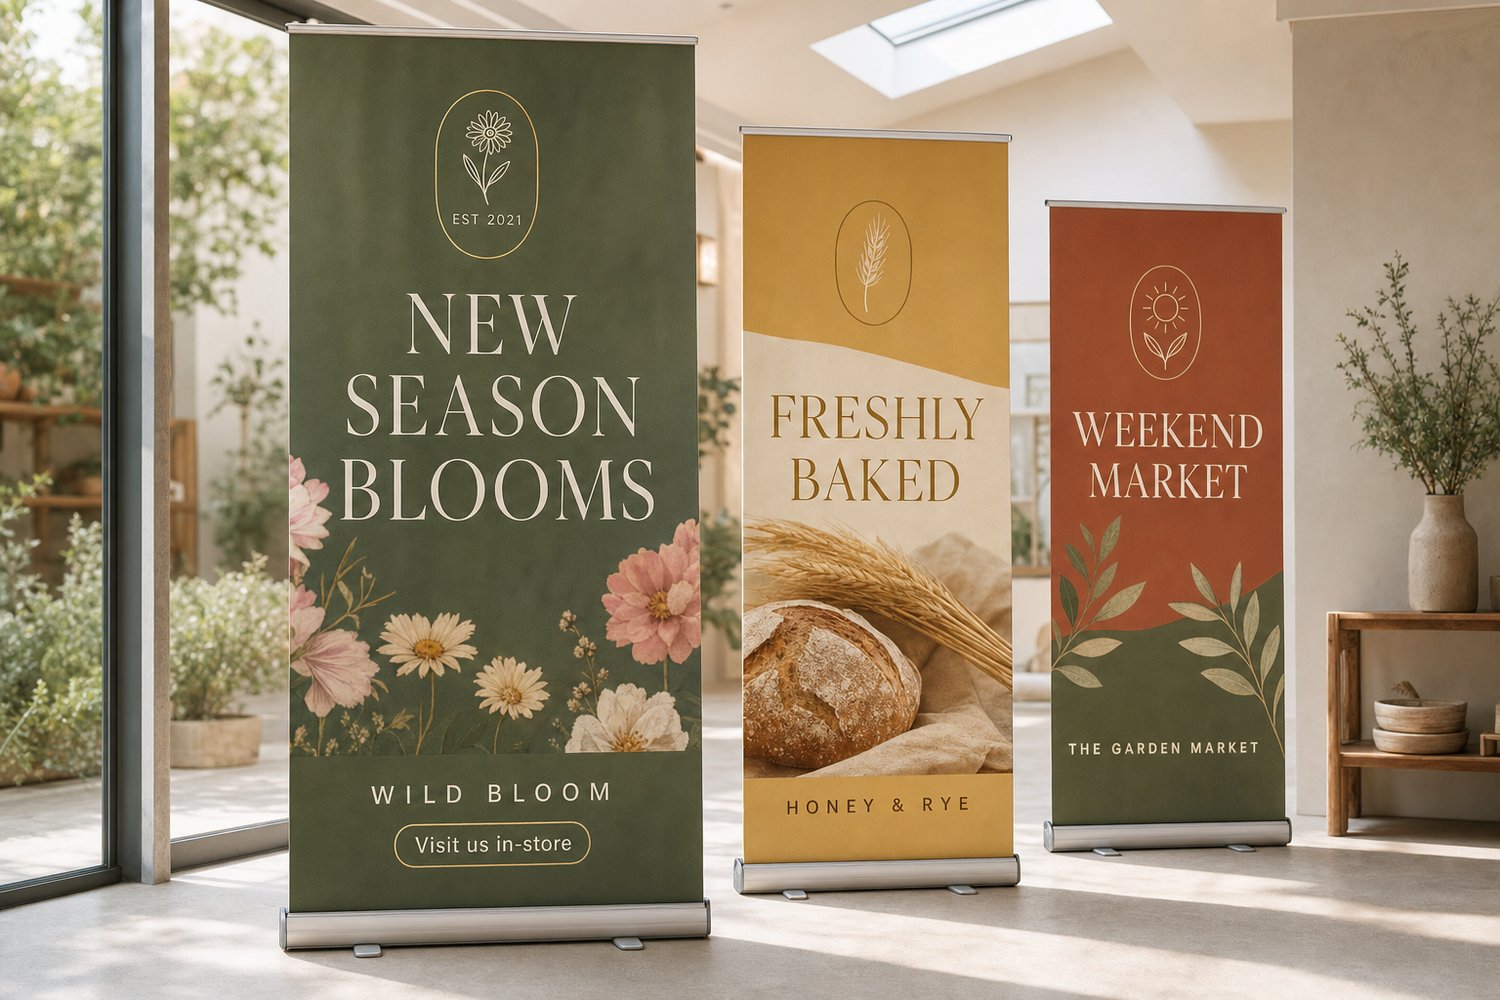
Whether you are ordering a pull-up banner for a trade show, conference, retail display, or school event, getting the artwork right before you send it to print saves time and avoids costly reprints. This guide covers every standard Australian size, the bleed and safe-zone rules that apply to roller banners, and a complete file-prep checklist so your artwork arrives print-ready.
CHEAT SHEET
- The most common Australian pull-up banner size is 850mm wide x 2000mm tall, and it suits most indoor exhibition and retail uses.
- The bottom 100-150mm of your artwork rolls into the cassette and will not be visible, so keep all logos and text above that zone.
- Supply artwork as a print-ready PDF, in CMYK, at 300dpi or higher at final output dimensions.
- Step up to 1000mm or 1200mm wide when you need more display area or are being viewed from a distance.
Standard Pull-Up Banner Sizes in Australia
Australian printers offer a consistent range of standard widths. Height is almost always 2000mm across all sizes, which gives a tall portrait format that reads well from across a room. Here are the common options and where each works best:
| Size (W x H) | Best suited for |
|---|---|
| 850mm x 2000mm | Trade shows, conferences, retail displays, event check-ins |
| 1000mm x 2000mm | Larger booths, foyers, point-of-sale where standout matters |
| 1200mm x 2000mm | Boardrooms, venue entrances, backdrop-style feature displays |
The 850mm width is the most widely stocked hardware size in Australia, which also means replacement panels are easiest to source. If you are not sure, start here.
Custom dimensions may be available for non-standard installations. Contact the supplier directly before preparing artwork to a custom size.
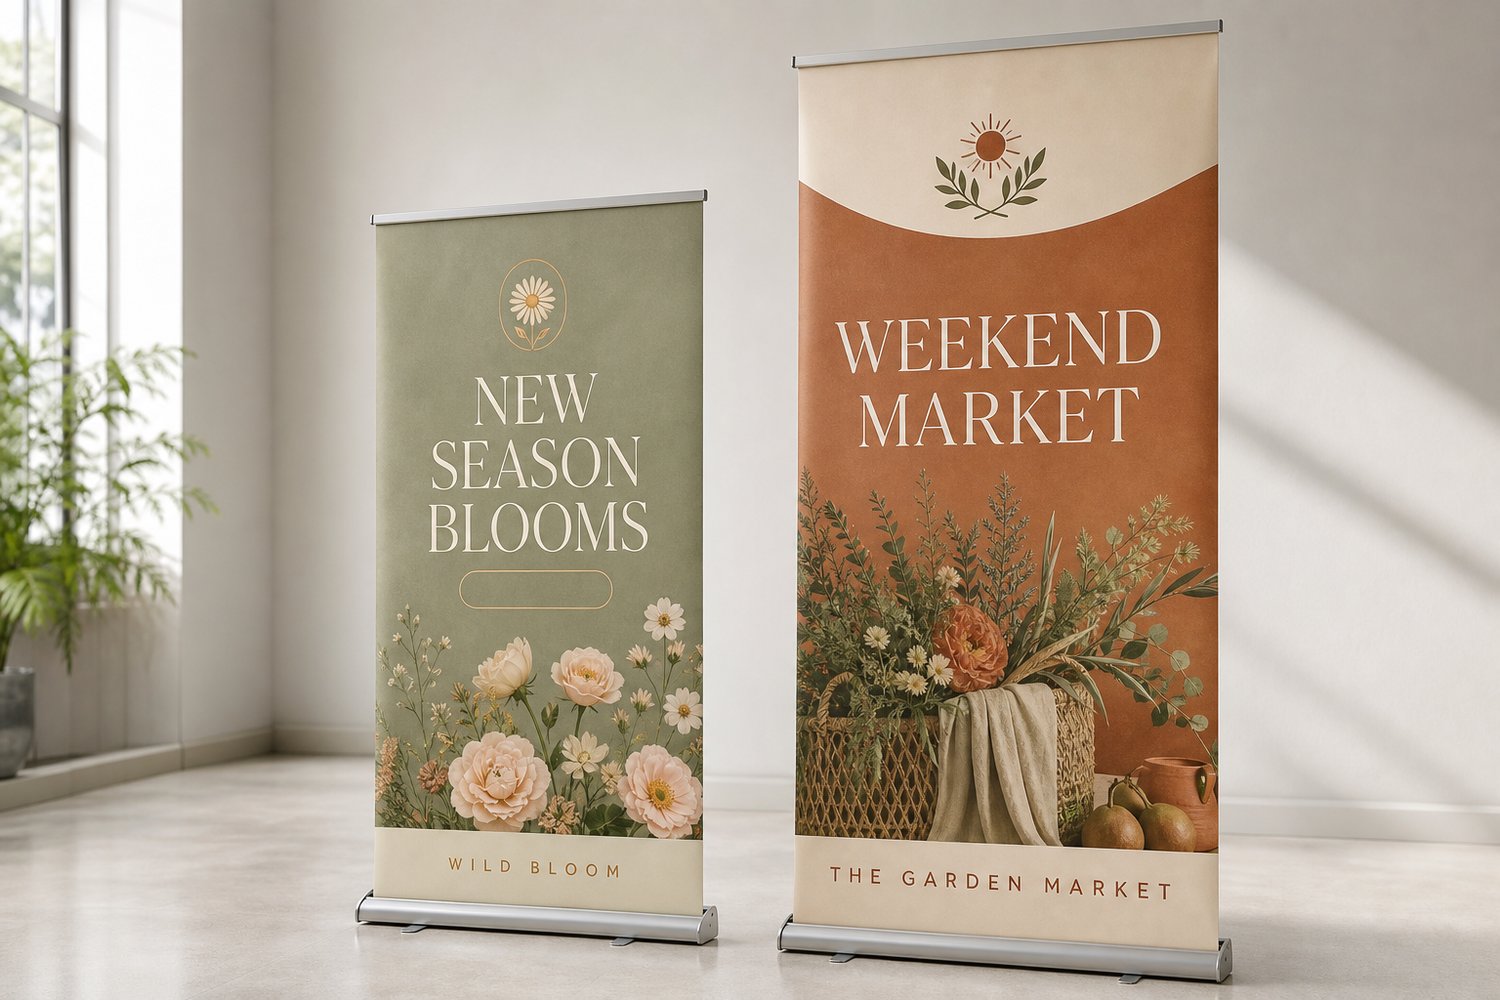
Artwork Dimensions: What Size to Set Up Your File
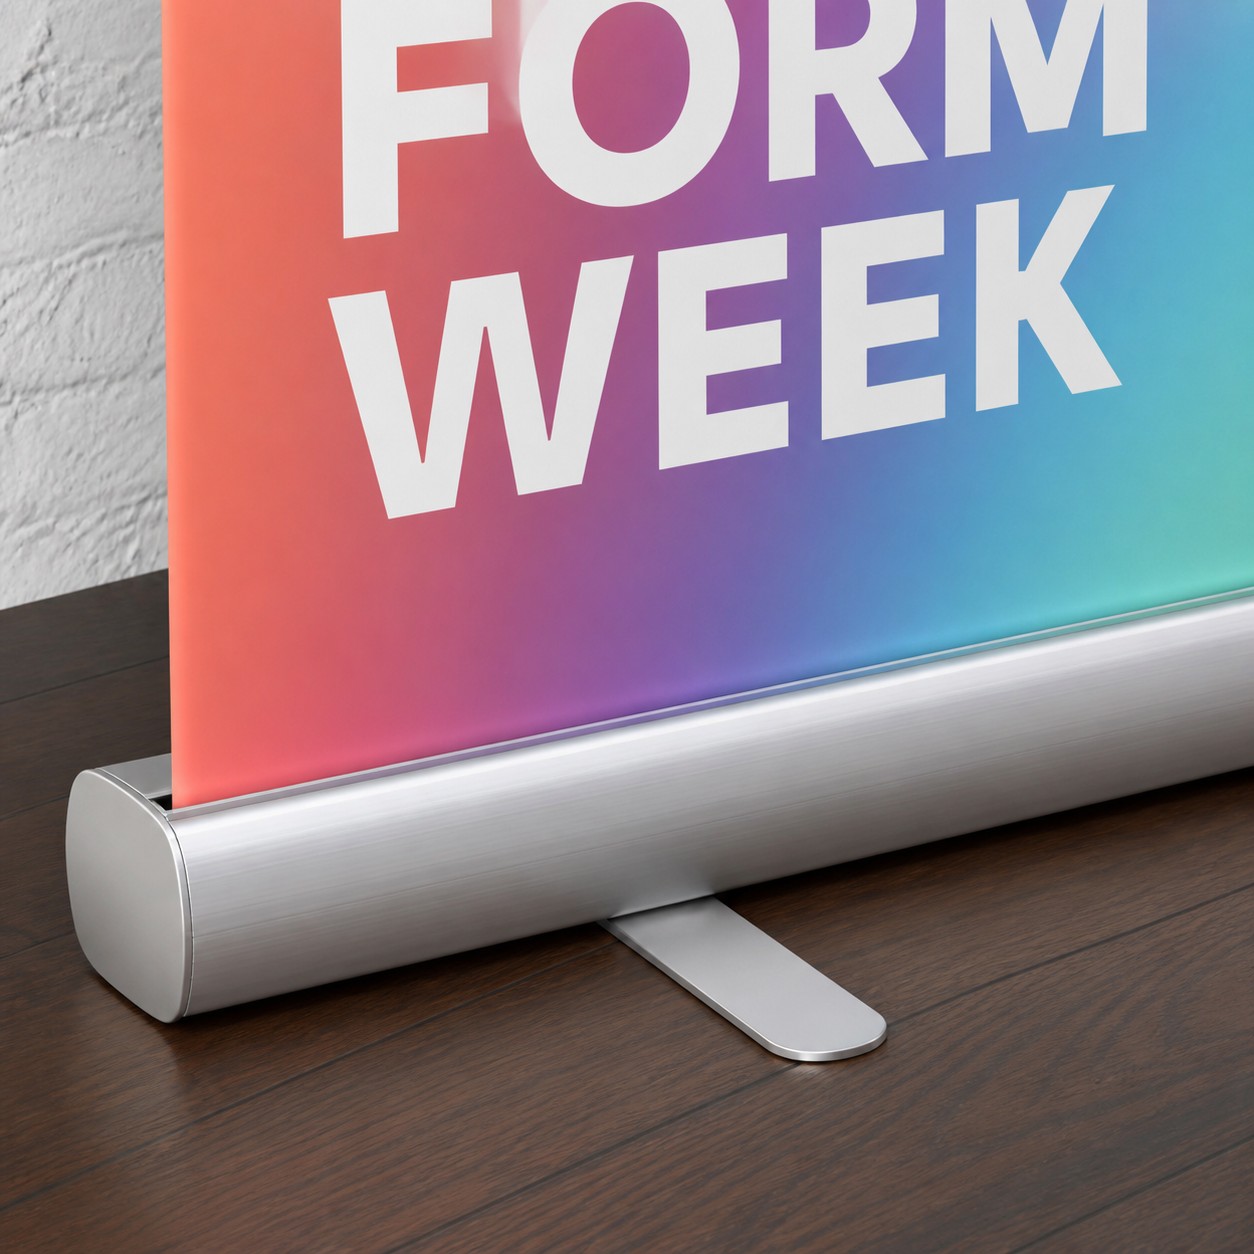
The visible height of a pull-up banner is not the full artwork height. Every roller banner has a cassette at the base that houses the spring mechanism and the bottom portion of the printed panel. This means your artwork file needs to be taller than the finished visible area.
A typical Australian 850mm banner is set up like this:
- Visible printed face: 850mm wide x 2000mm tall
- Extra at the bottom (into cassette): approximately 100-150mm
- Safe zone at the bottom: keep all important content at least 150mm above the finished base edge
- Top and side bleed: 10mm on each remaining edge (ensures background colour reaches the edge with no white slivers)
The practical rule: design your artwork so that anything important sits in the middle-to-upper two-thirds of the panel. Backgrounds, textures, and gradient fills can safely run all the way down into the cassette zone, but no logo, headline, or call to action should be placed there.
Here is a quick-reference setup table:
| Dimension | Value |
|---|---|
| Artwork canvas width | Banner width + 10mm bleed each side |
| Artwork canvas height | 2000mm visible + 10mm top + 100-150mm bottom (cassette) |
| Safe zone bottom | At least 150mm above finished base |
| Safe zone all sides | At least 50mm from trim edge |
For the standard 850mm banner, a typical artwork canvas is approximately 870mm wide x 2115mm tall.
Resolution, Colour Mode, and File Format
Resolution Supply your artwork at 300dpi or higher at the final full output size. This is the specification Paperlust Print Shop uses for premium pull up banners.
If you are working in a design application that makes a 2000mm-tall document feel unwieldy, you can set your canvas at 50% of the finished size and work at 600dpi. The result is mathematically equivalent to 300dpi at full scale. Confirm this with your printer before sending.
Colour mode Set your document to CMYK before you begin designing. RGB colours are converted to CMYK during the ripping process, and the shift can be significant, especially on deep blues, bright oranges, and saturated greens. If you are building artwork to a brand colour system, use CMYK or Pantone references rather than RGB screen values.
File format Supply a print-ready PDF with all fonts converted to outlines (or embedded) and all images embedded rather than linked. Outlined fonts ensure the file is self-contained and avoids substitution errors if the printer does not have your typeface installed.
| Spec | Requirement |
|---|---|
| Resolution | 300dpi or higher at full output size |
| Colour mode | CMYK |
| File format | Print-ready PDF |
| Fonts | Converted to outlines, or embedded |
| Bleed | 3mm minimum on all edges (cassette zone at base counts separately) |
Assembly and Setup: From Box to Standing Banner
Pull-up banners are designed for tool-free setup. The standard assembly sequence for a spring-loaded roller banner is:
Step 1: Open the carry bag and remove components
Most systems include the printed panel (pre-loaded into the cassette), the extending pole, and a carry bag. No tools required.
Step 2: Stand the cassette upright
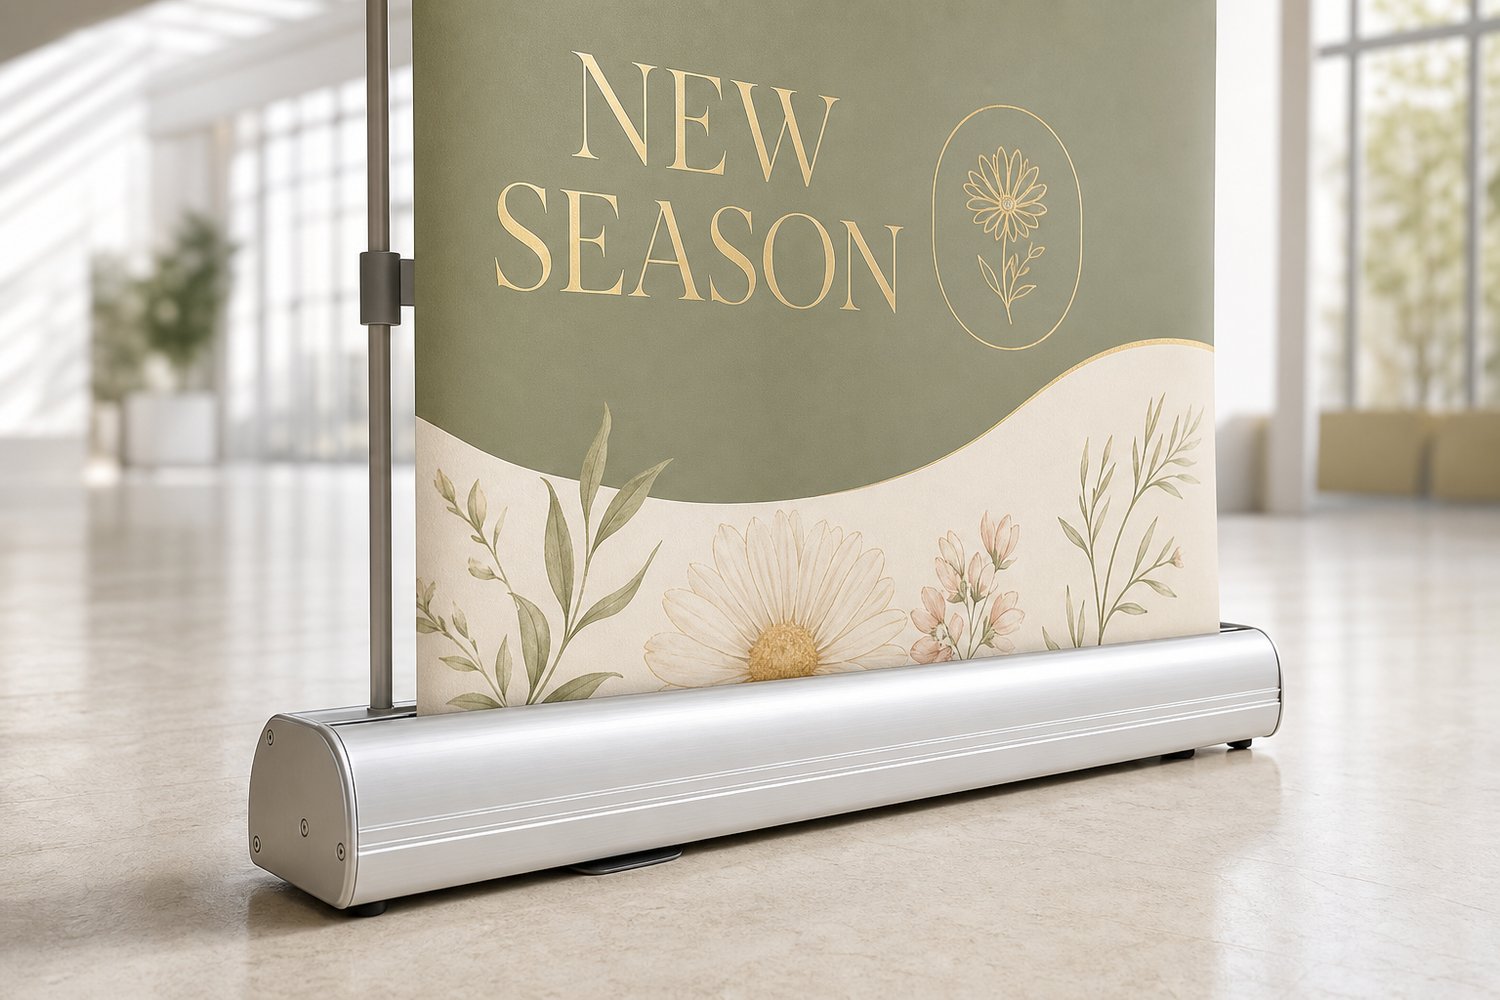
Place the aluminium cassette base on a flat, level surface. The cassette is the wide, weighted base unit that houses the rolled panel.
Step 3: Pull the banner panel upward
Grip the top of the printed panel and draw it upward smoothly. The spring mechanism holds tension as you extend the panel.
Step 4: Attach the pole
Slot the extending support pole into the fitting at the top of the banner. The pole props the top of the panel outward at a slight angle, keeping it taut and straight.
Step 5: Check alignment and tension
The printed face should be flat and wrinkle-free. If the panel is not fully taut, check the pole length adjustment (most poles are telescoping).
Setup from bag to standing typically takes under 60 seconds once you are familiar with the hardware. Pack-down reverses the same steps: release the top fitting, guide the panel back into the cassette as the spring retracts it, and stow the pole in the carry bag.
A note on surface and placement Pull-up banners are rated for indoor use. Placing one in direct wind, even near an open door or air conditioning vent, can topple the banner or stress the pole connection. For outdoor display at events or signage in exposed locations, a vinyl banner with eyelet fixings or frame is a more suitable format.
What Goes Wrong (and How to Avoid It)
The most common artwork errors on pull-up banners are predictable and avoidable:
Content in the cassette zone Placing a phone number, logo, or call to action in the bottom 150mm of the design is the single most common mistake. When the banner is assembled and standing, that content is hidden inside the base. Always place a guide at 150mm from the bottom and keep everything important above it.
RGB artwork submitted as print file CMYK conversion at the RIP stage can shift colours visibly. A cobalt blue logo submitted in RGB can print as a noticeably duller, purple-shifted tone. Convert to CMYK before finalising.
Low-resolution images stretched to full height A photograph that looks sharp at screen size may render soft and pixelated at 2000mm tall. Check your source images at 100% zoom in your layout application at the full artwork dimensions. If an image looks soft at 100% on screen, it will print soft.
Linked rather than embedded files A PDF that references linked images rather than embedding them will either fail to open at the printer, or print with low-resolution proxies in place of the originals. Package or embed everything before exporting.
Ordering Your Pull-Up Banner
Paperlust Print Shop’s premium pull up banners include the aluminium cassette base, extending pole, and carry bag as standard. A digital proof is supplied for review before printing begins, with standard Australian production of 2-5 business days once your artwork is approved.
Supply your artwork as a print-ready PDF at the correct canvas size for your chosen width. Pricing starts from $117.83 inc. GST, with the product page showing current pricing tiers.
If your application calls for a permanent outdoor installation or a larger backdrop format, see vinyl banners for weather-resistant and oversized options.
For wind-exposed outdoor events, also refer to Mesh vs Vinyl Banners: The Right Outdoor Banner for Wind for a direct comparison of materials and fixing methods.
Frequently Asked Questions
What is the standard pull-up banner size in Australia?
The most common pull-up banner size in Australia is 850mm wide x 2000mm tall. This size suits trade shows, conferences, retail environments, and most event display situations. Wider options at 1000mm and 1200mm are available when you need greater visual presence, and all three are offered at Paperlust Print Shop.
How much of the banner is hidden in the cassette?
Typically 100-150mm at the base rolls into the cassette mechanism and is not visible once the banner is assembled. You should treat the bottom 150mm of your artwork as a bleed-only zone and keep all logos, text, and important visual elements above that line. Backgrounds and gradient fills can safely extend into this zone.
What resolution should my pull-up banner artwork be?
Supply your file at 300dpi or higher at the final full output dimensions. If your design software makes working at full scale impractical, you can work at 50% scale at 600dpi, which is the equivalent.
Does it matter if I submit my artwork in RGB?
Yes, it matters. All print production uses CMYK colour, and the conversion from RGB to CMYK changes how colours appear, particularly for saturated blues, greens, and oranges. Convert your document to CMYK in your design application before exporting your final PDF to ensure what you see on screen is as close as possible to the printed result.
What file format should I send for a pull-up banner?
A print-ready PDF is the standard format. Before exporting, convert all fonts to outlines (or embed them) and embed all linked images. This ensures the file is self-contained and will not encounter missing font or image errors at the printer.
Can pull-up banners be used outdoors?
Pull-up banners are designed for indoor use. Outdoor wind exposure, even at low speeds, can topple or damage the mechanism. For outdoor events, markets, or signage in exposed locations, vinyl banners with eyelets and frame mounting are the more appropriate choice.