
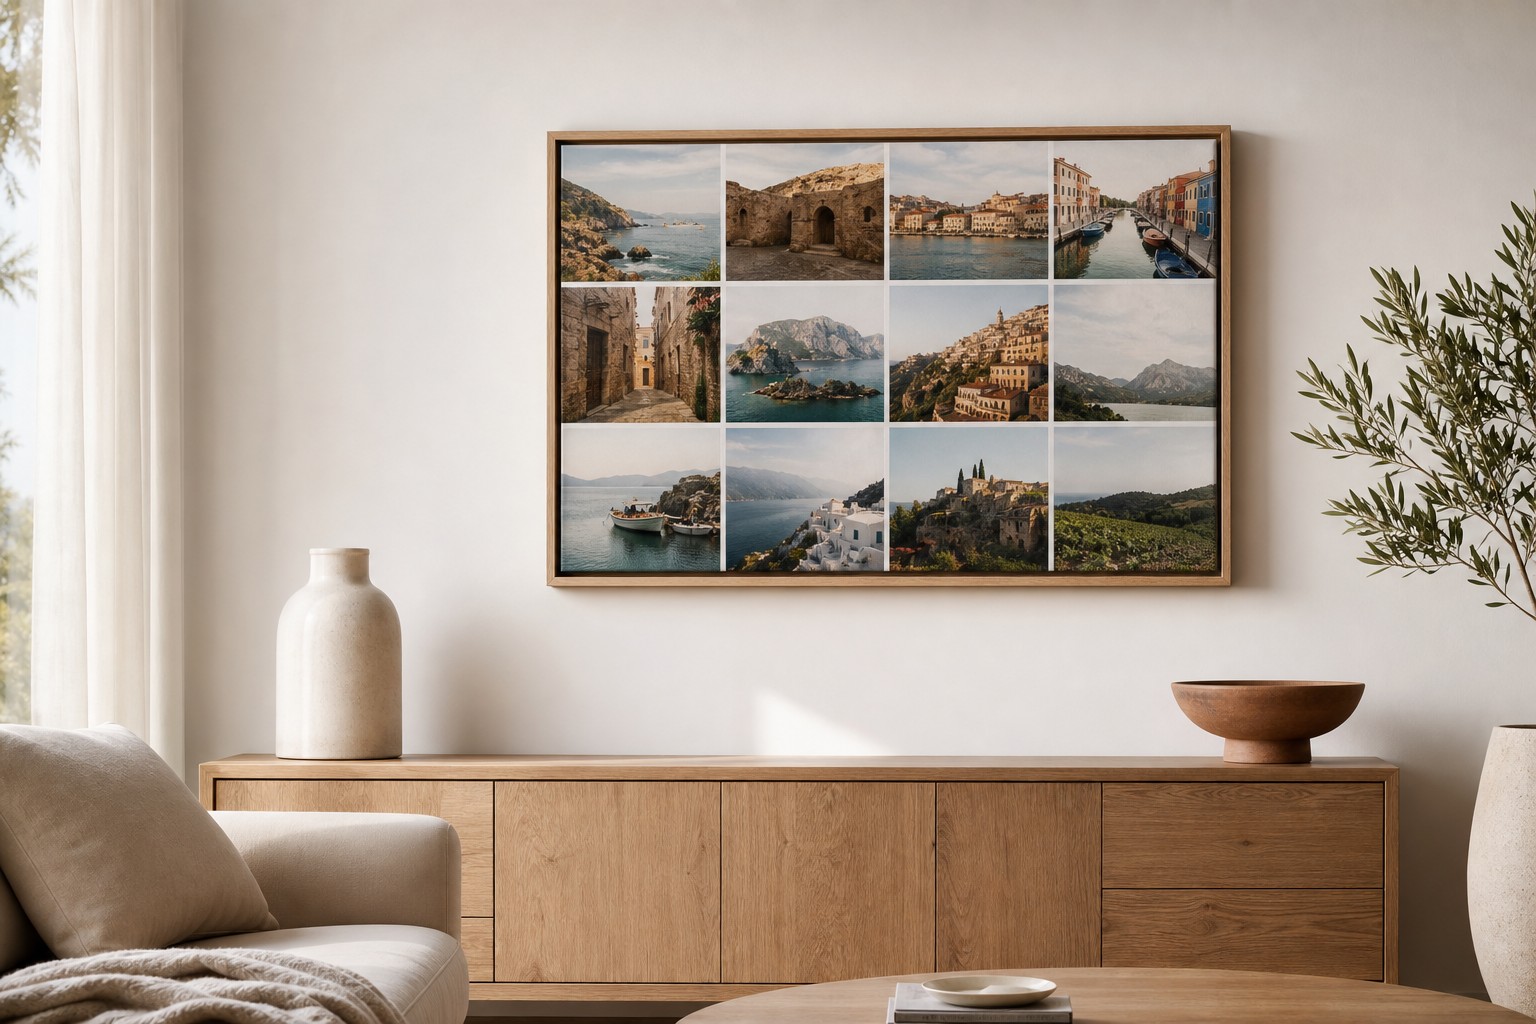
You have sixty photos from a family holiday and no idea which one to pick. You have four years of a child’s life in your camera roll. You have a grandparent turning eighty and a lifetime of portraits that have never left a phone. A photo collage canvas turns a collection into a single piece of wall art: one image file that holds all of them, printed on artist-grade canvas and stretched over a solid timber frame.
At Paperlust Print Shop, a collage canvas is straightforward. You compose your photos into one image on your computer or phone, upload the file when you order, and we print it on 400gsm canvas stretched over a solid timber frame. There are no multi-panel sets or split designs, just one canvas, one file, exactly as you designed it.
This guide covers how many photos work at each size, which layouts hold up in practice, how to build the file yourself with the right pixel dimensions, and what to know about the edge wrap before you finalise your design.
At a Glance
- A photo collage canvas is one image on one canvas, composited by you into a single file before upload.
- Size guide: around 4 photos on a 30x30cm; 9 to 12 on a 50x70cm; 15 to 20 on a 60x90cm.
- Set your document at 150 DPI at the intended print size before placing any photos.
- Accepted formats: JPG, PNG, PDF and TIFF.
- On gallery wrap and floating frame finishes, the image wraps around all four sides, so leave a margin on the edges of your collage.
- Our team reviews every file before production and contacts you if there is a quality concern.
How Many Photos Fit at Each Size
The limiting factor on a collage canvas is not the canvas, it is legibility at normal viewing distance. A face that is sharp on screen can read as a blur at 3 metres when it is competing for space with eleven other photos.
These are practical guidelines, not limits we enforce. They assume portrait-orientation photos in a roughly even grid.
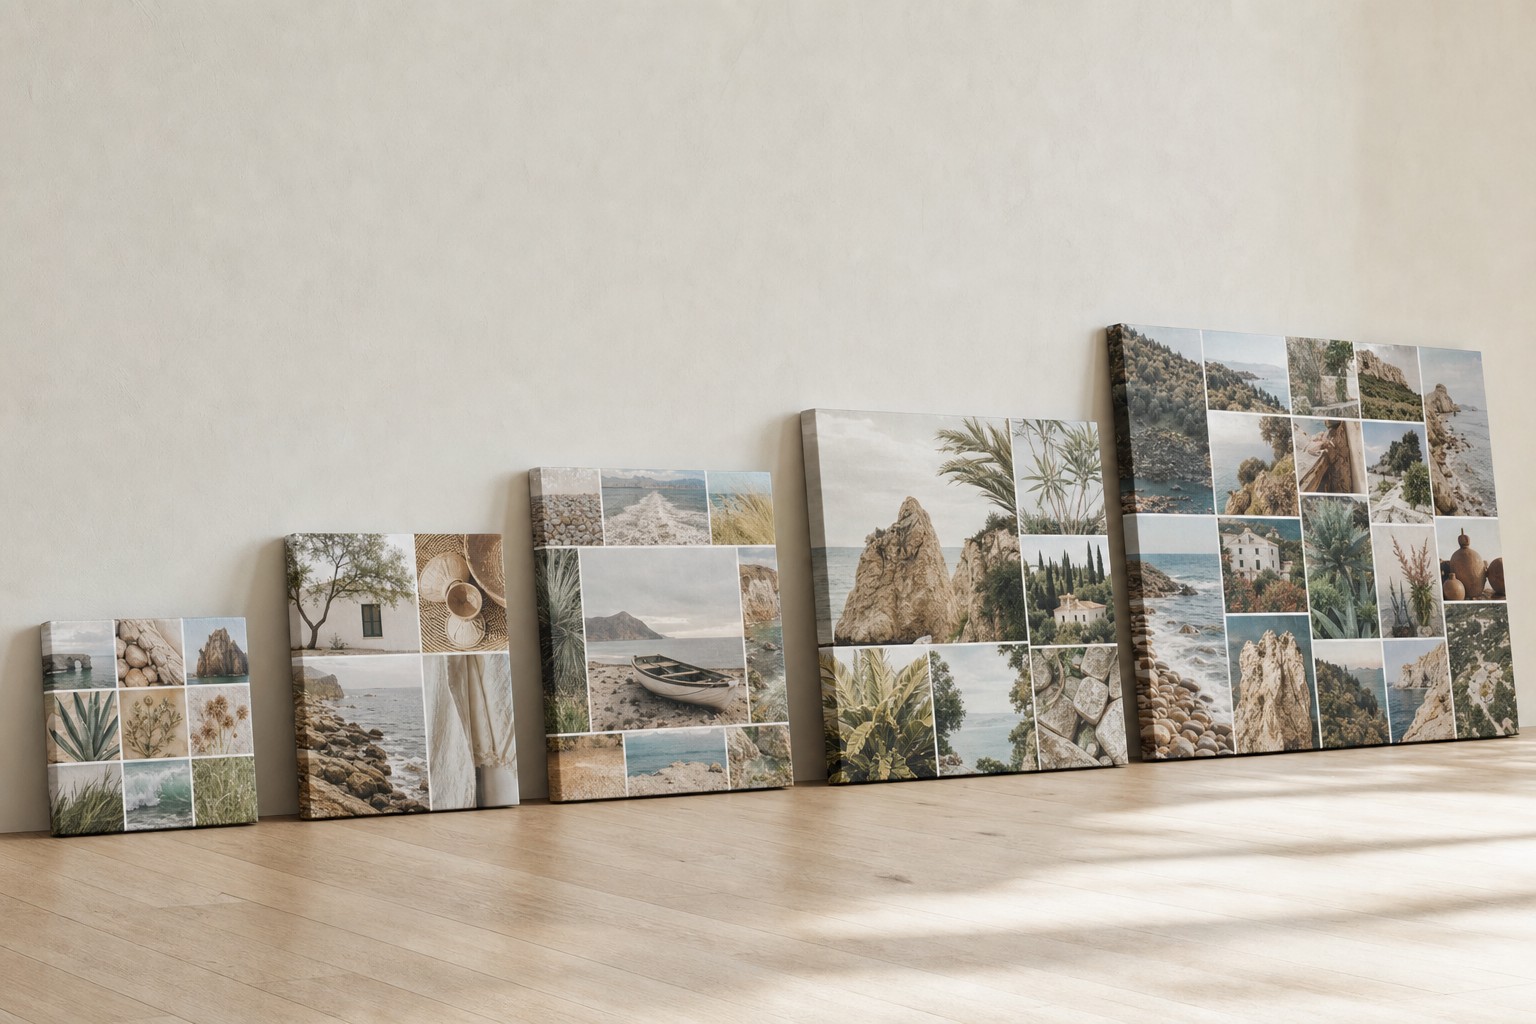
- 30x30cm or 30x40cm: around 4 photos. Any more and individual faces stop reading clearly from across the room. These sizes suit a tightly curated set, a seasonal highlight reel or a grouped portrait of a few people.
- 40x50cm or 50x50cm: 6 to 9 photos comfortably. Good for a bedroom wall or home office, where viewing distance is shorter than a main living area.
- 50x70cm: 9 to 12 photos. The most versatile collage size. Enough room for individual shots to breathe and large enough to work as a feature on a bedroom or hallway wall.
- 60x90cm: 15 to 20 for a standard grid, or up to 30 if you are comfortable with a tighter layout and smaller individual photos. This is where a large holiday grid or a full year of a baby’s life starts to feel intentional rather than crowded.
For help matching canvas size to wall space and room type, our canvas size guide covers the practical rules, including the two-thirds guide for above-sofa placement.
Layouts That Work
Even grid. Rows and columns of equal-sized photos. Clean, readable and the easiest to execute. Works at any size and handles photos with mixed orientations well when you crop them to a consistent ratio first.
Hero-plus-grid. One large anchor photo takes up roughly a third to half of the canvas. Smaller supporting shots fill the rest. This layout works well when you have one standout image, a ceremony shot, a summit moment, a first birthday cake, surrounded by the context of the day. The challenge is choosing the anchor: it needs enough visual weight to hold the space.
Mosaic with mixed sizes. Different photos at different scales, arranged to fill the canvas without gaps. Harder to execute manually because fitting irregular blocks together takes patience. Design tools including Canva have mosaic templates that handle the layout automatically. The result can feel more dynamic than a grid, but it rewards consistency in subject matter.
Horizontal timeline. A single row of photos in chronological order, or two or three rows moving left to right. Suits a landscape orientation and works well for a year-in-review or a relationship timeline. A 60x90cm landscape gives each photo enough room.
Heart or word shape. Photos arranged to form a recognisable shape visible at viewing distance. Requires a lot of photos to fill convincingly, typically 40 to 100 on a 60x90cm, and works best when the photos share consistent background colours so the shape reads clearly. These are harder to pull off without design experience. Dedicated apps including PicCollage handle the shape layout automatically if you want to try one.
What all good layouts share. Consistent gutters between photos (2 to 4 millimetres suits most sizes), a uniform border around the whole composition so the canvas does not look crowded to the edge, and consistent colour treatment across the photos. A single colour grade applied to all photos before you build the collage makes the finished piece look considered rather than assembled from different occasions.
Building Your File
This is where most collage canvases succeed or fail. A beautiful layout at the wrong resolution prints with visible softness. Getting the file right is straightforward once you know the numbers.
Set up your document at print resolution. Our minimum is 150 DPI at the intended print size. To calculate the pixel dimensions for a few common sizes:
- 30x30cm at 150 DPI: approximately 1,772 x 1,772 pixels
- 50x70cm at 150 DPI: approximately 2,953 x 4,134 pixels
- 60x90cm at 150 DPI: approximately 3,543 x 5,315 pixels
Set your document to these dimensions before placing any photos. Designing at screen resolution and scaling up at the end is where quality is lost.
Tools Australians actually use. Canva handles even grid and mosaic layouts in its photo collage templates and lets you set a custom canvas size in centimetres. Photoshop gives the most control over placement and layer management, and supports the pixel dimensions above directly. GIMP is a free alternative to Photoshop with similar capability. Photos on Mac has a built-in collage feature that suits simple grids but has limited export control. On your phone, PicCollage, Unfold and Adobe Express all handle collage layouts and can export at reasonable resolution for smaller canvas sizes.
Export as a flattened file. Save or export as a single-layer JPG, PNG, PDF or TIFF. A high-quality JPG or TIFF is a reliable choice for photography. PNG suits layouts with transparent areas, though a solid white background beneath your photos works for most collages.
Check each photo individually before you export. Zoom into each placed photo at 100% on screen. If it looks soft or pixellated at actual size, it will print that way. The overall file resolution being correct does not compensate for an individual photo that was under-resolution to begin with. For more detail on checking resolution on iPhone, Android and desktop, our photo resolution and DPI guide walks through it step by step.
The Gallery-Wrap Edge Trap
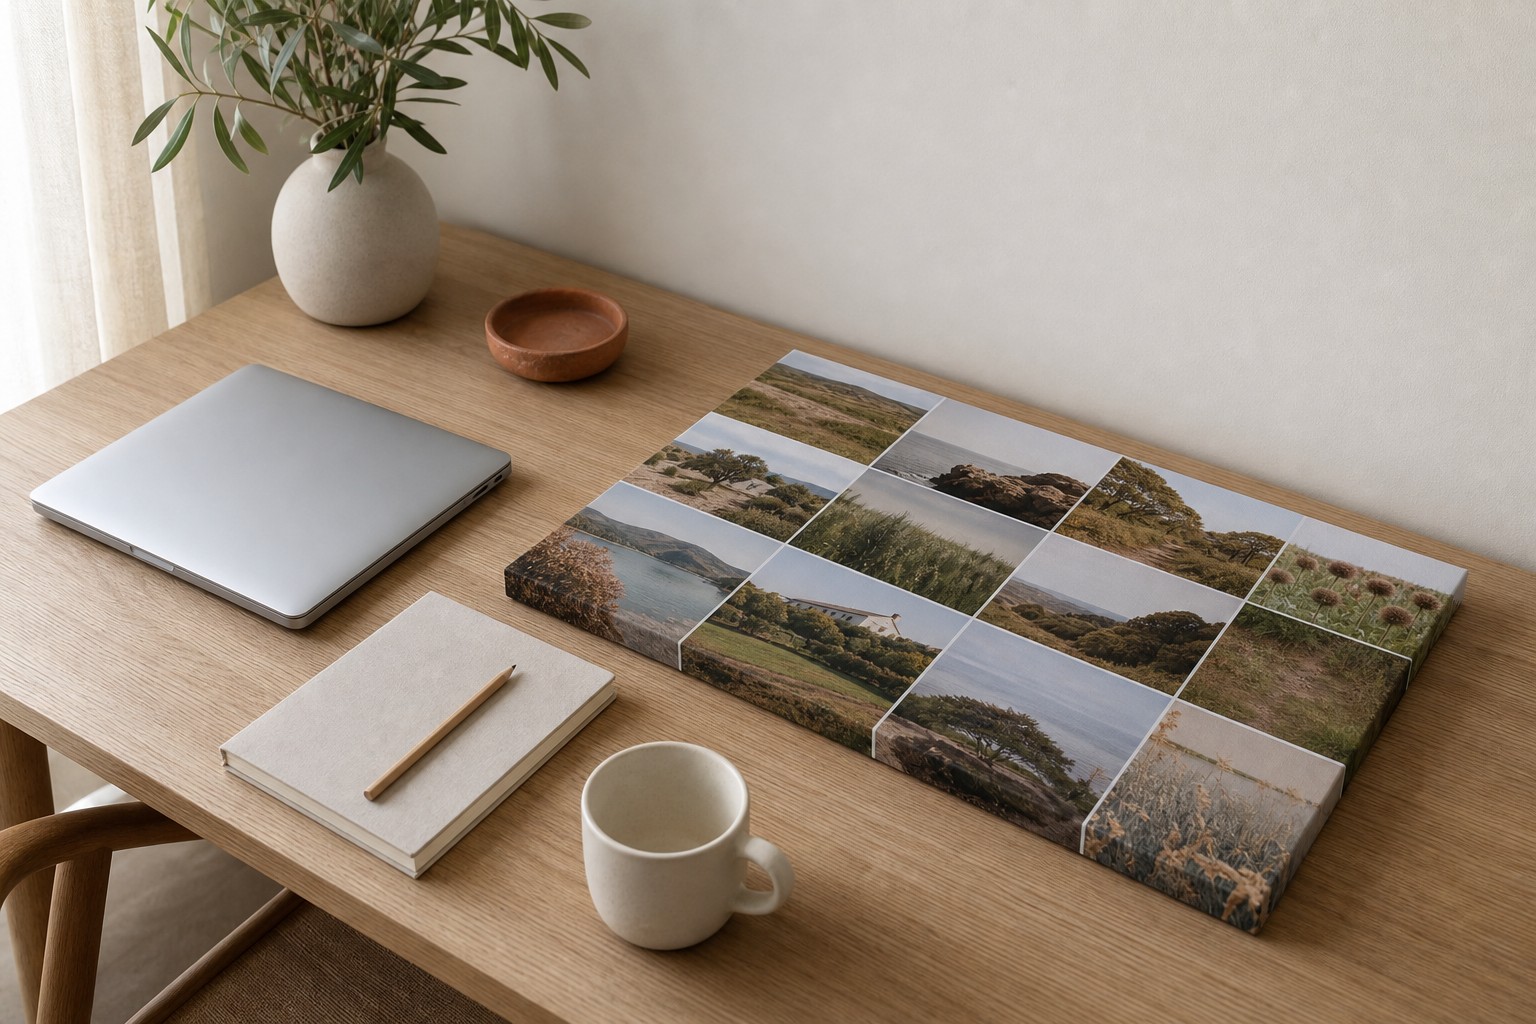
On both the gallery wrap and floating frame finishes, the printed image continues around all four sides of the 38mm canvas. This is one of the most satisfying things about a canvas print: the image wraps cleanly and the piece looks finished without a frame. For collage designs, though, it has one practical implication worth knowing before you finalise your layout.
Anything within roughly a centimetre of the edge of your composed image can wrap around the side of the canvas. On a solid-colour border or a plain background, this is invisible. On a collage where photos run close to the edge, a face or a key detail sitting too close to the border can end up partially on the side rather than the front.
The fix is straightforward: leave a margin of at least 10 to 15 millimetres on all four sides where no important content sits. A solid white or coloured border at that width solves it completely and gives the piece a clean, intentional edge.
If your layout runs right to the border and a margin does not suit the design, choose the classic frame finish instead. The classic frame uses a 19mm canvas with a plain white edge, and the timber frame overlaps the canvas edge so nothing wraps. It also sits closer to the wall, which works well alongside framed paper prints in a gallery wall arrangement.
What to Do If You Cannot Make the File
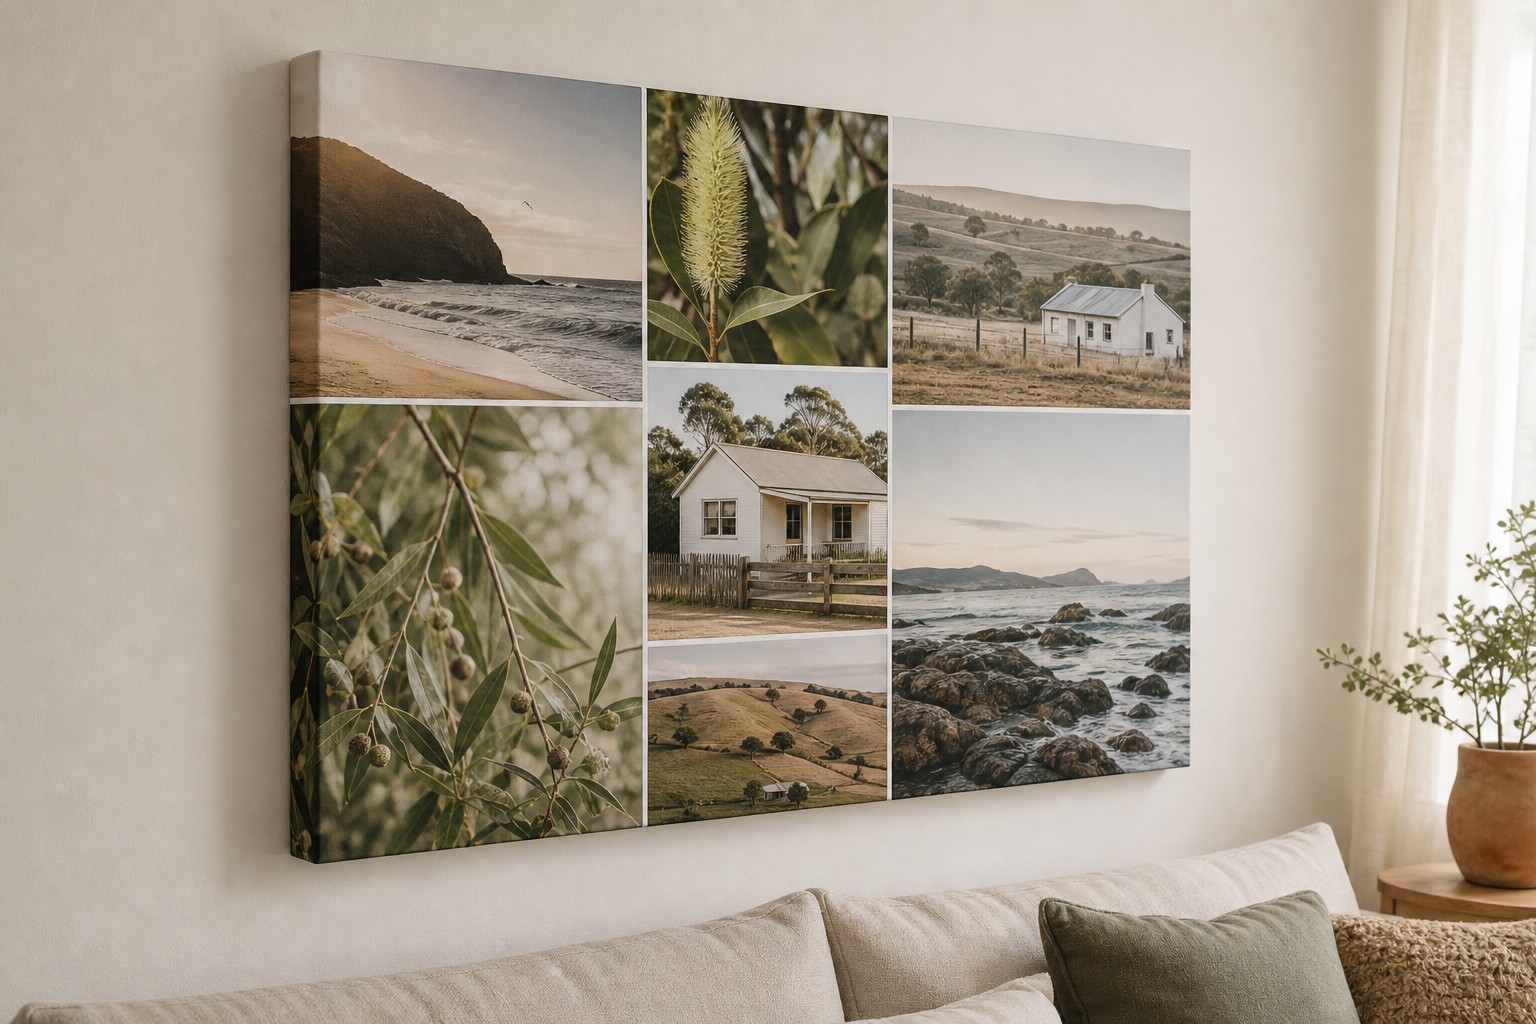
Our team reviews every file before production begins. If there is a quality or formatting concern, we will contact you before printing starts. We do not offer a collage design service, but if the file you upload is not suitable for the size you have ordered, we will tell you what the issue is so you can adjust and re-upload.
If you are unsure before you order, check the pixel dimensions against the numbers in the file-building section above, then zoom into individual photos at 100% to confirm they look sharp at their placed size. Most smartphone photos from the last five or six years contain enough pixel data for sizes up to 50x70cm.
Browse our photo canvas prints to choose your size and finish, or visit the wall art range to compare canvas with framed print options.
FAQ
What is a photo collage canvas?
A photo collage canvas is a single canvas print where the image is a collage of multiple photos. The customer combines the photos into one image using a design tool of their choice, exports the result as a single file, and we print that file on 400gsm artist-grade canvas stretched over a solid timber frame. There are no multi-panel or split designs: one canvas, one file, exactly as you composed it.
How many photos can I fit on a collage canvas?
It depends on the size and how small you are comfortable with each photo appearing at viewing distance. As a practical guide: around 4 photos work well on a 30x30cm before individual faces stop reading clearly; 9 to 12 suit a 50x70cm; a 60x90cm can handle 15 to 20 in a standard grid, or up to 30 in a tighter layout. These are guidelines, not limits.
What resolution does my collage file need to be?
The minimum is 150 DPI at the intended print size. For a 50x70cm canvas this means a file of approximately 2,953 x 4,134 pixels. For a 60x90cm it is approximately 3,543 x 5,315 pixels. Set your document to these dimensions before placing any photos, and check each individual photo at 100% zoom to confirm it looks sharp at its placed size.
What file format should I export my collage as?
We accept JPG, PNG, PDF and TIFF. For photography-based collages, a high-quality JPG or TIFF is a solid choice. PNG suits layouts with any transparent areas. Export as a flattened, single-layer file with all photos merged before uploading.
Will the image wrap around the sides of the canvas?
On the gallery wrap and floating frame finishes, yes: the printed image continues around all four sides of the 38mm canvas. For a collage, this means anything within roughly 10 to 15 millimetres of the edge of your composed image can wrap onto the side. Leave a solid-colour margin around your collage, or choose the classic frame finish, which has a plain white edge and a timber frame that overlaps the canvas edge so nothing wraps.
How much does a canvas collage print cost?
Canvas prints start at $79 for a 30x30cm gallery wrap and run to $219 for a 60x90cm gallery wrap. Adding a floating frame costs $40 to $60 depending on size; a classic frame costs $30 to $50. All prices are in Australian dollars and include GST. A flat $30 shipping fee is added at checkout for all canvas orders, Australia-wide.