A reprint of five hundred labels is a miserable way to discover that a label lifts off a cold bottle. The proof looked fine, the finish looked fine, and the one thing you skipped would have shown the problem on the very first day. That missing step is exactly what sticker samples are for.
Sticker samples work best when you treat them as a test kit, not a look book. They only answer the questions you actually test for, and they only earn their keep if you apply them to the real surface, wait, and write down what happens. Skip that and you are back to guessing on a bulk sticker order.
Below, we explain what the Paperlust sticker and label sample pack contains, what a preprinted sample can and cannot show, how to keep a test log, how to check adhesion, how to test damp, cold and outdoor conditions, how to compare finishes, and how to turn a passing sample into a bulk order.
The short version
- Test each sample on the real surface, not a stand-in.
- Clean, dry and bring the surface to room temperature before applying.
- Wait at least 24 hours before judging adhesion.
- Keep a written log of each result and schedule follow-up checks.
- Use the sample as a short-term signal, not a promise of long-term life.
What is in the Paperlust sticker sample pack
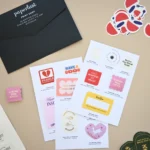
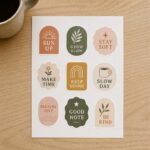
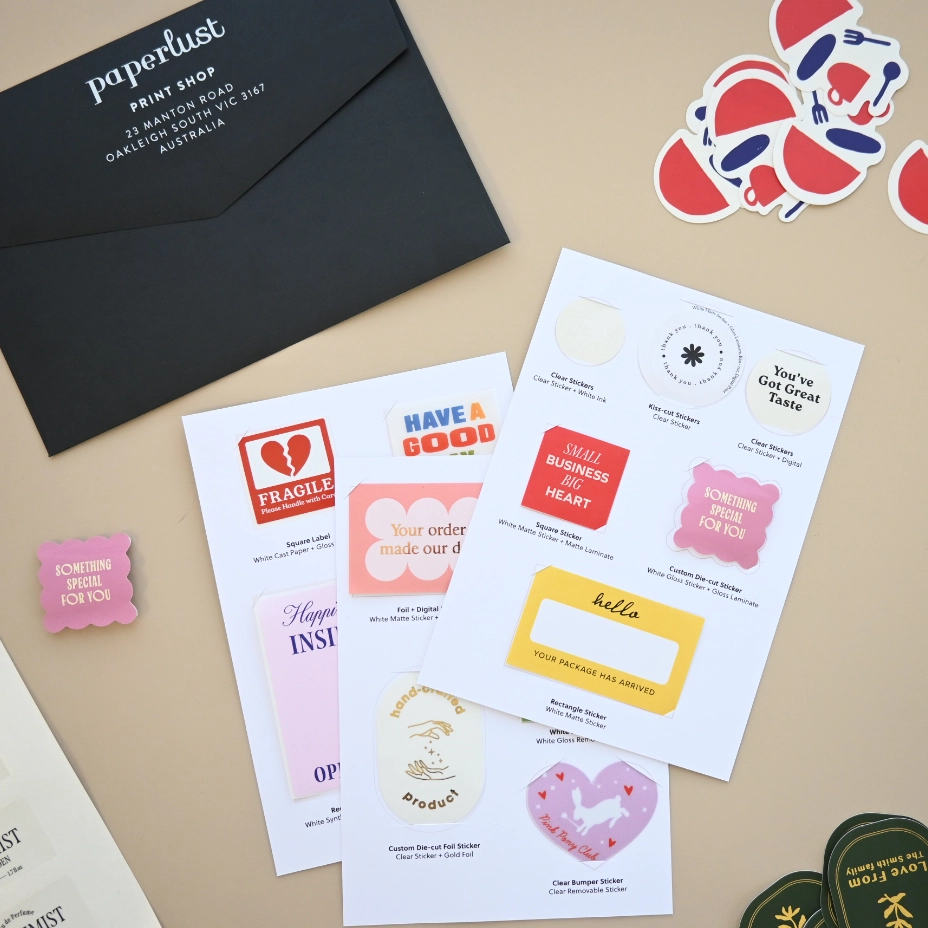
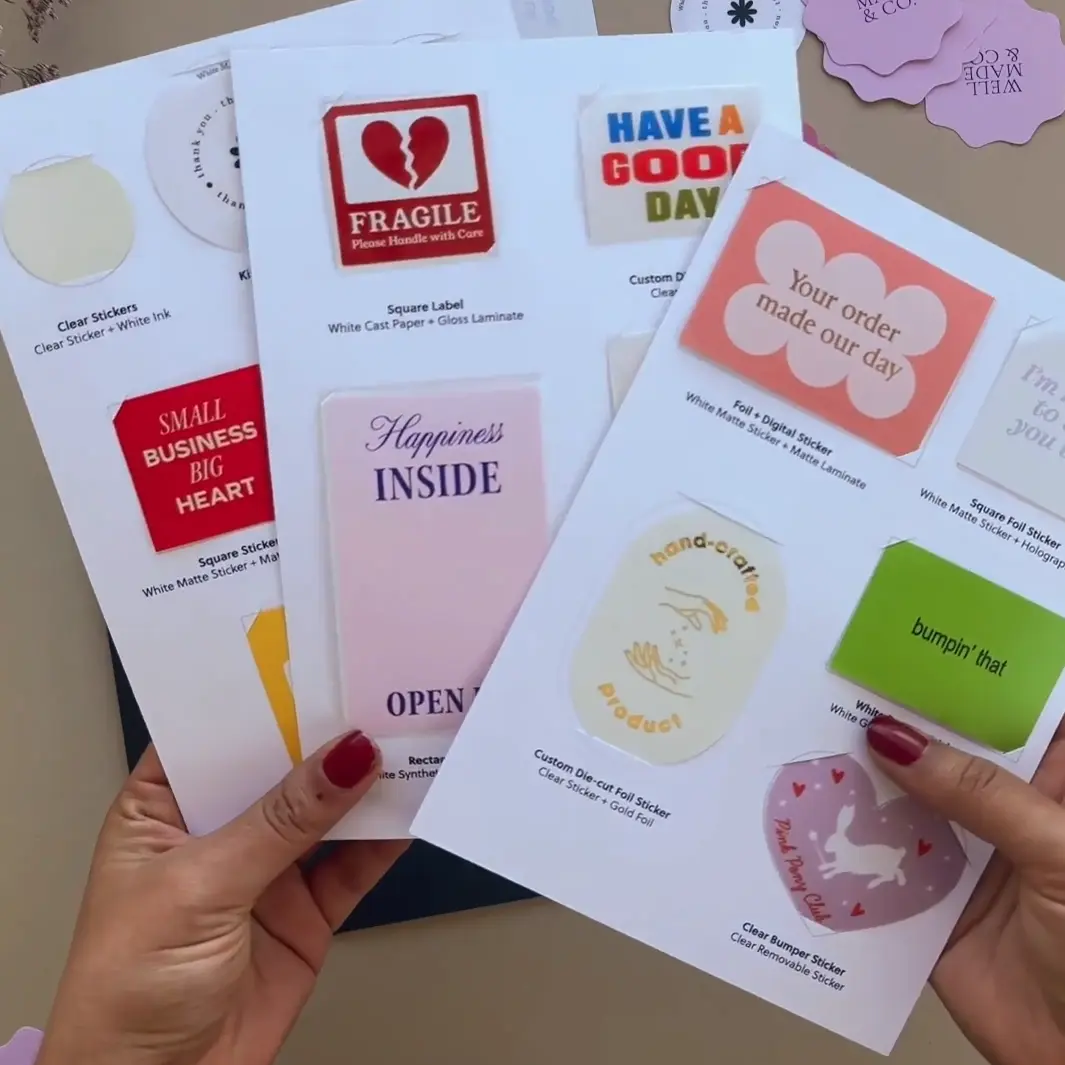
Inside the Paperlust sticker sample pack, you get a working collection of materials. The sticker line spans die cut, circle, square, rectangle, oval, bumper, sticker sheets, kiss cut, rounded corner, clear, foil, foil and digital print, vinyl and foil vinyl stickers. The label range covers custom cut, clear, circle, square, rectangle, rounded corner, oval and foil labels.
Each piece is produced on the identical stock and machinery that a real order runs on, so what you feel is what a full batch uses. The samples come preprinted, showing print quality, colour and material texture. Artwork is not required, and the set is fixed, so you cannot choose what goes in.
Both permanent and removable adhesive options are demonstrated in the pack. That lets you compare the difference on your own surface rather than relying on a description, and it is the main reason to test the pack rather than just browse it. The pack also includes vinyl sticker samples designed for weather resistance.
Most Australian packs are produced and sent out within 24 to 48 hours of ordering. For readers in the US, the sample pack for US orders listing is the place to check availability.
What a preprinted sample can and cannot tell you
A preprinted sample clears up some questions and deliberately leaves others open. On the side of what it can tell you: stock feel and thickness, how a finish looks under your lighting, how an adhesive type behaves on the surface you choose, and the physical format and cut edge. Because the samples are produced on production stock and equipment, those material cues are reliable.
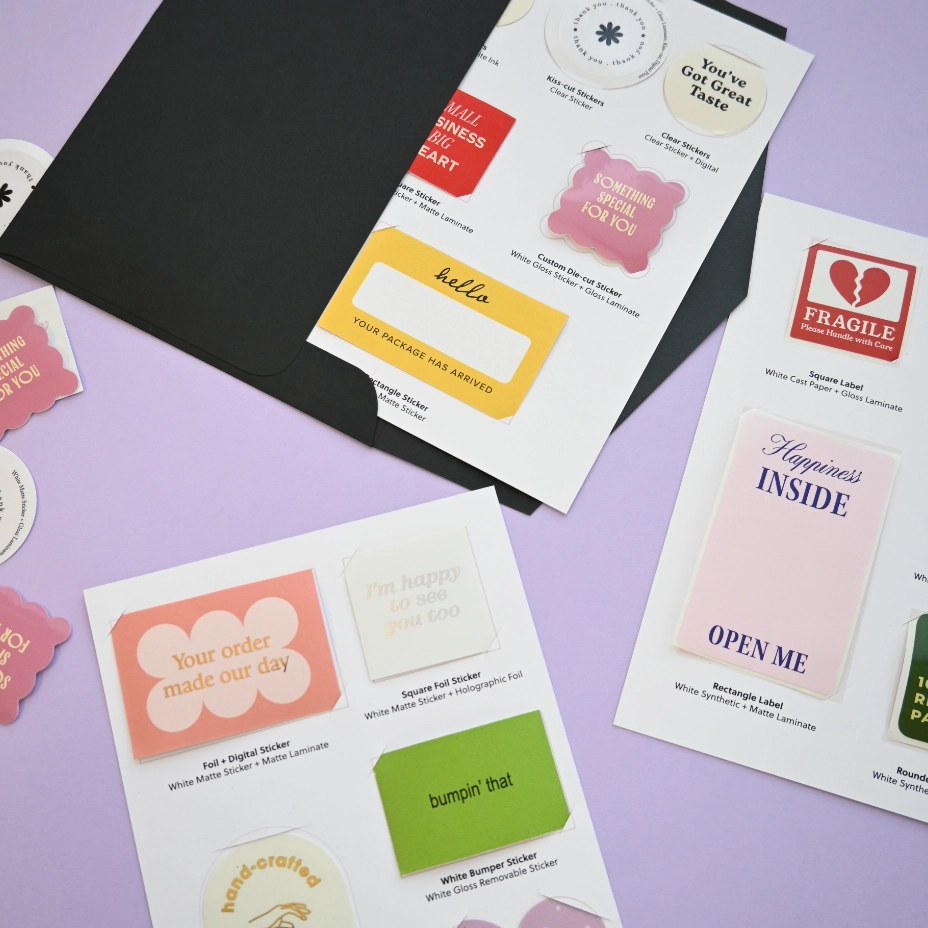
As for what a sample cannot tell you: because the pieces are preprinted, your own artwork and brand colours are not visible. A quick sample is no stand-in for the slow build-up of wear from real use over months and years, including sun, weather and repeated washing. Dishwasher and food-contact suitability remain separate questions, and any surface you skip is a surface you have learned nothing about.
Before you order Sticker Sheets, note that there is no vinyl choice and the laminate does not seal the cut edges against water. If the edge will sit in a damp spot, test a sheet sample there rather than trusting the laminate.
Setting up a sticker sample test log
A sample pack becomes useful when you stop relying on memory. A test log turns a stack of unrelated stickers into comparable data, and it becomes essential the moment you test adhesive on more than one surface. The table below is a starting point you can copy into a notebook, a phone note or a spreadsheet.
| What to record | Why it matters |
|---|---|
| Sample (name the product and finish as printed on the pack page) | The product name and finish tie every later check back to the material you tested, so a passing result is not lost. |
| Surface (the real container or material) | The adhesive has to bond to the actual packaging you will use, not a stand-in, or the result does not transfer. |
| Preparation (how it was cleaned and dried) | Wiping the surface with isopropyl alcohol and letting it dry fully removes grease and dust that stop adhesive bonding. |
| Applied on (date and room temperature) | Adhesives generally grip less well when applied cold, so noting the temperature keeps the test fair. |
| Waiting time before the first check | Adhesive bond builds over time after application, so the wait is part of the test, not a delay. |
| Exposure (indoor, fridge, damp, outdoor, handling) | A short test shows early behaviour only, so recording exposure tells you which conditions you actually tested. |
| First check (next day) | A next-day check follows the common practice of waiting at least 24 hours before judging how well a sticker holds. |
| Second check (after a week) | Plastics such as polypropylene and polyethylene are harder for adhesives to grip, so the second check catches late failure. |
| Result (pass, test again, or rule out) | A written result turns a quick look into a decision you can compare when the bulk sticker order is discussed. |
Keep the test log with the order record. When the production proof arrives, the log reminds you which sample passed on which surface, so the bulk order matches the test instead of a new guess. A passing result with no written record is not much better than no test at all.
Running a sticker adhesion test
Most failed labels do not fall off in the first hour. They lift at the edge after a day, or after a week, or after the first cold morning. That is why the test has a waiting period built into it. To test sticker adhesion properly, you are not checking whether the sample feels sticky in your hand. You are checking whether it stays on the real surface after enough time has passed.
- Choose the actual surface. Run the test on the packaging, container or material the sticker will live on, not a stand-in. Adhesives find polypropylene and polyethylene harder to grip than glass or metal, so test those plastics if they are in your packaging.
- Clean and prepare. Wipe the surface with isopropyl alcohol and leave it to dry fully before applying. Grease and dust stop adhesive bonding.
- Apply at room temperature. Cold surfaces cause adhesives to grip less well, so a room-temperature test gives a fair start.
- Press firmly over the whole sticker, working from the centre outwards. Full contact makes the bond stronger.
- Wait before judging. Give the adhesive at least 24 hours to build bond before the first check. For the plastics that take longer, check again after a week.
- Record the result in the log.
Testing for damp, cold and outdoor use
Labels for food and drink often fail in places a kitchen table never shows you: inside a fridge door, against a wet bottle, or next to a sink. If the label will meet cold or damp conditions, test it there. Place the sample on a refrigerated or slightly damp surface and let it sit. You will learn more from a jar carrying condensation than from a dry desk.
The set includes vinyl options intended for weather resistance. If outdoor use is on your list, test the vinyl options on the surface that will live outside. For outdoor life, Vinyl Stickers carry a one-year outdoor guarantee and have an expected life of 3 to 5 years with proper application. Those figures apply to Vinyl Stickers specifically, not to every sticker in the sample pack.
Even so, a sample only reveals early behaviour. It cannot account for the slow damage of outdoor sun, repeated washing, weather and handling over a year or more. For more on vinyl sticker lifespan, read how long vinyl stickers last.
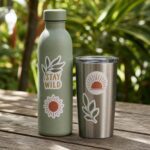
Bottles and tumblers are a common stress test in their own right, with condensation, wear and repeated handling. Our article on stickers for water bottles covers the conditions those stickers meet in daily use, so you can test with that in mind.
Waterproof does not mean dishwasher safe. Vinyl Stickers are waterproof, but waterproof is not the same as dishwasher safe, so they should not go through a dishwasher. Whether a label survives the dishwasher or meets food-contact standards is a separate question that a home sample test cannot answer. A sample test cannot make a sticker dishwasher safe or food-contact approved.
Testing finishes and clear stock in your own environment
A finish that flatters a sample on a white desk can behave very differently in your product photography setup. The pack page advises photographing each finish in your usual product photography setup, and holding foil samples under the store or event lighting they will sit in. As a follow-up, compare gloss, matte and clear options side by side so the differences are visible before you commit. What looks subtle in the hand may wash out or glare on camera.
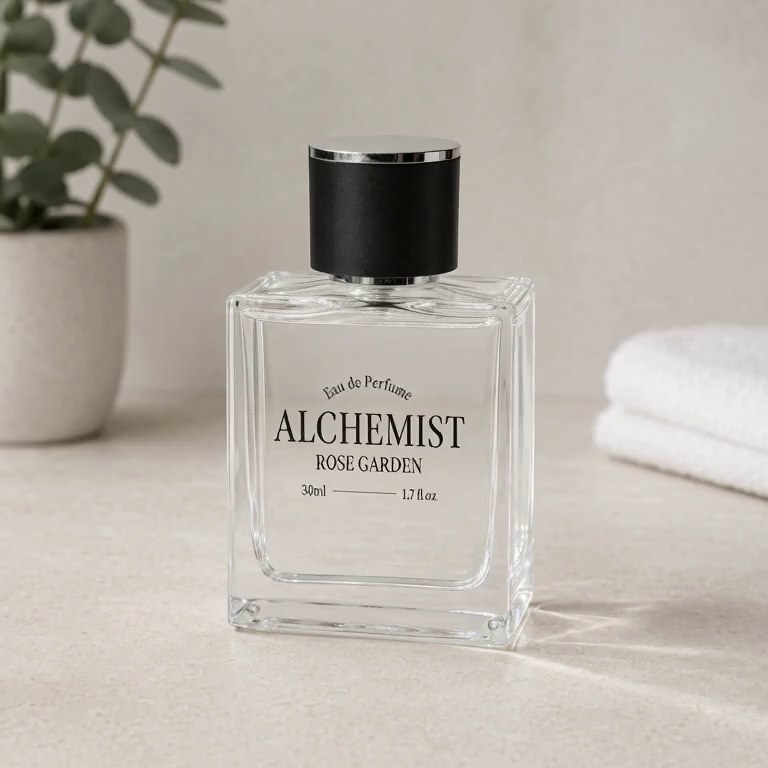
Clear stock is its own test. Clear Stickers are printed on a clear synthetic film, not vinyl. Hold the clear sample against the actual jar or bottle rather than a white backing card, because the background is the whole point. If the clear sticker will sit on amber glass, test it on amber glass.
Size also changes how a finish reads at a glance. A label that looks strong in the hand can disappear once it is cut for the container, or it can crowd the label area. If you are testing labels for bottles and jars, our guide to bottle and jar label sizing will help you check the proportions before you commit.
Moving to the bulk order after a sample passes
A passing sample matters only if the production order points to the same product. Note the sample name and finish from your log, and order that product, not a lookalike. If you are unsure which format suits the job, review the types of stickers guide before you order.
After that, send in your artwork. For a production order, you receive a design proof first, and nothing goes to print until you approve it. Because the samples were preprinted, the proof is where your own artwork and brand colours finally get checked on the stock you have already handled.
The sample pack price is not applied as credit toward a later production order, so view it as a research cost rather than a deposit. Keep the log beside the order record so the proof sits next to the sample that passed.
If the sample that passed was a vinyl product and you are ordering from the United States, check the vinyl stickers for US orders listing for your location. A passed test is useful only when the production order uses the same material.
Frequently asked questions
Do sample stickers come from the same stock as a production order?
Yes. Each sample runs on the same stock and the same equipment as a real order, so what you hold is the material a full batch uses.
Can I test my own design with the sticker sample pack?
No. The pieces are preprinted to demonstrate stock, colour and material feel, and the set is fixed, so you cannot customise it. Your own artwork is checked later at the proof stage on a production order.
How long should I wait before checking a sample’s adhesion?
Adhesive takes time to strengthen after application, so the usual practice is to wait at least 24 hours before deciding how well a sticker grips. Plastics like polypropylene and polyethylene can need longer to reach full bond, so record a second check after a week.
Does a vinyl sample show how stickers will last outdoors?
A vinyl sample only shows early behaviour. The pack includes vinyl samples built for weather resistance, but a short test cannot tell you how a sticker will cope with months or years of real exposure, washing, weather and daily handling. For outdoor durability, Vinyl Stickers carry a one-year outdoor guarantee and have an expected life of 3 to 5 years with proper application.
Are sample stickers or labels dishwasher or food safe?
Testing a sample at home cannot make a sticker dishwasher safe or food-contact approved. Dishwasher survival and food-contact approval sit outside what a home sample test can establish. Vinyl Stickers are waterproof, but waterproof is not the same as dishwasher safe, so they should not go through a dishwasher.
Does the sample pack price count toward a later order?
No. The sample pack price cannot be applied as a credit toward a later production order, so treat it as a standalone research step.
Can I choose which samples come in the pack?
You cannot choose. The set is fixed, and each sample is a preprinted showcase of stock, colour and material feel across the range.