

The words are finished, the photographs are placed, and the document looks exactly right on screen. This is the point where a booklet for printing can quietly go wrong, because what looks good in a layout window is not always a file a printer can use. A page count that misses the fold, a background that stops at the trim line, or a cover that was never counted can turn a confident order into an expensive reprint.
This guide explains how to print a booklet so the file moves cleanly from your screen to a saddle stitched stack of bound pages. You will work through page counts and folded sheets, single pages and printer spreads, bleed and safe margins, image resolution, fonts, cover stocks and the proof step that sits between upload and production.
The short version
- Count every page, cover included, in steps of four from 8 to 56 pages.
- Choose A5, A4 or DL trim and set the document page size to match.
- Add 3mm bleed on every edge and keep text at least 3mm inside the trim.
- Use 300dpi images and outline or embed fonts before saving.
- Supply a print-ready PDF, SVG or Adobe Illustrator file.
- Approve the digital proof before anything is printed; it costs nothing extra.
Why page count works in multiples of four
A saddle stitched booklet is made from sheets that are folded once through the spine. Each folded sheet becomes four printed pages: the front of the sheet holds two pages, the back holds two, and the fold sits in the middle. That physical fact is why the page count has to land on a multiple of four. The range runs from 8 to 56 printed pages, and the count includes the cover, which sits on a folded sheet of its own and accounts for four of the printed pages. A 16 page booklet breaks down as 4 cover pages plus 12 inside pages, and an 8 page booklet as 4 cover pages plus 4 inside pages.
Think of one blank sheet. Fold it through the middle and you get two leaves; print both sides and you have four pages. That is the arithmetic behind saddle stitching, and it never changes across A5, A4 or DL sizes.
If your draft sits between two accepted steps, do not trim the file to the wrong count and hope for the best. Instead, remove a single page of content or add something useful: a photo page, a notes page, a divider or a blank inside cover. A planned blank is always better than an unexpected blank at the back of a finished run.
The table shows the practical shape of that rule for common booklets.
| Printed pages | Folded sheets | A good fit for |
|---|---|---|
| 8 | 2 | A short program or event order |
| 12 | 3 | A compact catalogue, program or club report |
| 16 | 4 | A small catalogue, report or zine with room for sections |
| 24 | 6 | A product catalogue or magazine with more room per section |
| 32 | 8 | A larger catalogue, annual report or multi-section zine |
The same folded-sheet logic continues in steps of four all the way to the upper limit, so the safest check is to divide your total by four before you order.

Single pages versus printer spreads: what your file should show
It helps to separate two ideas that sound similar but behave differently. A reader spread is the view you see when the finished booklet is open flat: two pages sitting side by side in reading order. A printer spread is the arrangement of pages on a folded sheet before the sheet is cut and stapled, and it very rarely matches the reading order on screen.
A designer’s layout view exists to make the document easy to read and edit, not to represent the physical print order. That is why you should not use on-screen spreads as a guide to the order in which pages should be supplied.
The order form does not state a fixed page-order supply format. A sensible default is to provide the file as single pages arranged in reading order, changing that only if the team requests otherwise. If there is any doubt, add a note in the Special Request box and use the digital proof to check the sequence before approval.
Bleed and safe area: set them before the first page
The trim size is the final edge of the booklet after cutting. A5 booklets trim to 148 x 210 mm, A4 booklets to 210 x 297 mm and DL booklets to 99 x 210 mm. Set the document page size to one of those dimensions at the start, not after the layout is finished.
Every page then needs a 3mm bleed on every edge. Bleed exists because a guillotine cut can move slightly, and a full bleed background or photograph that stops exactly at the trim line often shows a fine white line at the finished edge. Run backgrounds, blocks of colour and images right into the bleed, and keep text and important elements at least 3mm inside the trim.
The document size includes the trim plus 6mm in each direction. For an A5 booklet, the file should be 154 x 216 mm. For an A4 booklet, it should be 216 x 303 mm. On a thicker booklet, leave a little extra breathing room near the spine fold so that words do not sink into the crease and become hard to read.

Images and fonts: check resolution and file type before upload
An image that looks sharp on a website can print soft. Web images are often saved at a much lower resolution than print requires, and the difference becomes obvious when the image is stretched across an A4 page or placed full bleed on an A5 cover. An image pulled from a social media post may look acceptable in a small message thread and still fall apart when it is stretched across a page. Embed every image at 300dpi, and do not rely on the preview in a layout window to judge sharpness.
Fonts cause the same kind of quiet failure. If the printer does not have the exact typeface, the file can substitute a different font and shift the layout. Outline or embed fonts before saving, then reopen the exported file and check that nothing has moved.
Upload a print-ready PDF, SVG or Adobe Illustrator file. If the layout is close but not quite resolved, the artwork services page explains what can be refined before the file is sent. A quick visual check of the exported pages is the cheapest quality control you can do.
Cover setup: count it, choose it and size it to the inside pages
The cover is part of the booklet, not an extra piece that gets attached later. Its four pages are the outside front, the inside front, the inside back and the outside back, and they all count within the page total. A 12 page booklet includes those four cover pages rather than treating the cover as a separate two-sided sheet. Set up the cover pages at the start and end of the file as part of the same document.
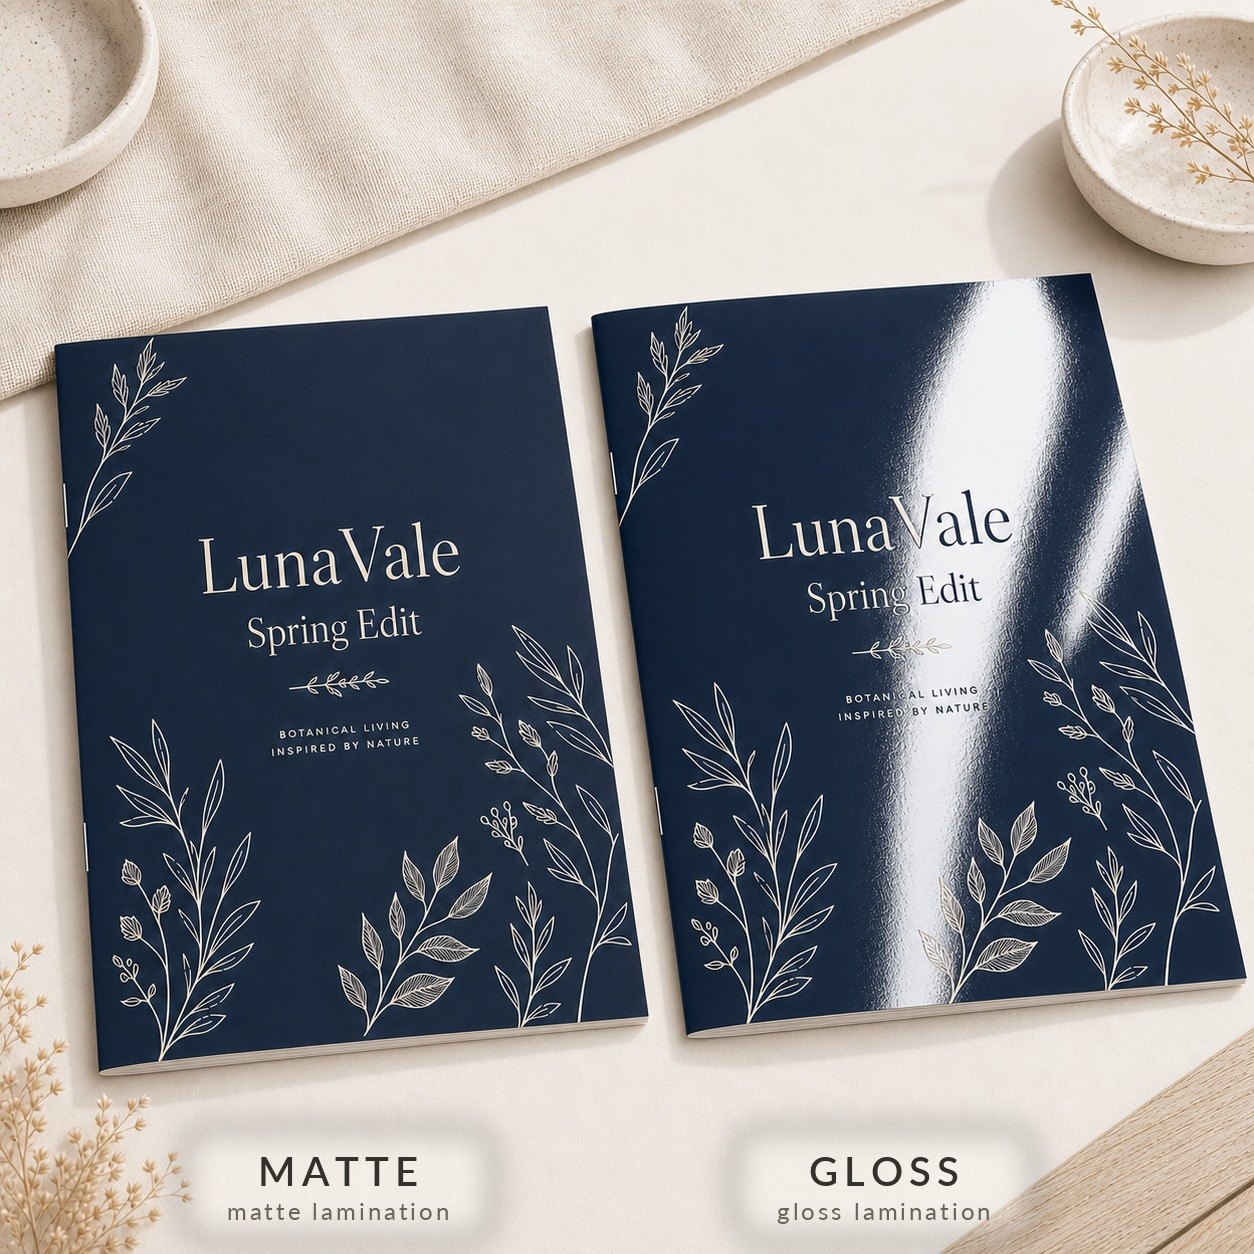
The cover and the inside pages are separate stock choices. Inside pages can be 128gsm matte, 170gsm matte, 113gsm gloss or 150gsm gloss. Cover stocks are 150gsm gloss, 170gsm matte, 250gsm gloss and 250gsm matte, and gloss or matte lamination can be added to the 250gsm covers only. The 150gsm and 170gsm covers are not laminated.
Because the cover is what a reader picks up first, the stock choice changes the feel of the booklet before a single page is turned. The size you choose for the cover has to match the inside pages. For a smaller format, A5 booklets suit event programs and compact catalogues, while A4 booklets give more room for reports and detailed layouts. Whichever you pick, keep the cover pages inside the same document as the inside pages so the page count and bleed stay consistent.
The mistakes that turn a booklet into a reprint
Most file problems fall into a short list. Check these before you upload:
- A page total that does not divide evenly by four
- No 3mm bleed on full bleed pages
- Text or logos placed closer than 3mm to the trim
- Images saved below 300dpi
- A cover that was left out of the page count
- Fonts that were not outlined or embedded
Once the file is in shape, the practical choices are size, page count, stock and quantity. The binding itself is fixed: saddle stitch is the only option sold online for these booklets. A paper weight guide can help when you decide between the inside and cover stock options.
After upload, a person checks the file before printing. A digital proof is emailed within 1 to 2 business days of the order, and nothing is printed until the proof is approved. The proof costs nothing extra, but it is your last chance to catch a page-order problem, a missing image or a margin that looked fine on screen.
If a print problem still slips through, the Perfect Print Promise means a reprint costs nothing extra provided you tell Paperlust about it within 30 days of dispatch. An approved typo is a shared cost, because the proof is the point where that decision is made. If you need help earlier, artwork fixes can refine an existing editable file, or a custom design service provides two design options and three rounds of revision.
Frequently asked questions
How many pages can a printed booklet have?
Booklets can be ordered with 8 to 56 printed pages, counted in steps of four and including the cover. The cover sheet accounts for four of those pages on its own. One folded sheet makes four pages, so an 8 page booklet uses two folded sheets and a 12 page booklet uses three. If your file lands between two steps, remove a page of content or add a photo page, notes page or a blank inside cover. Divide your total by four before you order.
How much bleed does a booklet need?
Every edge needs a 3mm bleed. Set the document to the trim size first, then add bleed. Backgrounds and photographs should run all the way into that area, while text and important elements sit at least 3mm inside the trim. For an A5 booklet the document size with bleed becomes 154 x 216 mm, and for A4 it becomes 216 x 303 mm.
Should I upload single pages or printer spreads?
Unless the production team tells you to lay the pages out as printer spreads, supply them as individual pages arranged in reading order. The spreads shown in layout software are reader spreads, not the physical print order. If you are unsure, add a note in the Special Request box and use the digital proof to check the sequence before you approve it.
What file type should I send for booklet printing?
Upload a print-ready PDF, SVG or Adobe Illustrator file. The file should include 3mm bleed, fonts outlined, images embedded at 300dpi and text at least 3mm inside the trim. Check the exported file before you upload it, because a missing image link or a low-resolution photograph is easier to fix at this stage than after the proof.
Does the cover count in the page count?
Yes. The cover contributes four pages to the page total. The cover and inside pages are set as separate stock choices. Available cover stocks are 150gsm gloss, 170gsm matte, 250gsm gloss and 250gsm matte, and lamination can be added to the 250gsm covers only.
What happens after I approve the proof?
Nothing is printed until the proof is approved. Booklet production takes 3 to 7 working days after proof approval. Once production finishes, dispatch happens on the next business day and a tracking code is sent by email. If a print problem is found, tell Paperlust within 30 days of dispatch and the order will be reprinted at no charge. An approved typo is a shared cost.