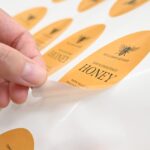
You have seen them on high-end skincare bottles. The design just floats there, like it was printed directly onto the glass. No white background. No obvious sticker. Just ink on surface.
That is a clear sticker – and when it is done right, it looks like nothing else.
When it is done wrong, you get an invisible sticker. Literally. Dark design on dark bottle? Gone. Fine detail on textured plastic? Unreadable. The transparency that makes clear stickers beautiful also makes them unforgiving of bad design choices.
Here is how to get it right – and how to decide when clear is the right choice for your product or project.

At a Glance
Clear film is the right call when you want the surface to show through your design.
It is not vinyl, and it needs a white ink underprint for dark or busy surfaces, requested by a note at checkout.
- Best surfaces: glass, smooth plastic, and coated packaging.
- Worst surfaces: textured cardboard, fabric, and anything porous.
- Choose Digital Print for full colour printed straight onto clear film, with unprinted areas staying see-through.
- Choose Foil + Digital Print for a metallic accent and a less transparent finish.
- Premium uses include jar labels, bottle wraps, packaging seals, window graphics, and gift packaging closures.
What Is a Clear Sticker, Actually?
A clear sticker starts with a clear synthetic film, not vinyl. Where a sticker on white stock has a solid white base that makes colours sit up, a clear sticker lets the surface beneath show through wherever there is no ink.
Order clear stickers from $0.09 each
Clear synthetic film with clear permanent adhesive. Choose Digital Print or Foil + Digital Print, with a minimum of 10 stickers per design and delivery within Australia.
Order clear stickers in Australia →
Readers in the United States can order the same clear synthetic film from the US shop as clear stickers for US delivery.
The result: your design appears to sit directly on the surface. No label borders, no white fill, no background rectangle. The sticker itself becomes essentially invisible – only the design is visible.
The catch: wherever your design has no ink, it is invisible. Which means backgrounds cannot save you. Every element needs to stand on its own, and the surface the sticker is applied to becomes part of the visual.
Clear, translucent and frosted are not the same film
In everyday talk, clear film lets you see through sharply, translucent film lets light through but softens detail, and frosted film diffuses what is behind it. When people ask about translucent sticker printing, they usually want a design that stays visible while the surface softens behind it.
We print Clear Stickers on clear film, with two finishes: Digital Print and Foil + Digital Print.
| Finish | What you see | Best for |
|---|---|---|
| Digital Print | Full colour ink on clear film, unprinted areas stay see-through | Designs where the surface should stay visible |
| Foil + Digital Print | Foil on chosen elements and a laminate that makes the film less transparent | A metallic accent when some see-through is fine |
If your use case is pure privacy – hiding the interior while keeping branding visible from outside – a dedicated one-way window film will do that job better than any sticker. For a softer, less see-through look, talk to customer service about white ink behind the design before you order clear stickers. White ink can sit behind the whole design or only selected elements.
White Ink Underprint: When You Need It, When You Don’t
This is the decision that determines how your clear sticker turns out. Get it wrong and you have either wasted the effect or wasted the sticker.
When to Use White Ink Underprint
White underprint means a white ink layer is printed beneath your design, creating opacity behind your colours. Use it when:
- Your sticker is going on a dark or coloured surface – without white underprint, colours on a clear sticker are see-through. A red logo on a dark brown bottle becomes a muddy mess. White underprint makes the red pop.
- You have photographic elements or gradients – photos need full colour range to reproduce accurately. Transparent ink over a coloured surface destroys tonal range and colour accuracy.
- Your brand colours are specific – if Pantone accuracy matters, you need white underprint for the colours to read true. Without it, the surface colour mixes with your ink and shifts the final appearance.
- You need fine text to be legible – small text in light colours disappears on a coloured surface without underprint. If your label includes ingredients, instructions, or other small text that must be readable, underprint is usually the safer call.
When to Skip White Ink Underprint
Skip it when you want the pure “floating” look:
- Dark design on a light or white surface – black text on a clear glass jar, for example. The ink is opaque enough to read, and the clear film disappears against the light background.
- Outlined or line-art designs – logos that are essentially lines and strokes rather than filled shapes can work without underprint on light surfaces.
- Window decals – designs on windows are typically viewed with light behind them. Underprint creates opacity where you might want light transmission.
- Minimalist labels on transparent packaging – when the product itself is part of the visual – perfume, oil, water – and you want the contents to show through, underprint defeats the purpose.
The rule: if in doubt, mock it up. Print your design on a transparency sheet and hold it over your actual surface. That is what you will get.
To get white ink on our Clear Stickers, add a note at checkout or contact customer service before you order. It is not a listed option on the order form. Confirm the white placement on the emailed proof before anything prints. For the detailed explanation, read the white ink underprint guide.
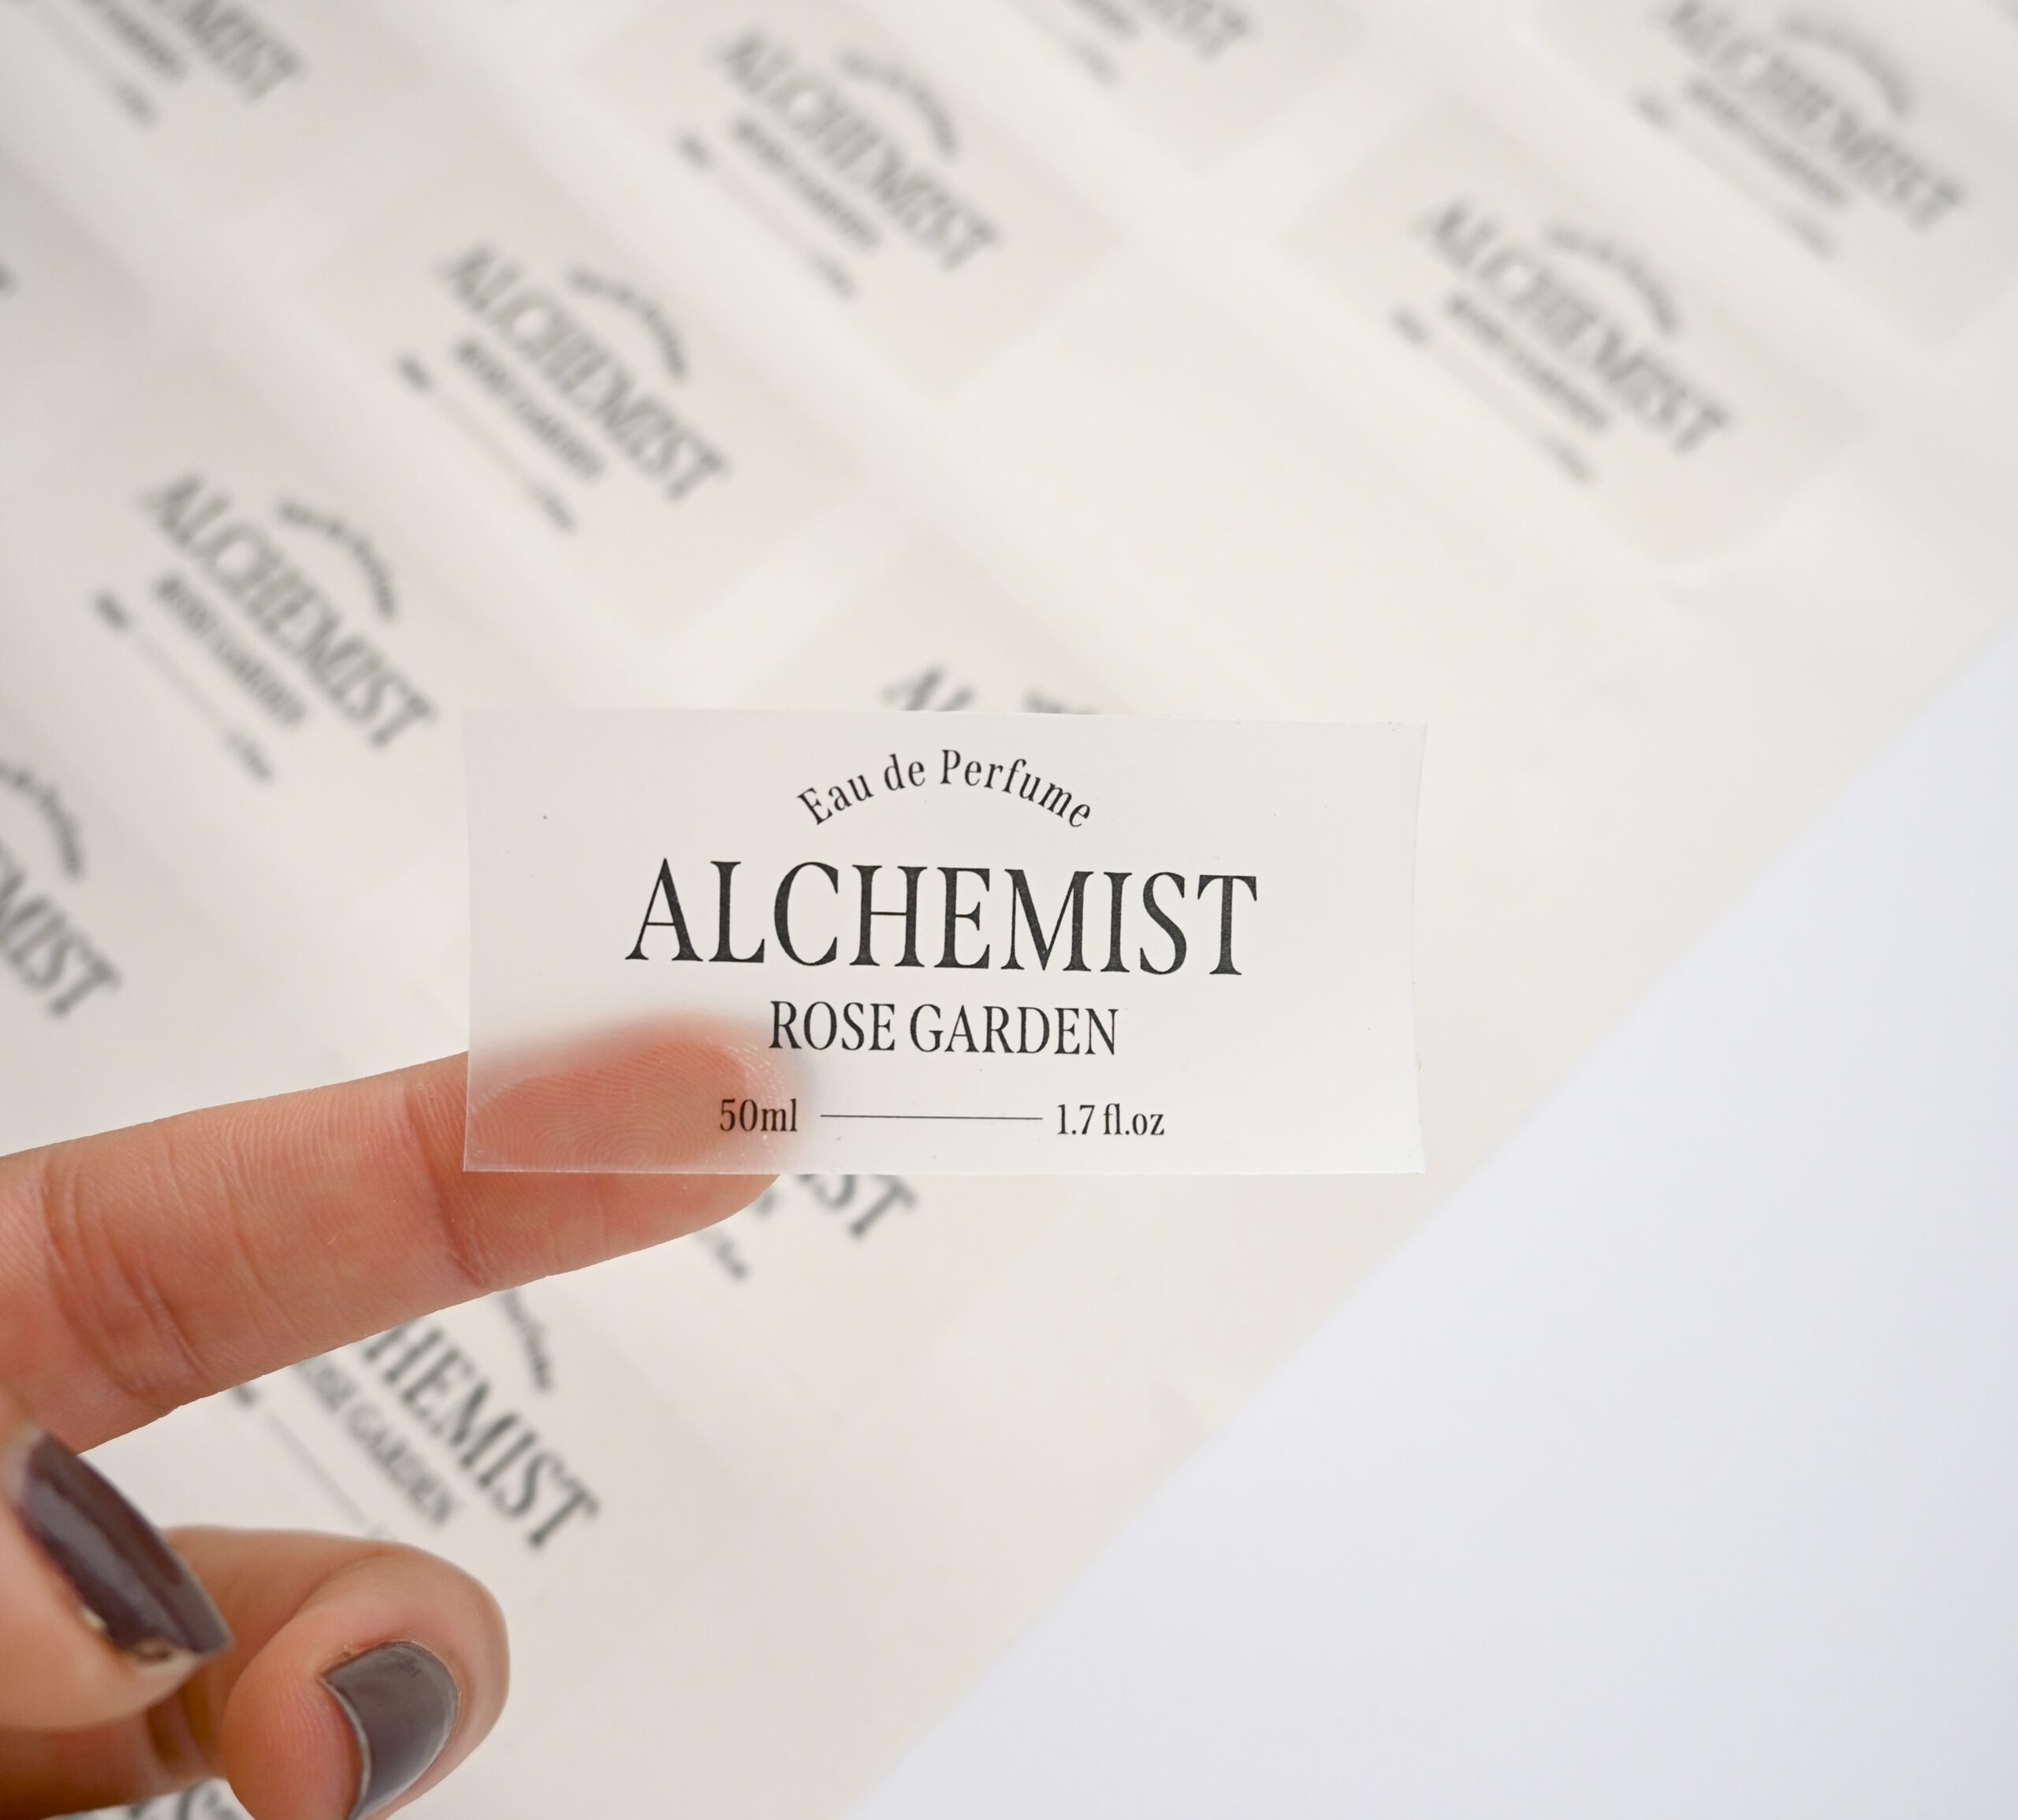
Surfaces That Work Beautifully
Clear stickers need a smooth, non-porous surface to adhere properly and look right. Best surfaces:
Glass
The classic application. Smooth, non-porous, and the transparency of glass amplifies the floating effect. Bottles, jars, windows, mirrors. Works with or without white underprint depending on the colour of what is inside the container. A honey jar with golden honey inside and a clear sticker on the outside creates a beautiful, layered visual that no paper label can replicate. See our clear labels for a transparent stock that keeps containers looking unlabelled while holding fine detail.
Smooth Plastic
Water bottles, product containers, phone cases, hard cases. Must be smooth – textured or matte plastic creates adhesion issues and visual noise that breaks the illusion. Check the surface first. If you can see texture when you run a finger across it, clear stickers will not sit flush and will show air pockets or edge lifting over time.
Polished Metal
Clean aluminium, stainless steel, powder-coated surfaces. Works well for product branding and equipment labelling where the metallic sheen adds to the effect. A clear sticker on brushed stainless steel creates an understated, premium look that works particularly well for tech and industrial product branding.
Coated Cardboard and Packaging
Smooth, gloss-coated cardboard – like cosmetic boxes or premium packaging – works for a clean, minimal seal. The sticker sits flat on the coated surface and adheres well. Uncoated or kraft paper packaging is a different story: the porous surface causes adhesion issues and the sticker edges lift, particularly in humid conditions.
Surfaces That Don’t Work
Not every surface suits clear stickers. Understanding the limitations saves a wasted order:
- Textured or matte surfaces – Kraft paper, uncoated cardboard, matte bottles, fabric. The adhesive does not bond cleanly, edges lift quickly, and the texture disrupts the design visually.
- Painted walls – Especially latex-painted walls. Clear stickers can damage paint on removal and do not always adhere cleanly to the slightly textured surface. If you need wall graphics, consult a signage specialist about appropriate substrates.
- Skin. Clear stickers are not designed for skin contact. Temporary tattoo paper is a different product with a different adhesive system and material composition.
- Outdoor porous surfaces – Brick, concrete, unsealed wood. The adhesive will not bond properly and the sticker will fail quickly. Outdoor signage requires different materials and installation methods.
Design Tips for Transparent Backgrounds
Designing for clear stickers is different from designing for standard white stickers. A few rules that save reprints:
Manage Light Colours Near the Edge
Pale yellow, cream, and light grey elements near the sticker’s perimeter will disappear against most light surfaces. The viewer’s eye will not know where the sticker ends and the surface begins – and not in a good way. Either bring light-coloured elements toward the centre of the design, add a thin contrasting border, or include white underprint in those areas.
Use Contrast Deliberately
Without a background to unify the design, each element needs to hold its own. Test how your design reads at full transparency by removing the white background in your design file and checking legibility against the colour of your target surface. A design that looks great on a white artboard can completely disappear on a dark amber bottle.
Minimum Stroke and Text Sizes
Fine detail gets lost in the print process on clear film. Set minimum stroke weight to 0.5pt and minimum text to 7pt. Hairline strokes that look elegant on screen become invisible or broken in print, especially when the clear substrate adds visual complexity from the surface behind it.
Add a Subtle Border If Needed
If your design feels like it needs grounding, a thin border in a colour that contrasts with your target surface can define the edge without looking like a generic sticker border. This is especially useful for complex, multi-element designs where the edges of the design area need to be clear. A 1pt border in a dark colour works on light surfaces; a 1pt border in a light colour works on dark surfaces with white underprint.
Design in CMYK
Colours on a clear substrate shift slightly from how they look on white. Design in CMYK, not RGB, and check the artwork against the actual surface colour if possible. We email a design proof before printing. Order a sample pack and test the clear stock against your own surface.
Use Cases Where Clear Stickers Shine
Clear stickers outperform white stock in a particular set of situations. Here is where they work best:
Product Packaging and Labels
Clear stickers are the go-to for small-batch product makers who want a premium, custom label without the minimum order quantities of commercial label printing. Skincare, candles, hot sauce, gin, honey – the “no label” look communicates premium in a way that a standard paper label cannot. When your product is beautiful, the packaging should not hide it.
Bottle and Jar Labels
See-through containers with clear labels let the product itself be part of the visual. A clear honey jar with a floating logo is more beautiful than any paper label alternative. For product photography, clear labels also reduce glare and reflections that can make paper labels look cheap under studio lighting.
Window Branding
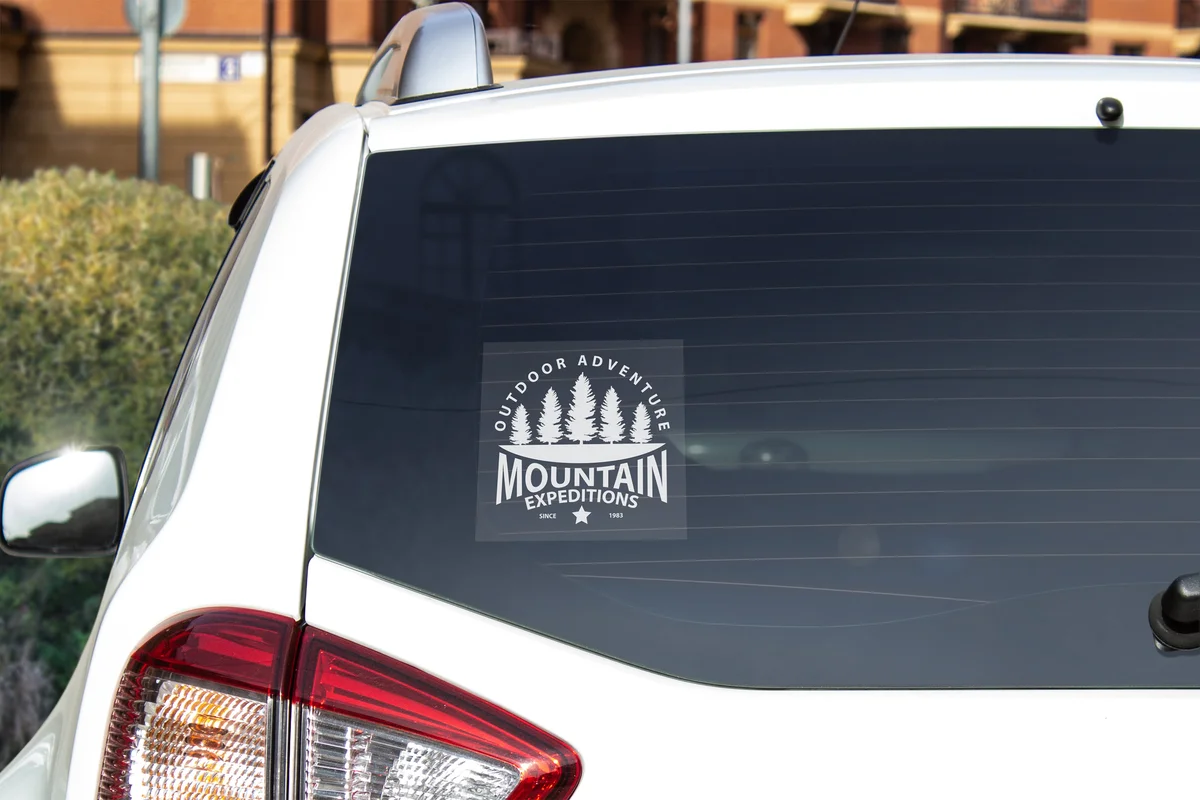
Shop windows, office partitions, and glass doors suit clear stickers. The largest preset is 200 x 200 mm, so plan for a compact design. The adhesive is permanent, so treat placement as a decision that stays. Where the glass spans wider than a standard clear sticker, clear vinyl at large sizes keeps the see-through graphics readable without adding a busy white border.
Packaging Seals and Closures
A small clear sticker works as a box seal or packaging closure. It is cut to the size you choose, not to the outline of the artwork. White ink is available on request when you need the design to hold up on a dark box.
Tech Products and Accessories
Phones, laptops, tablets. Clear stickers add branding without covering the premium material finish underneath. For tech companies that want to brand devices or accessories with a subtle, premium feel, clear stickers are often a better choice than white vinyl, which creates an obvious contrast with the device surface.
Related reading:
Order in Confidence
Clear Stickers come in eight preset sizes from 30 x 30 mm to 200 x 200 mm, cut to the size you choose. Choose Digital Print or Foil + Digital Print, with a minimum of 10 stickers per design. White underprint is on request. Browse the custom stickers range for options.
Flat-rate $10 shipping Australia-wide. Your design deserves a surface that does not fight back.
Need help with the white layer?
Contact customer service about the white layer before you order. A design proof is emailed before printing, and nothing prints until you approve it.
Frequently Asked Questions
What makes a sticker “clear” rather than standard white?
Clear stickers are printed on a transparent film instead of white vinyl. This means wherever there is no ink, you see straight through to the surface underneath. White stickers have an opaque backing that covers the surface completely. The difference is significant for products like glass bottles, packaging, or windows – a clear sticker blends into the surface and makes your design look like it belongs there, while a white sticker always has a visible background edge regardless of how it is cut.
What surfaces work best for clear stickers?
Clear stickers work best on smooth, clean, non-porous surfaces such as glass, smooth plastic, gloss finished packaging, and laptops. Rough, matte, and porous surfaces trap air and lift, so they are hard to use well. The adhesive is permanent, so place the sticker carefully on the first attempt.
How should I design artwork for a clear sticker?
Design with the surface colour in mind. Light and white areas print as clear unless you request white ink with a note at checkout or through customer service. Use bold shapes and strong contrast, and avoid very fine light text. Supply the file at size in CMYK with 3 mm bleed.
What is the difference between clear stickers and white vinyl stickers?
The core difference is the film base. White stickers use an opaque white vinyl backing, so your design always sits on a white field – predictable colours, good contrast, no surprises from the surface behind. Clear stickers use transparent film, so the surface shows through any unprinted areas. White stickers are better when colour accuracy matters or you are applying to dark surfaces where clear stickers would render colours unreadable. Clear stickers are better when you want a seamless, no-label look on glass, bottles, or light-coloured packaging.
When should I choose clear stickers over other types?
Choose clear stickers when the background matters to the design. Cosmetic product labels on transparent containers, window graphics where you want light to pass through, branded packaging where you want the design to look printed directly on the surface – these are ideal use cases. If you are applying to a dark surface, a white base is usually smarter. For bumper stickers or outdoor signage where maximum readability is the priority, white vinyl is the safer choice. Clear is the right call when subtlety and surface integration matter more than high-contrast visibility. Explore clear stickers or compare with die-cut stickers to find the right format for your project. Browse our clear stickers to see available sizes, finishes, and pricing. Once a product line moves past one-off runs, the same effect is available as clear labels through our custom label printing range, supplied on rolls of 500.