
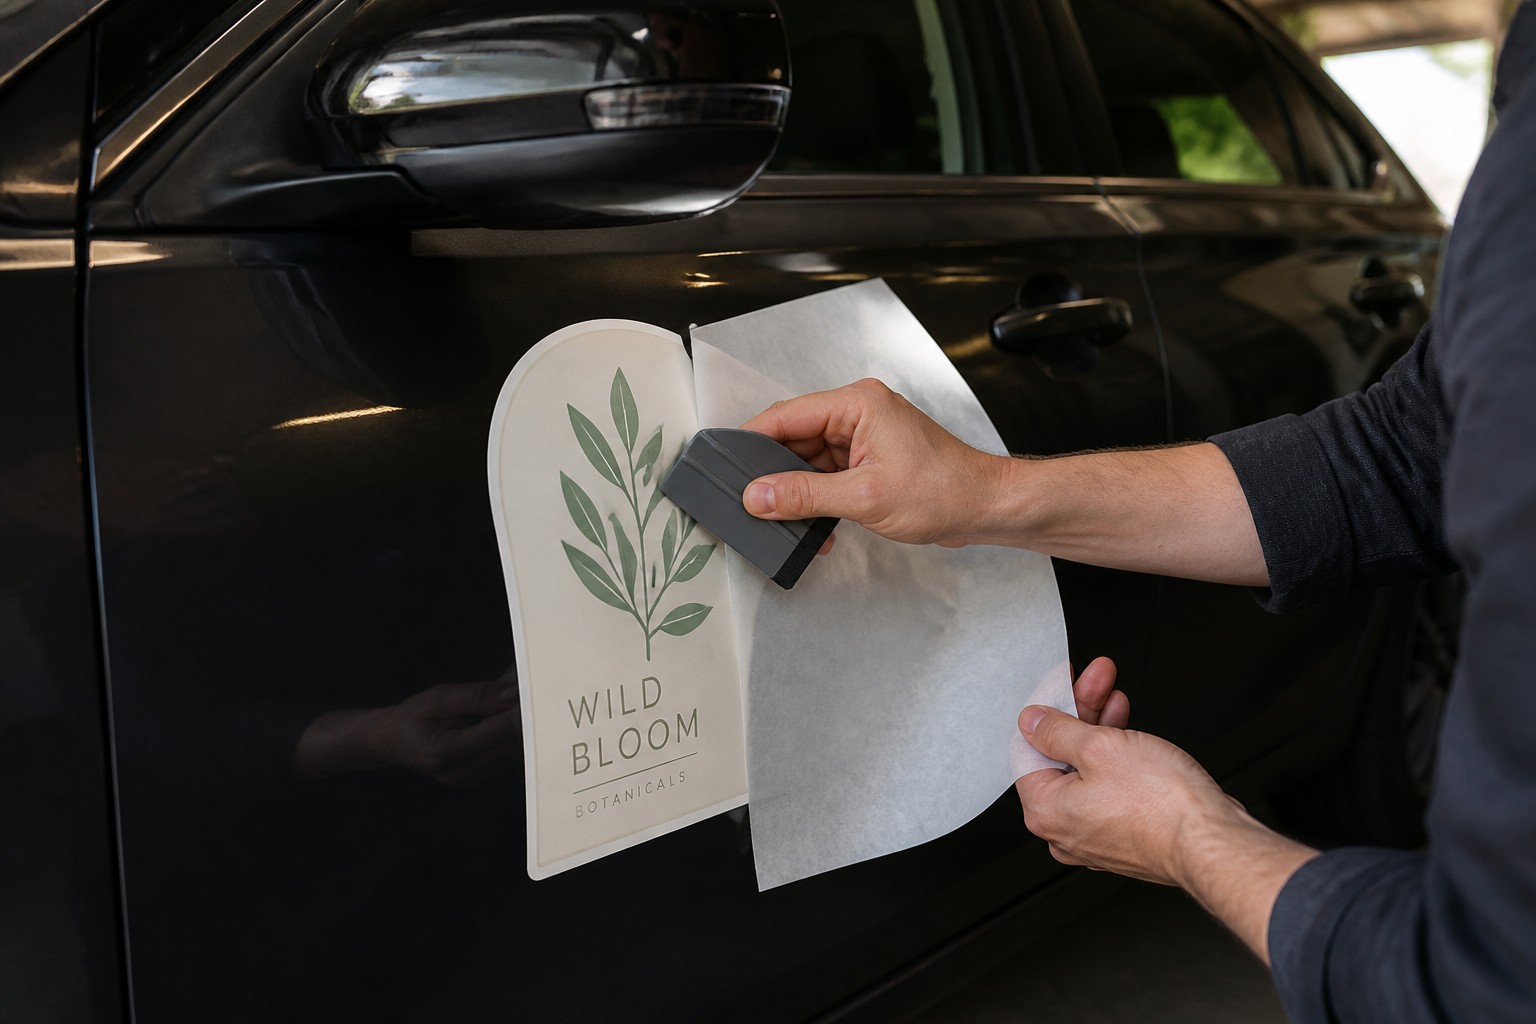
Applying a decal to a car is not the same job as sticking vinyl to a flat wall or a window at head height. The surfaces vary, the temperatures vary, and the consequences of getting it wrong sit in full view on your vehicle for years. This guide covers what a car surface actually demands: the prep, the panel variations, the glass-specific traps, and what to do with curves. If you need a refresher on the basic squeegee method, the sibling article on general vinyl decal application has that covered.
- Clean then degrease, in that order. Washing lifts dirt; isopropyl alcohol lifts the wax and silicone that washing leaves behind.
- A freshly waxed panel is the worst possible surface for a decal. Wax prevents adhesion.
- Apply in shade or a cool garage. Black and dark panels in direct Australian summer sun can reach surface temperatures where adhesive bonds immediately and unevenly.
- Work in the 15 to 25 degree Celsius range where possible.
- Glass is smoother than clearcoat, so initial adhesion is weaker. Use more squeegee passes.
- Never position a decal edge directly over the rear window demister elements. The vinyl can lift at those lines over time.
- Vinyl conforms to gentle curves without help. Sharp recesses need heat forming.
- For removal: heat the vinyl first, peel at a low angle, use adhesive remover on residue. Not petrol.
The Surface You Are Actually Working With
Vehicle paint is not uniform. Modern factory finishes have a base coat and a clearcoat layer on top, and that clearcoat carries a degree of texture at the microscopic level. It also accumulates silicone from car wax, polish and water repellent products over time. Vinyl adhesive bonds mechanically to this surface, and any contamination sitting between the adhesive and the clearcoat undermines that bond.
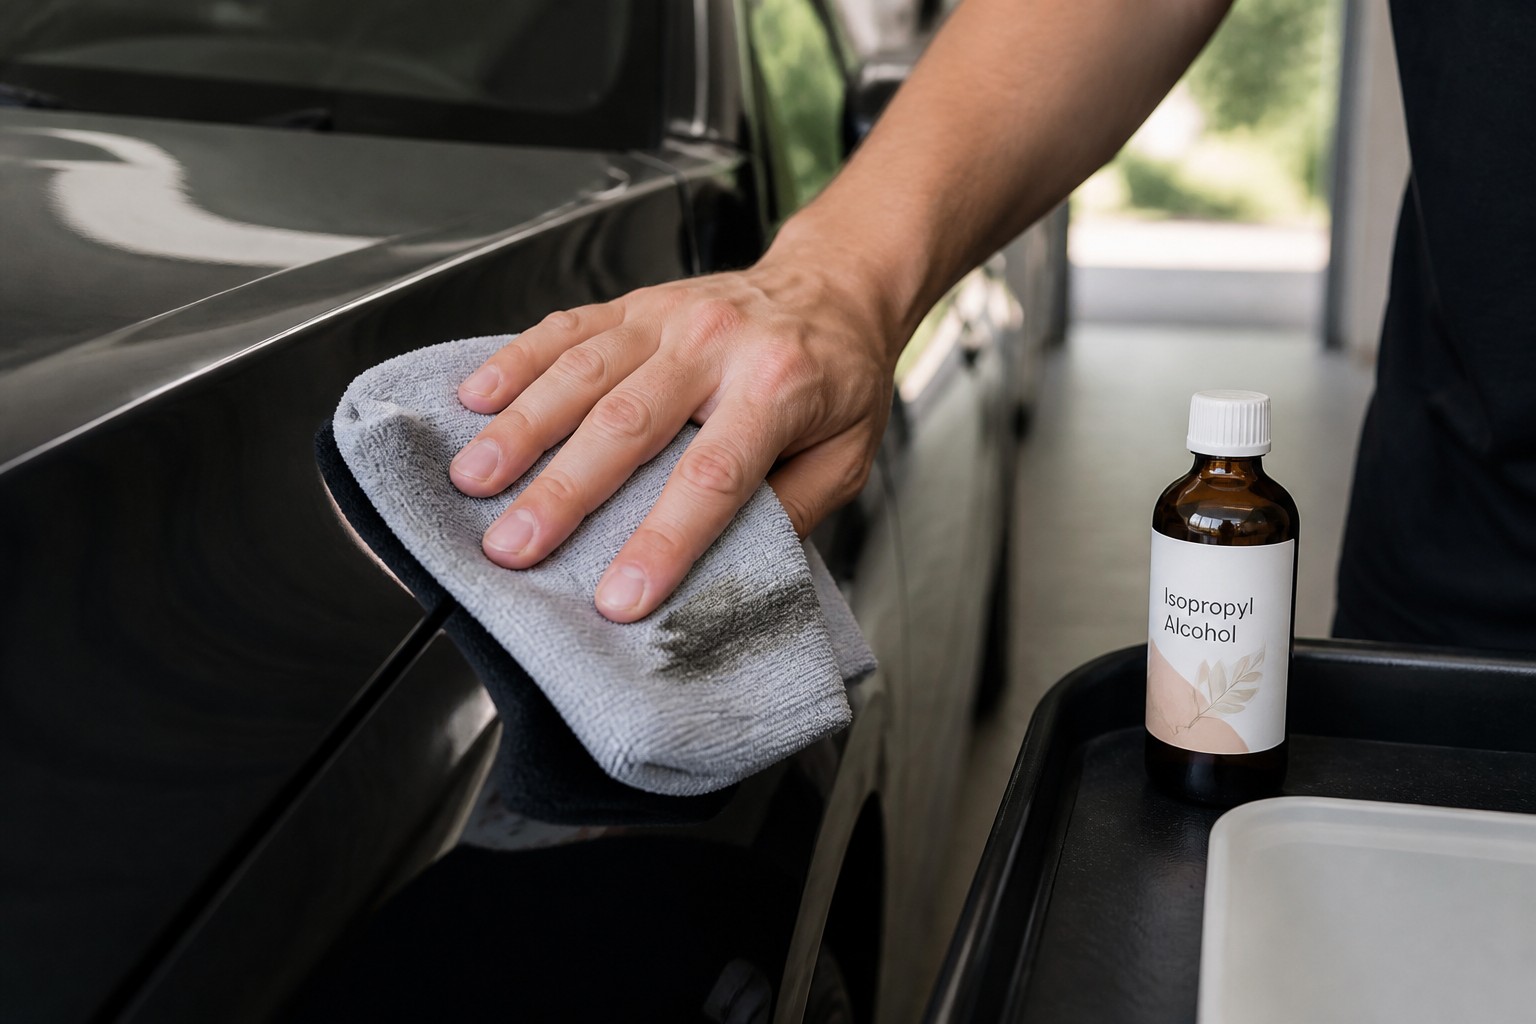
Washing the panel with car wash soap removes surface dirt and road film. It does not remove wax, polish, or silicone. After washing, wipe the application area with isopropyl alcohol (70% or above, available from hardware stores and pharmacies) on a clean microfibre cloth, then buff dry with a second cloth. The surface should feel slightly grabby rather than slick when you run a clean finger across it. If it still feels waxy, wipe again.
The Clay Bar Question
A clay bar removes bonded surface contaminants, including industrial fallout, paint overspray and stubborn silicone deposits that alcohol cannot shift. If the panel feels rough or gritty even after washing, a light clay pass before your alcohol wipe gives the adhesive a cleaner foundation. This is not always necessary. On newer vehicles, or panels that have been detailed recently, the alcohol wipe is usually sufficient. On older vehicles or neglected panels, the clay step is worthwhile.
A waxed surface is not a surface you can skip prep on. Even if the car looks clean, wax acts as a release layer between the vinyl and the clearcoat. A decal applied to a waxed surface may hold for a few weeks and then peel cleanly off the wax film.
Temperature and the Australian Summer Problem
The practical application temperature window is roughly 15 to 25 degrees Celsius. Below about 10 degrees, the adhesive becomes less pliable and the initial bond is weak. Above 30 degrees, the adhesive accelerates, which sounds helpful until you realise it means you have almost no time to reposition the decal before it sets permanently.
A black or dark-coloured car panel in direct summer sun in Queensland, Western Australia, or inland South Australia can reach surface temperatures well above 50 degrees Celsius. At those temperatures, the adhesive grabs immediately on contact. Any air bubble you trap is locked in. Any misalignment is there to stay.
The answer is shade or a cool garage. Park the car undercover for at least an hour before applying. Early morning is the practical window for outdoor application during summer, before the panel heats up.
Glass vs Clearcoat
Glass is smoother than clearcoat at a microscopic level, which means vinyl adhesive initially has less surface area to grip. In practice, glass application requires more squeegee passes to push out air and achieve a proper bond. Three to four overlapping passes across the full decal, working from the centre outward, is not excessive on glass.
Glass also suits wet application better than painted panels. A light mist of soapy water on the glass lets you reposition before squeegeeing out the water, which is useful for large side window graphics where precise alignment matters.
The Rear Window Demister Element Trap
The rear window defogger is a grid of thin conductive elements bonded to the inside of the glass. From outside, they appear as faint horizontal lines running across the full width of the window.
A decal positioned so that its edge crosses these element lines will develop lifting at those points. The element lines create a slight surface variation at the glass, and vinyl bridges across it rather than conforming fully. Over time, particularly through the heating and cooling cycles of Australian weather, the vinyl edge at each element line can work loose.
If you want a rear window decal, position it in a clear section of glass away from the element grid, or run the design parallel to the elements rather than across them. If the design must cross the elements, press the vinyl firmly into the glass along each element line with a felt squeegee or a soft cloth immediately after application, and check those edges again after the first hot day.
Curved Panels and Body Lines
Standard calendered vinyl has limited conformability. It wraps around gentle curves, such as a door panel that curves gently toward the edges, without any special technique. It will not follow a sharp body crease, a pronounced compound curve, or a recessed panel gap without some assistance.
For curved surfaces, apply the decal to the flat central section first, squeegeeing from the centre outward, then work the vinyl toward the curve in short overlapping strokes. Where the vinyl wants to bridge a recess rather than follow it, lift the squeegee and approach from a different angle.
Heat Forming
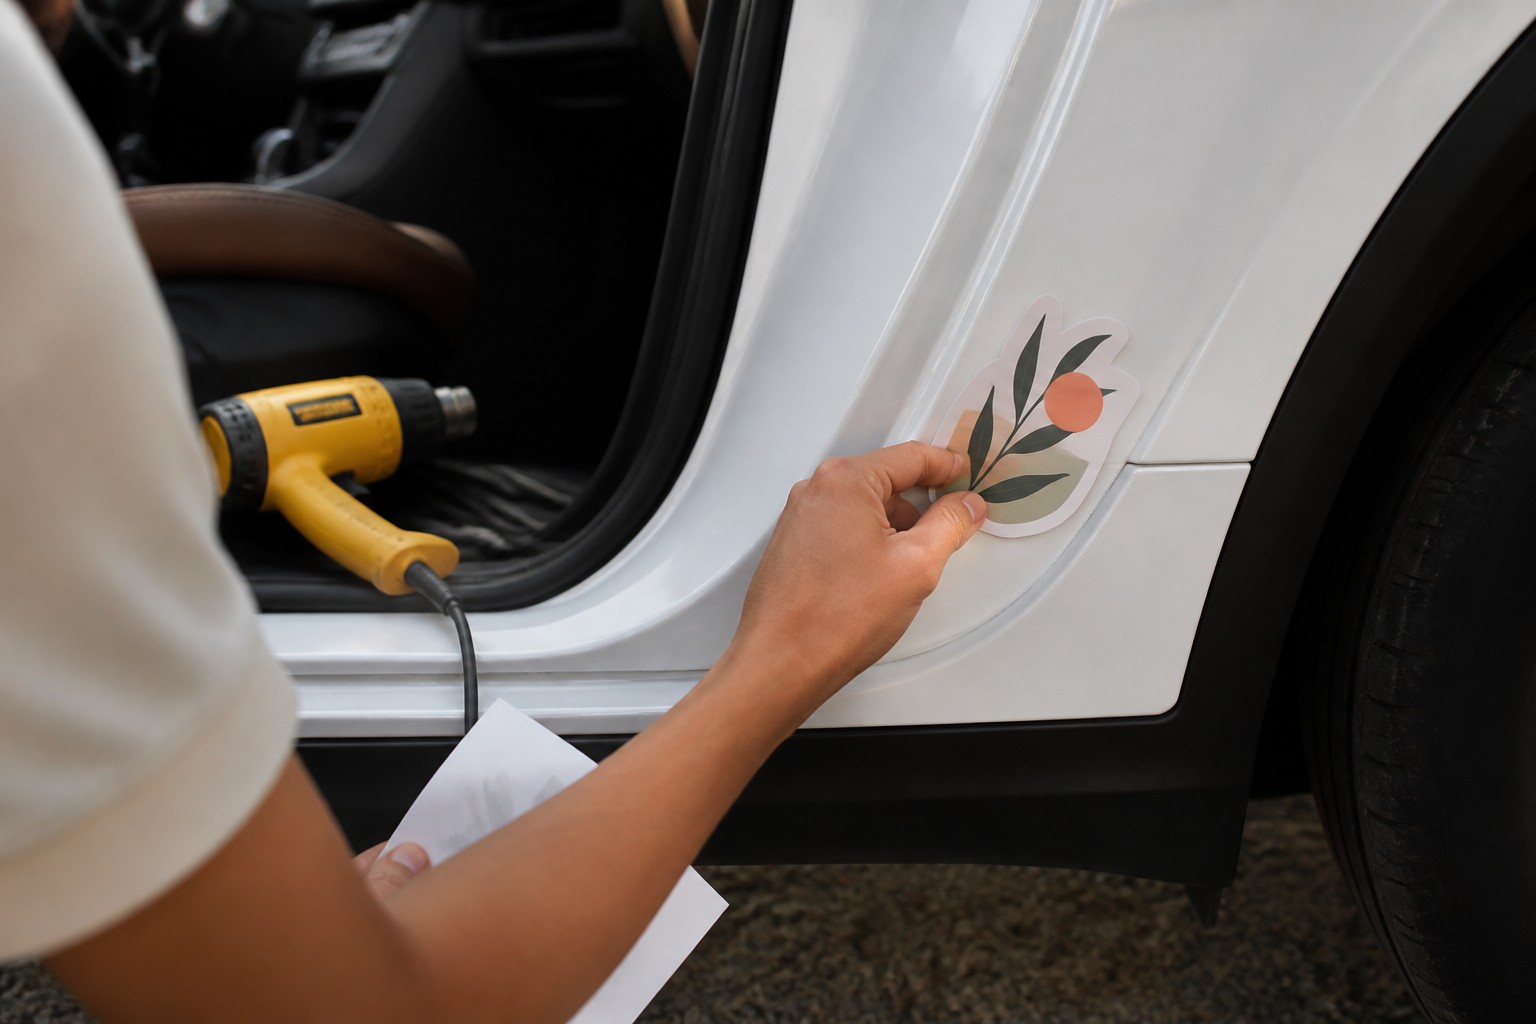
A heat gun on a low setting, or a hair dryer held close, warms the vinyl and makes it pliable enough to stretch into curves and recesses. After squeegeeing the main body of the decal down, apply brief heat to the curved or recessed section, then press the vinyl firmly into the contour with your thumb or a felt squeegee tip. The vinyl holds the new shape as it cools.
It is easy to overdo this. Overheated vinyl stretches beyond its elastic limit and can distort, go cloudy, or shrink back on itself. Keep the heat gun moving constantly, hold it at least 15 centimetres from the surface, and work in short passes of two to three seconds. If the vinyl starts to shrink back or loses colour clarity, stop and let it cool before continuing.
Sharp internal body lines where the panel folds into a recess of under about 10mm may not be achievable with standard calendered vinyl regardless of how much heat you apply. Cast vinyl, which has lower memory and higher conformability, handles these better.
The Hinge Method at Scale on a Panel
Applying a decal that spans most of a car door, or runs across a bonnet section, requires the hinge method at a larger scale. The single-edge tape hinge used for small decals becomes a centre-panel hinge for large pieces.
Run masking tape vertically through the centre of the positioned decal. Fold the right half back, peel its backing paper, lower it and squeegee from the hinge outward to the right edge. Then fold back the left half, peel and squeegee outward to the left. Remove the centre tape and squeegee over the join.
This gives you full control without a second person and keeps the decal from folding onto itself or picking up dust.
Cure Period Before Washing
After application, the adhesive needs time to bond fully before washing. For dry application, allow at least 24 hours before light hand washing. Wet application takes longer because the soap residue between the adhesive and the surface needs more time to dissipate.
For pressure washing and automatic car washes, the risk is the spray jet directed straight at a decal edge. Angle the nozzle so the spray moves past the edges rather than into them, and do this routinely rather than just in the early cure period.
Removal and Paint Safety
A decal correctly applied to factory clearcoat and removed within a reasonable period should not damage the paint underneath. The adhesive bonds to the clearcoat surface, not through it.
The risk is sun-baked vinyl left in place for years. Prolonged UV exposure hardens the adhesive and begins to break down the vinyl itself, making it brittle. The longer a decal stays on a vehicle in direct Australian sun, the harder removal becomes and the greater the residue left behind.
To remove a decal safely:
- Warm the vinyl with a heat gun or hair dryer. This softens the adhesive and makes the vinyl flexible enough to peel without tearing.
- Work from one corner, peeling back at a very low angle (almost flat back against the surface) rather than pulling straight up.
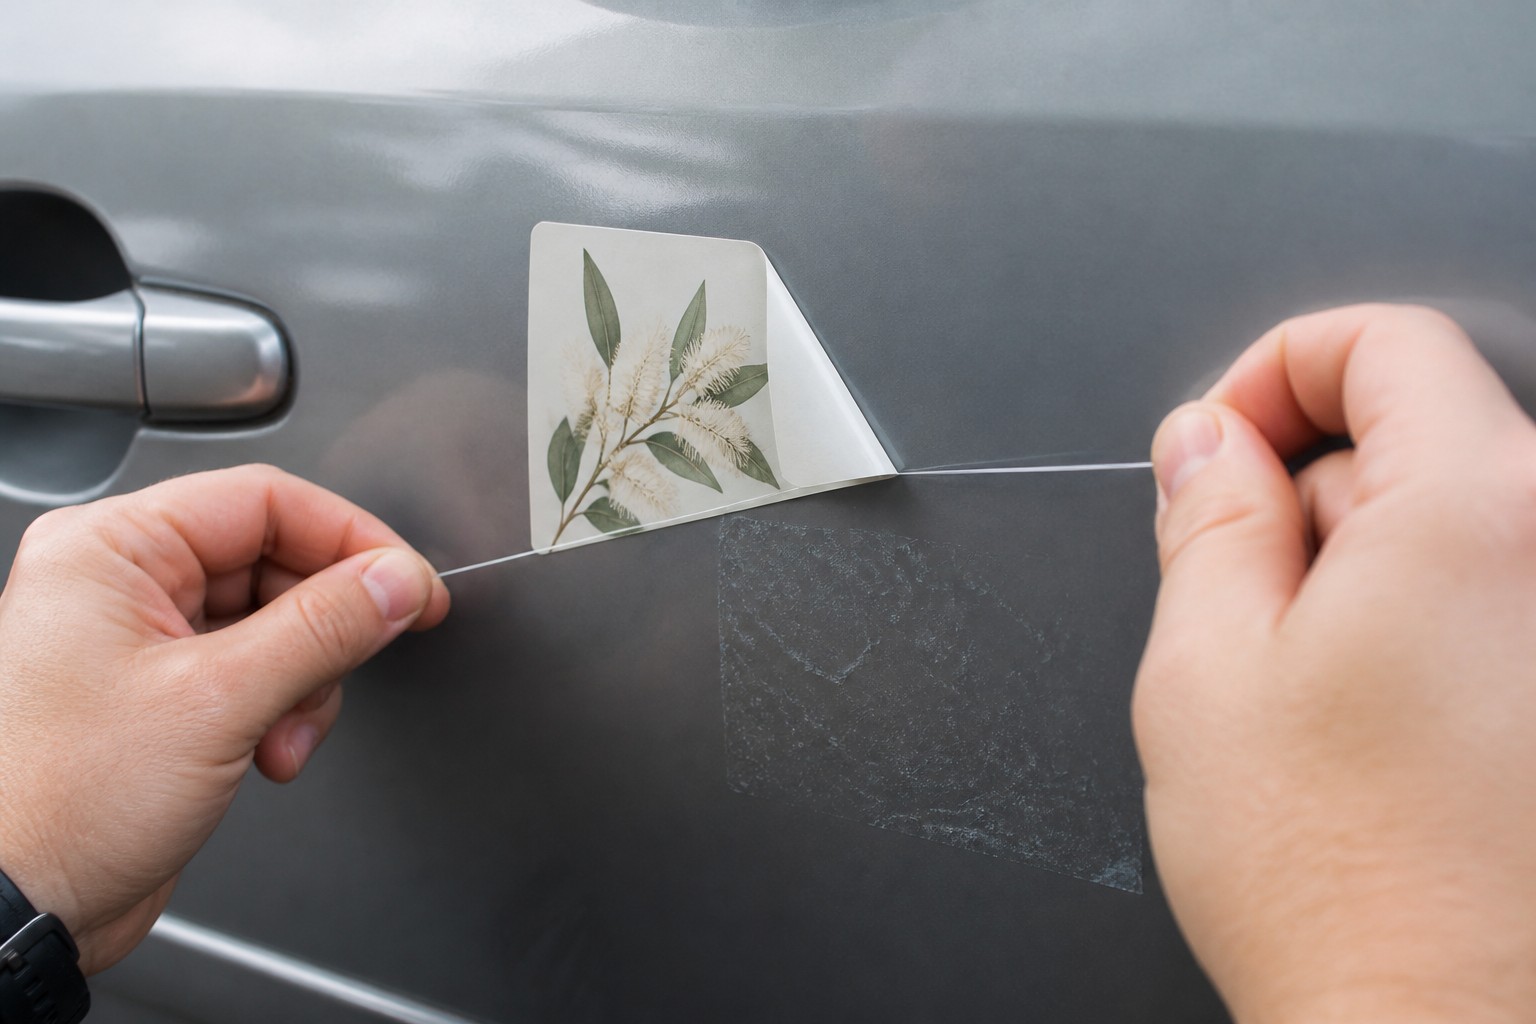
- For stubborn sections, slide dental floss or fishing line between the vinyl and the panel. A plastic trim removal tool also works and is less likely to scratch than a metal tool.
- Clean remaining adhesive residue with a dedicated adhesive remover. Apply to the residue, allow it to dwell for a minute, then wipe with a microfibre cloth. Repeat as needed.
Do not use petrol, acetone, or fingernail polish remover on car paint. These products can attack the clearcoat and leave marks that require polishing or respraying to fix.
Choosing the Right Product for Your Vehicle
For door lettering, window branding, ute tray decals, or small livery elements, Vinyl Stickers are the practical starting point. They print in White Matte Vinyl with optional laminate, run to a maximum of 295mm x 425mm, and start from 10 units per design at $0.76 each (qty 50).
If your artwork is larger than that, Large Format Stickers cover the next tier. Available in 600 x 200mm, 600 x 900mm, and 200 x 200mm, in Monomeric Vinyl in White, Hi-Tack White, and Clear options, with die-cut shapes available.
If you need something you can take off and put back on without any adhesive residue, Car Magnets are the honest answer. They attach to any ferrous metal panel and remove cleanly, which suits business signage on vehicles used for both work and personal driving.
For rear bumper text or small rear-window messaging where easy removal matters, Bumper Stickers use a White Gloss Removable stock designed for lower-commitment adhesion than permanent vinyl.
Frequently Asked Questions
Can I apply a decal to a freshly painted car?
Fresh automotive paint needs time to fully cure before vinyl is applied. The clearcoat off-gasses solvents as it cures, and sealing vinyl over an uncured surface can trap those solvents and cause problems with both the paint and the adhesive. Most body shops recommend waiting at least 30 days after a full respray. If in doubt, ask the shop that did the work.
Does car wax stop a decal from sticking?
Yes. Wax creates a release layer between the vinyl adhesive and the clearcoat, which prevents proper bonding. Always wipe the application area with isopropyl alcohol after washing to remove wax before applying any vinyl decal.
What is the best time of day to apply a decal in Australian summer?
Early morning, before the panel heats up in the sun. Dark car panels in direct summer sun can reach surface temperatures that cause the adhesive to bond immediately and leave no time for repositioning. Work in shade or a cool garage where possible.
Can I apply a decal over the rear window demister lines?
Not directly over the element lines. Vinyl bridges the slight surface variation at each line and can develop lifting there over time through heating and cooling cycles. Position the decal in a clear section of the window, or run it parallel to the element grid.
Will removing a car decal damage the paint?
A correctly removed decal on factory clearcoat should not damage the paint underneath. Use a heat gun to soften the adhesive, peel at a very low angle, and clean residue with a dedicated adhesive remover. The risk of paint damage increases significantly with vinyl that has been baked on in direct sun for an extended period.
How do I remove air bubbles from a car decal?
Work bubbles toward the nearest edge with a squeegee or your finger immediately after application. Small bubbles that appear after the transfer tape is removed can be pierced with a fine needle at a shallow angle and then pressed flat. Bubbles in a fully cured, firmly bonded decal are harder to deal with. Prevention is easier: squeegee in thorough overlapping passes during application.
Can I apply vinyl to textured plastic bumpers?
Vinyl adhesion to textured surfaces is reduced compared to smooth clearcoat or glass. The adhesive contacts only the raised points of the texture, leaving much of the surface area without contact. Vinyl on textured bumpers is more prone to edge lifting. If the application is required, use a heat gun to press the vinyl firmly into the texture during application and check edges regularly.
What is the difference between Vinyl Stickers and Large Format Stickers for a vehicle?
Vinyl Stickers print up to 295mm x 425mm and suit door branding, window logos, and smaller livery elements. Large Format Stickers handle pieces up to 600mm x 900mm in Monomeric Vinyl, including Hi-Tack White for surfaces that need stronger adhesion. If your design exceeds 295mm in either dimension, Large Format is the correct product.