Custom stickers are one of the highest-ROI marketing investments your business can make. Cost per unit: $0.08-$0.40. Potential impressions: thousands. Shelf life: years.
A flyer gets glanced at and binned. A sticker goes on a laptop, a water bottle, a car – and travels. Every surface it lands on is a new impression, and it didn’t cost you another cent.
But stickers only work as a branding tool when you’re thinking about the full ecosystem – not just “a sticker with our logo on it.” Here’s how smart businesses deploy stickers across every customer touchpoint.
At a Glance
Business stickers are the cheapest under-$0.20 brand surface most marketing budgets ignore — pick the right six applications and they outperform paid social per impression.
Match material to environment first (vinyl outdoor, paper indoor, clear vinyl on glass), price your run from the quantity break thresholds (100, 500, 1,000+), then keep design simple — one strong logo always beats clever multi-element artwork at sticker scale.
- Six high-leverage applications: packaging seals, product labels, promo handouts, event giveaways, vehicle branding, window graphics.
- Match material to environment first: vinyl outdoor, paper indoor, clear vinyl for glass and premium feel.
- Quantity sweet spot starts at 100; per-unit price drops sharply past 500 and again at 1,000+.
- Design principle: one strong logo beats clever multi-element artwork at sticker scale every time.
- Bleed always 3mm, safe zone 5mm — what reads at six inches has to read at six feet.
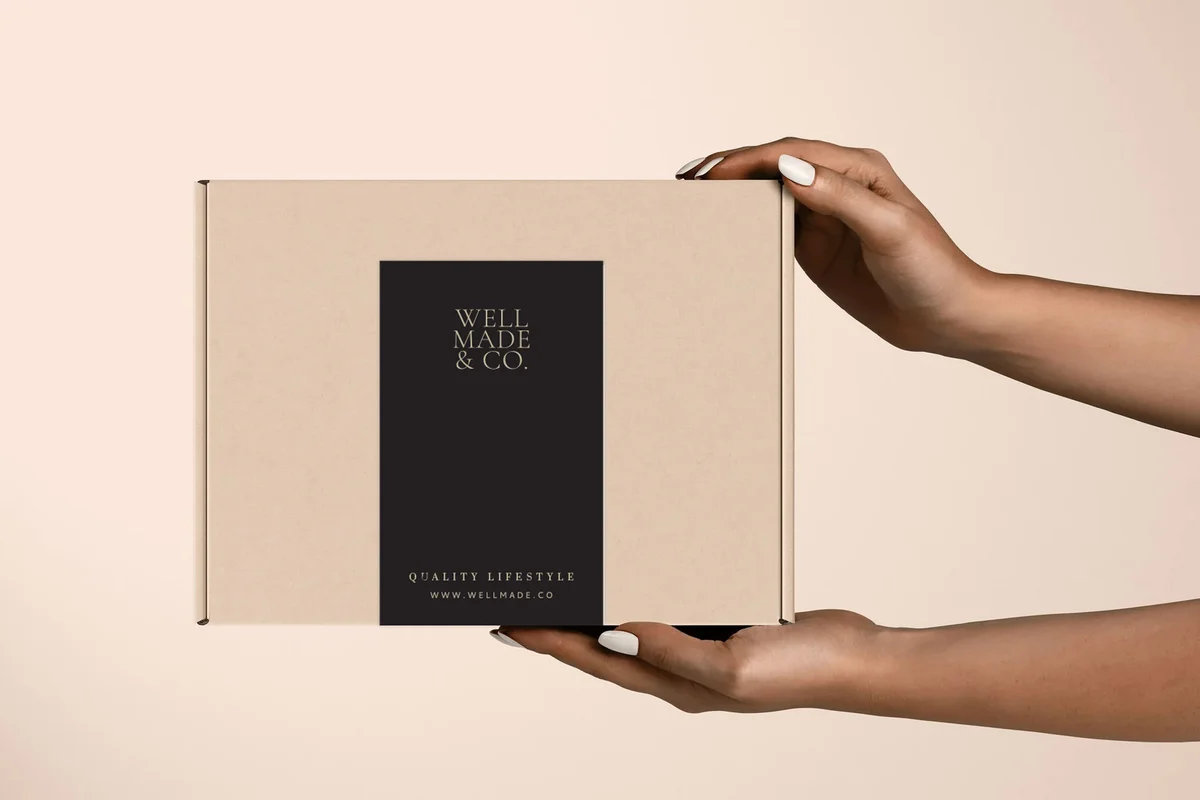
1. Packaging Seals: The First Impression
Every parcel you send is a branding opportunity. A plain cardboard box says nothing. A box sealed with a branded sticker says you care about the details.
What works: 38-50mm circular stickers are the standard for box seals. They close the flap, but more importantly they brand the box without dominating it. A clean logo or wordmark, maybe your tagline, on a matte or gloss white circle.
Material: White vinyl is the go-to. It’s smooth, clean, and takes colour accurately. If you’re sealing kraft packaging, a kraft-coloured or cream sticker can blend beautifully.
When to upgrade: If your brand is in the premium tier, consider a gold foil sticker seal. A gold foil circle on black tissue paper is a packaging moment that people photograph and share.
ROI reality: You’re already paying for packaging. The sticker adds $0.10-$0.25 per parcel. That’s the cost of a brand impression that literally travels to someone’s home. It’s one of the cheapest touchpoints in your entire customer journey.
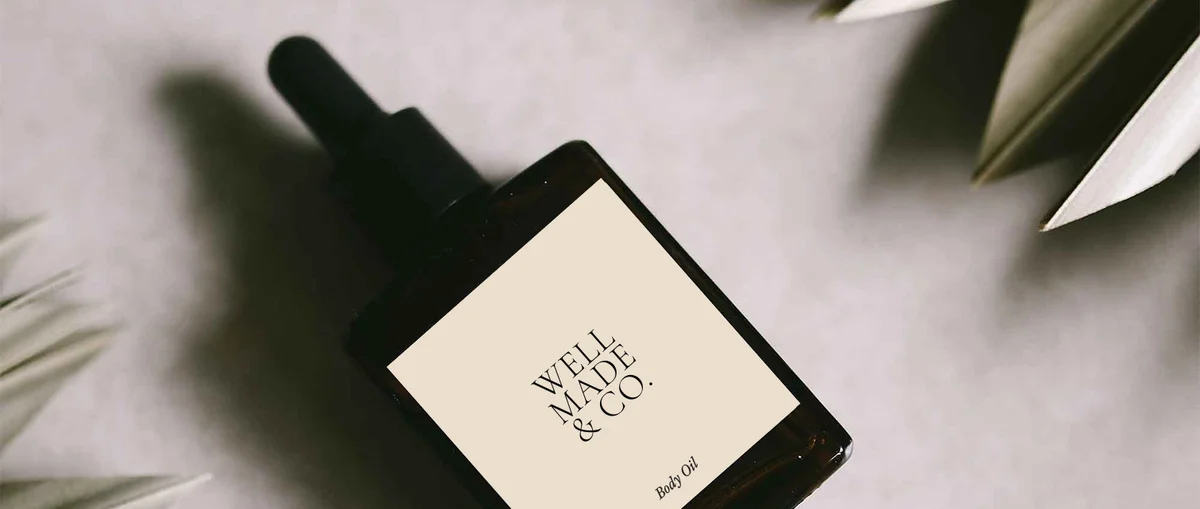
2. Product Labels: The Long-Term Relationship
If you sell a physical product, your label is the thing customers interact with every time they use it. A candle on a shelf. A hot sauce in the fridge. A skincare serum on the bathroom counter.
Product labels live longer and are looked at more than almost any other marketing material you produce. They deserve proper investment.
What works:
- Die-cut labels cut exactly to your container shape
- Clear vinyl labels for the “no-label” floating effect on glass and smooth plastic
- Circle stickers for round jar lids and caps
- Custom shapes for irregular containers
Material match by product type:
- Food/beverage: White or clear vinyl, waterproof (fridge and dishwasher exposure)
- Cosmetics/skincare: Clear or white vinyl, oil-resistant
- Candles: White vinyl or kraft label stock; avoid anything near heat sources
- Hardware/tools: Durable vinyl, scratch-resistant laminate
Size tip: Measure the flat label area of your container, not the total circumference. Only the flat area is usable without wrapping. Die-cut stickers can be shaped to maximise label area on unusual containers.
3. Promotional Handouts: The Sticker as Business Card
Build a sticker-driven brand surface
Packaging seals, product labels, vehicle decals, window graphics. All in one print run. Free file check on every order.
Every industry conference, market stall, pop-up shop, and package insert is an opportunity to hand someone something they’ll actually keep.
Here’s the difference between a flyer and a sticker: the flyer goes in the recycling. The sticker goes on something.
What works: Die-cut stickers in your logo shape, or illustrated stickers that reflect your brand personality. The rule is simple – it has to be something people would want to put on their stuff. A sticker with your trading hours on it won’t get placed. A beautifully designed sticker with your logo and a memorable illustration will.
At events: 70-100mm stickers are the sweet spot for handouts. Big enough to be visually interesting. Small enough to go in a laptop bag and end up on a laptop.
In packaging inserts: A smaller sticker (50mm) tucked into a parcel with a short note is an underrated retention tool. It delights the customer and creates a brand ambassador moment.
4. Event and Conference Giveaways: Think Like Merch
If you’re at a trade expo in Melbourne, a pop-up market in Byron Bay, or a business conference, your sticker table presence matters. People browse sticker tables like they browse record stores – slowly, picking up the ones that catch their eye.
Design principles for giveaway stickers:
- Make it something you’d want, not just something you’d hand out
- Illustrated or character-driven designs travel better than logo-only stickers
- Give people a reason to place it: a clever phrase, a strong visual, something that expresses an identity
Quantity planning: For a half-day event, budget 200-300 stickers. For a full trade expo presence, 500-1,000. The cost per sticker drops significantly at 500+ – the investment is often under $100 for a run that creates hundreds of brand touchpoints.
Cost comparison with other giveaways:
- Branded pen: $2.50-$5 per unit
- Tote bag: $8-$15 per unit
- Sticker: $0.08-$0.40 per unit
The sticker doesn’t always win on prestige, but it wins decisively on volume and reach.
5. Vehicle Branding: Fleet Without the Fleet Budget
You don’t need a wrapped fleet van to put your brand on a vehicle. A well-placed bumper sticker or window decal on a work vehicle makes every drive a marketing run.
Tradies, delivery drivers, mobile businesses: A vinyl bumper sticker on your ute with your business name and number costs under $5 per sticker. In a day of driving around your local area, you’re seen by hundreds of people. That’s a CPM (cost per thousand impressions) that no digital ad can touch.
Material is non-negotiable here: Outdoor vehicle stickers must be cast vinyl. It handles UV, heat, cold, car washes, and years of weather. Paper or inferior vinyl will peel within months. See our vinyl stickers for outdoor-grade options.
Sizing for vehicles: Bumper stickers at 75×250mm are visible but not dominating. For larger fleet vehicles, window decals at 200-300mm work well. Keep the message simple: business name + one contact point (phone or web URL).
6. Window Graphics: Turn Glass Into Real Estate
Shop windows, office glass, and car windows are underused branding surfaces. A well-designed window sticker is visible from the street, doesn’t require planning permission (unlike external signs in most cases), and is removable if your design or tenancy changes.
What works:
- Hours of operation (clear vinyl, legible from the footpath)
- Logo and brand statement (white or full-colour vinyl, centred in window)
- Promotional messages (seasonal, easily replaced)
- Privacy screen with logo cutout (frosted vinyl effect)
Size for shopfront windows: Think big. A 200×300mm graphic disappears in a full shopfront window. 400×600mm minimum for a window that faces the street. If you’re going wall-to-wall, treat it like a billboard – minimal text, maximum legibility at pedestrian distance.
Related reading:
Putting It Together: The Sticker Brand Ecosystem
The businesses that get the most from sticker branding aren’t ordering one type of sticker. They’re running a cohesive set across touchpoints:
| Surface | Best format | Adhesive | Annual quantity |
|---|---|---|---|
| Packaging seal | Vinyl die-cut, 30–50mm | Permanent | 120% of order volume |
| Product label | Vinyl, brand-shaped | Permanent, oil-resistant | Per SKU x volume |
| Vehicle / fleet decal | Vinyl, large format | Permanent UV-stable | Per vehicle x 1.2 |
| Shopfront window graphic | Vinyl, removable | Removable, 12–month | Per location x 1 |
| Event / promotional handout | Kiss-cut sheet or die-cut | Permanent | 60–70% of attendance |
| Conference / lanyard / badge | Matte vinyl, removable | Removable | 120% of registrations |
- 38mm circle seals for all outbound packaging ✅
- 70mm die-cut logo stickers for handouts and events ✅
- Vinyl bumper sticker on all fleet vehicles ✅
- Window decal for shopfront branding ✅
- Product labels in matching brand design ✅
Every touchpoint is consistent. Every sticker is doing a job. And the total cost is often less than a single quarter-page newspaper ad.
Browse our full custom sticker range to see all the options – or start with circle stickers for packaging seals and die-cut stickers for logo handouts. From $0.08 per sticker, $10 flat-rate shipping Australia-wide.
The brands that look professional everywhere aren’t spending more. They’re thinking more strategically. Start with one touchpoint, nail the design, then expand. The sticker ecosystem builds itself.
Start building your brand: Custom stickers from $0.08 each. Also explore business cards and marketing materials at Paperlust Print Shop.
How to Choose the Right Sticker Material for Your Business
Material selection is where many businesses make costly mistakes. The wrong material means stickers that peel, fade, or fall apart before they have a chance to do their job. Here is a plain-language breakdown of the main options and when each one makes sense.
White Vinyl – The Workhorse
White vinyl is the default for most business sticker applications. It is opaque, takes color accurately, and works across a wide range of surfaces including cardboard, glass, metal, and plastic. It handles indoor use easily and holds up outdoors for 1-2 years with a UV laminate finish. If you are not sure what material to choose, white vinyl is almost always the right starting point.
Best for: packaging seals, product labels, general handouts, window stickers, and bumper stickers.
Clear Vinyl – The Invisible Label
Clear vinyl produces what the industry calls a “no-label” effect: your design appears to float directly on the surface without a visible label background. This works beautifully on glass bottles, clear plastic containers, and windows where you want a clean, premium look. The catch is that clear vinyl requires bold, well-spaced artwork – fine text and light colors can disappear against a transparent background.
Best for: cosmetic bottles, glass jars, candles, window graphics where background surface visibility matters.
Gloss vs. Matte Finish
Both gloss and matte finishes are available on most vinyl stocks. Gloss reads as vibrant and high-energy – it makes colors pop and suits bright, bold brand identities. Matte reads as refined and premium – it reduces glare, photographs better, and tends to communicate quality in sectors like cosmetics, food and beverage, and professional services. If your brand leans luxury, default to matte. If your brand is energetic and consumer-facing, gloss usually wins.
Ordering in Batches: How to Plan Sticker Quantities
One of the biggest advantages of custom stickers is that the cost per unit drops significantly with volume. Understanding this structure helps you plan smarter – and avoid paying more than you need to for small, frequent orders.
When to Order Small
Small runs (25-100 stickers) make sense when you are testing a new design, launching a limited-edition product, or need a short run for a specific event. The per-unit cost is higher, but the flexibility is worth it. Do not lock in 500 stickers on a design you have not tested in the real world.
When to Order in Bulk
Once a design is settled and you know it works – whether that is a packaging seal you use on every order, or a logo die-cut you hand out at every event – bulk ordering makes economic sense. At 500+ units, the cost per sticker drops substantially, and you will not need to reorder frequently. For businesses shipping 20 or more orders per day, this adds up to a meaningful cost saving over the course of a year.
A practical approach: order 500 of your packaging seal design as a baseline, review performance after you have used 250, and adjust sizing or artwork for the next run if needed. By the time you reorder, you will have real-world feedback on how the sticker performs on your packaging. If your brand runs several sticker designs at once, custom sticker sheets let you print a logo, a packaging seal, and a label together on one A4 sheet.
Getting the Design File Right
Before ordering, make sure your artwork file is set up correctly. Submit files as PDF or AI format with fonts outlined, artwork in CMYK color mode, and at least 3mm bleed on all sides. For die-cut stickers, include a clearly defined cut path. If you are working from a PNG or JPG, make sure the file is at least 300 DPI at the intended print size – lower resolution files will produce soft, blurry edges that undermine a professional look.
Explore the full range of custom stickers, die-cut stickers, and vinyl stickers at Paperlust Print Shop.
How to Build a Multi-Surface Sticker Brand System
The strongest sticker brands use 3–5 surfaces simultaneously — packaging, vehicle, window, giveaway, product label. Each surface has different size, finish, and adhesive requirements. Specifying them as one ecosystem rather than as separate orders unlocks bulk pricing and ensures visual consistency.
Before you build a sticker brand system
- Audit current surfaces — List every place your brand could appear — packaging, vehicle, window, swag
- Pick the hero design — One die-cut shape that works at 30mm and 300mm without redrawing
- Spec adhesive per surface — Permanent for product/vehicle, removable for window/event
- Match finish to context — Matte for premium brand surfaces; gloss for retail/loud
- Bulk-buy across surfaces — Order all formats in one run — saves 10–20% vs separate orders
- Set reorder cadence — 12-month review — hero designs get refreshed annually
Quote across all surfaces in one go
Packaging seals + vehicle decals + window graphics + giveaways — one quote, one production run, bulk pricing.
Frequently Asked Questions
What types of stickers work best for business branding?
The best type depends on the application. Die-cut stickers are ideal for product packaging and branded merchandise because they follow the exact outline of your logo or design, creating a polished, professional finish. Circle stickers and rectangle stickers work well for address labels, seals, and pricing. Clear stickers suit glass, bottles, and surfaces where you want a no-label look. Choose the format based on where it will be applied and what impression you want to make.
How do I choose the right sticker format for my business?
Start by identifying the surface and purpose. For packaging seals, a circle or oval sticker is traditional and easy to apply. For product labels that need to hold branding detail, a die-cut or rectangle sticker gives more design space. For windows or storefronts, window decals are purpose-built and weather-resistant. If you want customers to use your stickers as giveaways or swag, vinyl stickers are durable and feel premium. Think about finish too – matte reads as refined, gloss reads as vibrant.
Is there a minimum order for business stickers?
Minimum order quantities vary by product. Most sticker types at Paperlust Print Shop start from 25 or 50 units, which is accessible for small businesses and startups testing a design. Larger runs bring the cost per unit down significantly, so ordering in bulk is worthwhile if you know a design is settled. If you need to test sizing, finish, or color accuracy before committing to a large quantity, ordering a smaller initial run is a smart approach before scaling up. Browse our business sticker range for current minimums and pricing by type.
What design tips make business stickers more effective?
Keep your sticker design simple and legible at small sizes. Your logo, brand color, and URL or tagline are usually enough. Avoid cramming too much text – stickers are not brochures. Use high-contrast colors so the design reads clearly at a glance. If you are printing die-cut stickers, provide a clean vector file with a defined cut path. For branded packaging seals, consistent color matching across sticker batches matters, so use exact hex codes or Pantone references in your artwork to avoid batch variation.
How can I measure the ROI of business stickers?
Stickers are a low-cost touchpoint, so the ROI calculation is straightforward. Track whether packaging stickers reduce unboxing complaints or boost social shares. Add a unique URL or QR code to a sticker run and monitor traffic from that source. For event or trade show stickers, count how many you distribute and follow up with any leads who received them. Because sticker unit costs are low – often cents per sticker at volume – even modest brand lift or a handful of new customers justifies the investment. Custom stickers are one of the highest-impact, lowest-cost marketing tools available.