If you have ever sent a sticker file to print and watched the cutter follow the wrong path, you already know that the gap between a great design and a great printed sticker lives entirely in how your artwork is set up. This guide is for designers, brand managers and small business owners who want to prepare their die-cut sticker files correctly the first time. We cover what a dieline is, how to build one, bleed and safe margins, kiss-cut versus die-cut, accepted file formats, and the most common mistakes that cause jobs to fail.
CHEAT SHEET
- Your dieline must be a vector path on its own layer, set to a spot colour (typically 100% Magenta or a named “CutContour” swatch) so the RIP software reads it as a cut instruction, not printed ink.
- Add 3 mm of bleed beyond the cut path and keep critical elements at least 2 mm inside the cut path.
- Accepted formats: PDF (preferred), AI or SVG with vectors intact; raster-only files (JPEG, PNG) cannot carry a dieline.
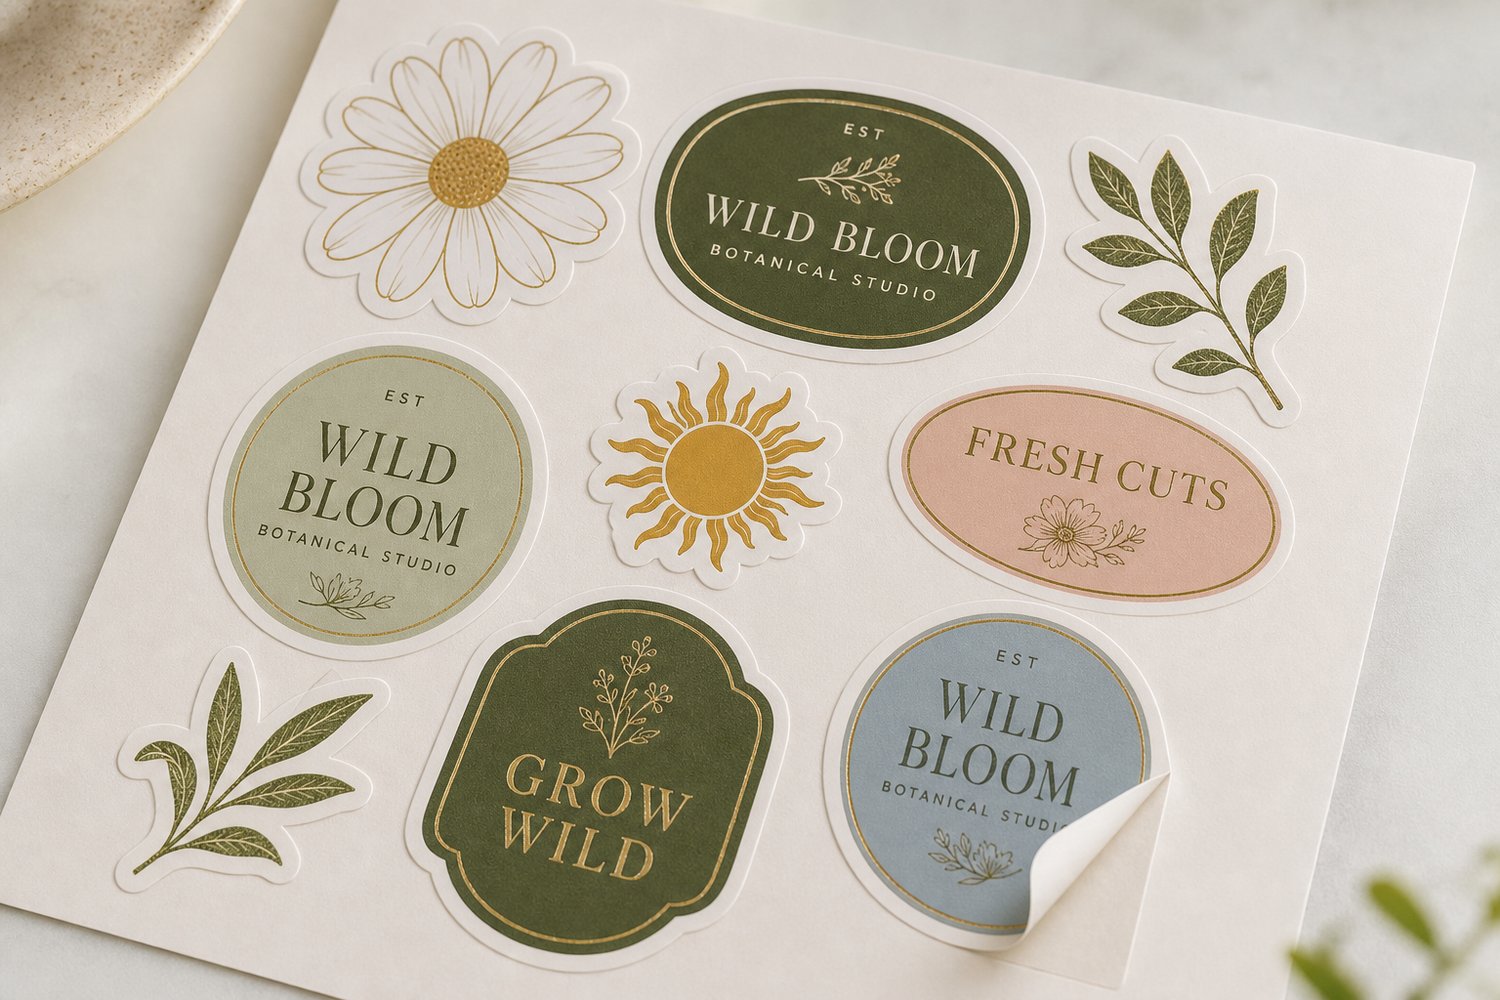
- Kiss-cut leaves a backing sheet for easy peeling and sheet-format distribution; die-cut removes the backing entirely for a clean, stand-alone sticker.
What Is a Die-Cut Sticker?
A die-cut sticker is trimmed to the exact outline of your artwork rather than to a standard square or rectangle. The cutter follows a custom path, called a dieline or cut contour, producing a sticker whose edges match the shape of your logo, character, or design element precisely. This is what gives die-cut stickers their clean, professional appearance when applied to packaging, laptops or water bottles.
The precision of the cut depends on the print supplier’s equipment. Paperlust’s die-cut stickers are cut on equipment accurate to +/- 0.5 mm and can handle shapes with detail as fine as 2 mm, with a minimum sticker size of 20 mm x 20 mm and a maximum of 295 mm x 425 mm.
What Is a Cut Line (Dieline)?
A dieline is a vector path that tells the cutting machine exactly where to cut. It sits on its own layer in your artwork file, separate from your printed design. The cutter reads this path as a cutting instruction; it is never printed as ink.
How the spot colour works
Every major RIP (Raster Image Processor) software used by commercial print suppliers reads cut paths by detecting a specific spot colour name. The most widely accepted conventions are:
- CutContour (Roland, Summa, Graphtec cutters)
- Die or DieLine (some offset/screen workflows)
- 100% Magenta spot (common fallback in AU trade printing)
Check with your supplier before finalising, but for Paperlust Print Shop your dieline should be set to 100% Magenta spot colour on the top layer of your document. If you use a named swatch such as “CutContour,” confirm the supplier accepts that naming convention.
The dieline stroke should be a hairline (0.25 pt or thinner) with no fill. Its purpose is purely instructional; set the layer to “Overprint” so it does not knock out artwork beneath it.
Separating the dieline from your print layer
Your file should have at minimum two layers:
1. Artwork layer – all printed elements (CMYK or RGB depending on the supplier’s colour profile) 2. Cut layer – the dieline path only, with the spot colour applied
If your supplier expects a single-layer flat PDF, export a version with the cut path embedded as a spot colour separation. Most suppliers will specify which they prefer in their file-prep guide.
Bleed, Safe Margin and Offset
Getting the bleed and safe margin right is the single most common point of failure in die-cut sticker files.
Bleed (beyond the cut path)
Bleed is artwork that extends past the cut line. Because cutting is mechanical and has a small tolerance, artwork that stops exactly at the cut edge will show a white paper edge if the blade runs even fractionally outside the path. Standard bleed for die-cut stickers in Australia is 3 mm beyond the cut path on all sides.
If your design has a solid background colour or an element that runs to the sticker edge, extend it 3 mm past the dieline. If the sticker shape is complex (e.g. a logo with internal cutouts), add 3 mm bleed to every exposed edge.
Safe margin (inside the cut path)
Critical artwork – text, fine details, key parts of a logo – should sit at least 2 mm inside the cut path. This prevents those elements from being clipped if the blade runs marginally inside the path. Think of the safe margin as the guaranteed printable zone.
| Zone | Distance from cut path | Purpose |
|---|---|---|
| Bleed | 3 mm outside | Prevents white edges from slight over-cut |
| Cut path | 0 mm | Where the blade travels |
| Safe margin | 2 mm inside | Keeps critical content clear of the cut edge |
| Live area | 2 mm+ inside | Where text and logos should sit |
Path offset and rounding
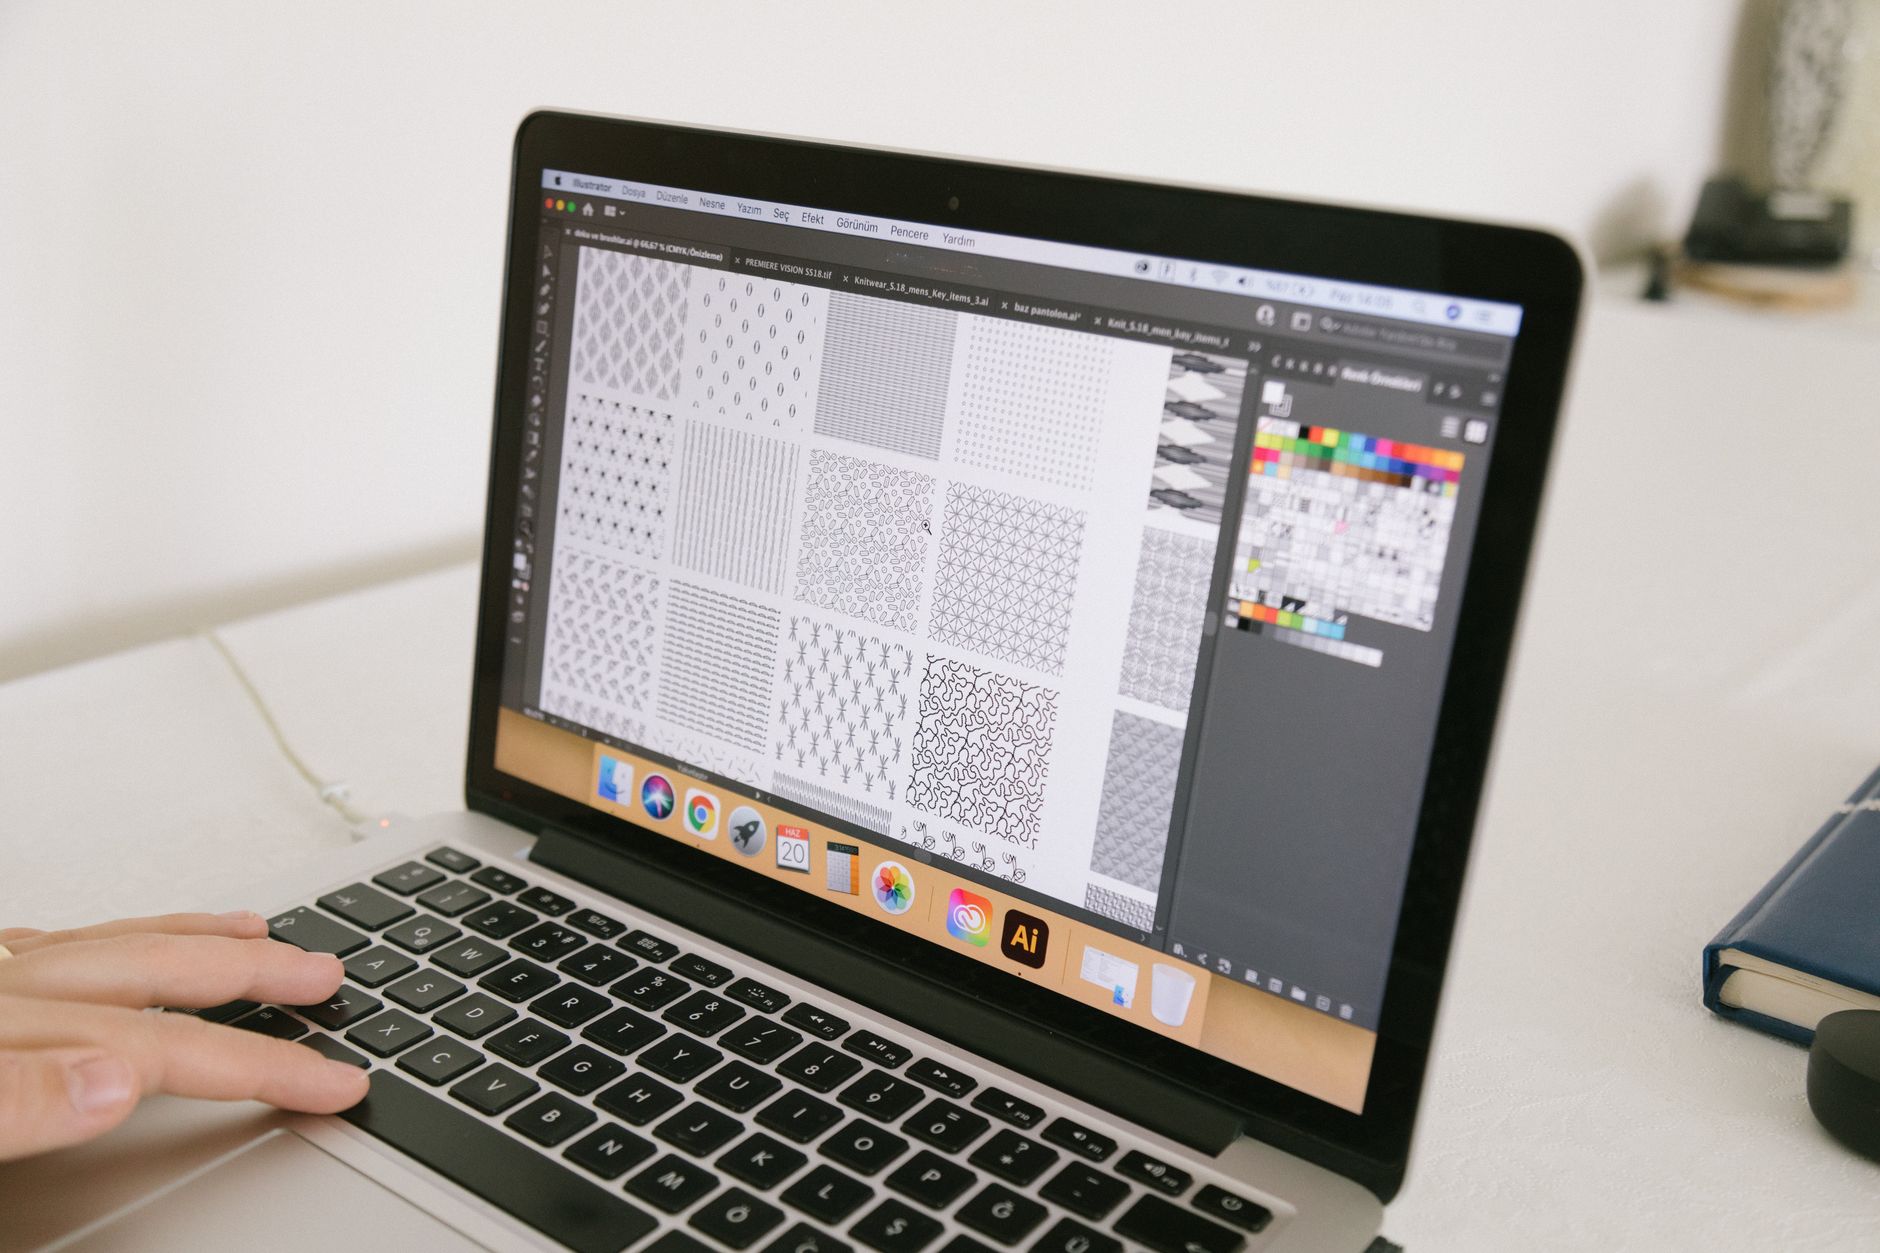
When building a dieline around an existing shape, use the “Offset Path” function in Illustrator (Object > Path > Offset Path) with:
- Offset: 3 mm (creates the bleed boundary)
- Joins: Round (eliminates sharp spikes that can snag the cutter blade)
- Miter limit: 4 (keeps corners predictable)
For complex shapes with many anchor points, simplify the path after offsetting. Excess anchor points create micro-wobbles in the cut line that are visible on the final sticker.
Kiss-Cut vs Die-Cut: Which One Do You Need?
These two terms are often confused. The difference is in how deeply the blade cuts.
| Feature | Kiss-Cut | Die-Cut |
|---|---|---|
| What gets cut | Vinyl/paper face only – backing sheet stays intact | All layers including the backing sheet |
| Shape of backing | Square or rectangular sheet behind the sticker | Cut to the same shape as the sticker |
| Peel experience | Easy to peel – backing gives your fingers a tab to grip | Requires peeling directly from the edge |
| Best for | Sticker packs, handouts, merch, sheet distribution | Individual branded stickers, product labelling, laptop stickers |
| Application speed | Faster in bulk (easy to grab) | Cleaner final look on the surface |
| Common use case | Illustration packs, loyalty stickers, freebies in orders | Logo stickers, packaging labels, car decals |
If you are sending individual stickers loose in packaging or as brand giveaways, die-cut is the right choice. If you are handing out sticker sheets or want recipients to peel quickly during an event, kiss-cut (on a sheet backing) makes the experience smoother.
Paperlust’s die-cut stickers are cut through all layers, giving each sticker a finished, stand-alone appearance. For cut-to-shape vinyl with strong outdoor durability, see also vinyl stickers, which use the same contour-cutting process on a weather-resistant substrate.
Accepted File Formats
| Format | Vector dieline supported | Notes |
|---|---|---|
| PDF (preferred) | Yes | Export as PDF/X-1a or PDF/X-4; embed all fonts, include spot colour separations |
| AI (Adobe Illustrator) | Yes | Save with fonts outlined; include all linked images as embedded |
| SVG | Yes | Suitable when the dieline is defined as a named path; confirm supplier accepts SVG |
| EPS | Yes (legacy) | Widely accepted but less reliable for transparency; use PDF where possible |
| JPEG / PNG | No | Raster only – cannot carry a vector dieline; usable for artwork preview only |
| PSD (Photoshop) | Limited | Path can be exported as a clipping path but not as a true spot colour dieline; not recommended |
All fonts must be outlined (converted to paths) before supplying your file. Fonts that are not outlined will substitute if the supplier does not have that typeface installed, changing your layout. All linked images must be embedded, not linked, to avoid missing-image failures at output.
Colour mode should be CMYK for most die-cut sticker printing. If your brand colours are Pantone-specified, include those swatch values in your file and flag them to the supplier.
Common File Prep Mistakes
These are the errors most likely to send your job back for correction or result in a sticker that does not look as intended.
Raster cut lines
Saving a JPEG or PNG with a visible outline drawn in the image itself is not a dieline. The cutter cannot read a raster line – it needs a vector path with the correct spot colour. If you cannot create a vector dieline, contact the supplier; most offer a dieline-creation service for a fee.
No bleed on a coloured background
If your sticker has a solid colour or gradient that extends to the edge, and you have not added 3 mm of bleed past the cut path, the final sticker will show a white paper edge. This is one of the most common complaints from first-time sticker buyers.
Fine spikes and complex paths
Highly detailed shapes with sharp points or very fine spikes (thinner than 2 mm at the tip) are difficult to cut cleanly. The blade must decelerate through tight curves, and very sharp points can lift or tear during peeling. Simplify extreme points by adding a small radius (0.5-1 mm) or building in a micro-notch bridge.
Dieline on the wrong layer or in CMYK
If the cut layer is below the artwork layer, some RIP software will not detect it. Keep the dieline on the top layer. If the dieline colour is set as a CMYK process colour rather than a spot colour, it will be printed as pink ink rather than read as a cut path. Always verify the colour type in your swatches panel.
Text and logos too close to the cut edge
Fine text that sits within 1 mm of the cut path risks being clipped. Pull all critical text at least 2 mm inside the cut path. This is especially important for stickers with tight die-cut shapes around text-heavy logos.
Floating islands without bridges
If your shape has internal cut-outs (for example, the centres of letters like O, B, or P in a logo), those interior islands may fall out during cutting. For complex letterforms, either simplify the shape, or discuss with your supplier whether bridges can be added to connect the islands to the main body.
For print-ready clear stickers the same dieline rules apply – the only difference is that your artwork sits on a transparent substrate, so the background in your design file should be transparent (no white fill behind the artwork).
Frequently Asked Questions
What is the difference between a dieline and a cut line?
They refer to the same thing. A dieline (also called a cut line, cut contour, or die path) is the vector path in your artwork file that instructs the cutting machine where to trim the sticker. Both terms are used interchangeably by Australian print suppliers, though “dieline” is more common in trade printing and “cut line” or “cut contour” is more common in vinyl and sign-cutting workflows.
Can I supply a PNG or JPEG for a die-cut sticker?
Raster files like JPEG and PNG cannot carry a vector dieline, so they cannot be used as the source file for die-cutting on their own. You can supply a raster file as your print artwork with a separately supplied vector dieline (as an AI, PDF or SVG), but confirm this workflow with your supplier before sending. The preferred approach is to supply a single PDF with the print artwork and dieline as separate layers or spot colour separations.
How close can I place text or a logo to the edge of a die-cut sticker?
Allow at least 2 mm between any critical content (text, logo, key graphic elements) and the cut path. Mechanical cutting has a small tolerance, and elements closer than 2 mm to the edge risk being clipped. The more complex the cut path, the more conservative your safe margin should be.
What is the minimum order for die-cut stickers?
Minimum order quantities vary by supplier and shape complexity. For Paperlust Print Shop die-cut stickers, check the live product page for current MOQ and pricing, as these scale with size and quantity.
How long does die-cut sticker production take?
Production time depends on the finish and quantity ordered. Check the live product page for current turnaround times, as these can vary with order volume and job complexity. Paperlust prints and ships Australia-wide.
What should I do if I do not know how to create a dieline?
If you are not comfortable working in vector software, contact your supplier before uploading. Many print suppliers, including Paperlust, can assist with dieline creation or provide a template based on your artwork. Supplying a high-resolution flat version of your design with a clear note about the intended shape is a good starting point; the production team can then prepare the cut path for you.
For guidance on sticker material selection and durability comparisons, see Vinyl Sticker Printing for Cars and Outdoors: Durability Guide. If you are still deciding whether stickers or labels are the right product for your application, Labels vs Stickers: The Difference and When to Use Each covers the key distinctions.