Most flyers get glanced at for three seconds, then discarded. The ones that work are not necessarily the most elaborate or expensive. They are simply easier to read, clearer in their message, and more confident about what they want the reader to do. This guide walks through the design decisions that separate a flyer that converts from one that ends up in the recycling bin.
At a glance
- One headline, one CTA: flyers with a single clear ask outperform those with multiple messages
- Visual hierarchy guides the eye: size, weight and contrast tell the reader what to read first
- White space is not wasted space: breathing room makes a flyer feel professional and legible
- Front is for impact, back is for detail: use double-sided printing strategically
- Common sizes: DL (99x210mm) for letterbox drops, A5 (148x210mm) for events and countertops, A4 for wall display
- Paper stock: 150gsm gloss for everyday use, 170gsm matte for a premium feel, 250gsm for maximum quality
Visual Hierarchy: Telling the Eye Where to Look
Visual hierarchy is the single most important principle in flyer design. It is the ordering of design elements so that a reader absorbs the most important information first, the supporting information second, and the action to take third. When hierarchy breaks down, the reader does not know where to start and gives up.
The practical rules are straightforward:
- Size signals importance. Your headline should be noticeably larger than everything else on the page. Body text should be clearly smaller. Contact details and fine print smaller still.
- Weight adds urgency. Bold or heavy typefaces draw attention before light ones. Use this deliberately, not randomly.
- Colour contrast directs the eye. A single high-contrast element (dark text on a light background, or a bright accent colour for the CTA) will be read before everything else.
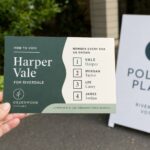
- Position matters. The upper third of a flyer is where the eye lands first. Your headline and key visual belong there. Contact information and fine print sit at the bottom.
A practical test: hold your flyer at arm’s length and ask what you read first, second, and third. If the answer does not match your priority list, the hierarchy needs work.
The Headline: One Job, Done Well
The headline on a flyer is not a title. It is a hook. Its job is to make a reader pause and want to know more. A strong flyer headline does one of three things: states a clear benefit (“Free Coffee With Every Visit”), creates urgency (“Closing Down Sale Ends Sunday”), or names the audience directly (“Attention Inner West Homeowners”).
What to avoid:
- Your business name as the headline. The name belongs at the bottom or in the logo. It means nothing to someone seeing you for the first time.
- Vague openers. “Welcome to Our Store” tells the reader nothing worth stopping for.
- Questions that do not create tension. “Looking for a Great Deal?” is tired. “Get 30% Off Before Saturday” is better.
- Multiple competing headlines. Pick one. If every line is in bold, nothing is.
Keep the headline to eight words or fewer where possible. It should be readable in under two seconds from a normal handling distance.
White Space: The Design Element Most Small Businesses Cut First
When a client has a lot to say, the temptation is to fill every corner of the flyer. This is almost always the wrong call. Crowded flyers look cheap and feel stressful to read. White space, the empty areas around and between elements, does three things:
- It makes the design look intentional and professional.
- It gives important elements room to breathe and stand out.
- It makes body copy actually readable at a glance.
A practical guide: if you cannot see clear margins on all four sides, if your body copy blocks touch each other, or if every section is crammed against the next, you have a white space problem. Remove a section, reduce the font size of the body copy, or tighten the copy itself. Less content, better placed, always outperforms more content, squeezed in.
Colour and Contrast: Making Your Flyer Readable and On-Brand
Colour does two jobs in flyer design: it reinforces your brand identity, and it drives the eye to the right places. Both of these can be achieved with a simple, restrained palette.
A reliable approach for small businesses:
- Two or three colours maximum. One primary brand colour, one accent for the CTA, and neutral (white or light grey) for backgrounds.
- Dark text on a light background or light text on a dark background. Never dark on dark or light on light.
- Your CTA should be the most contrasting element on the page. If it blends in, it will be skipped.
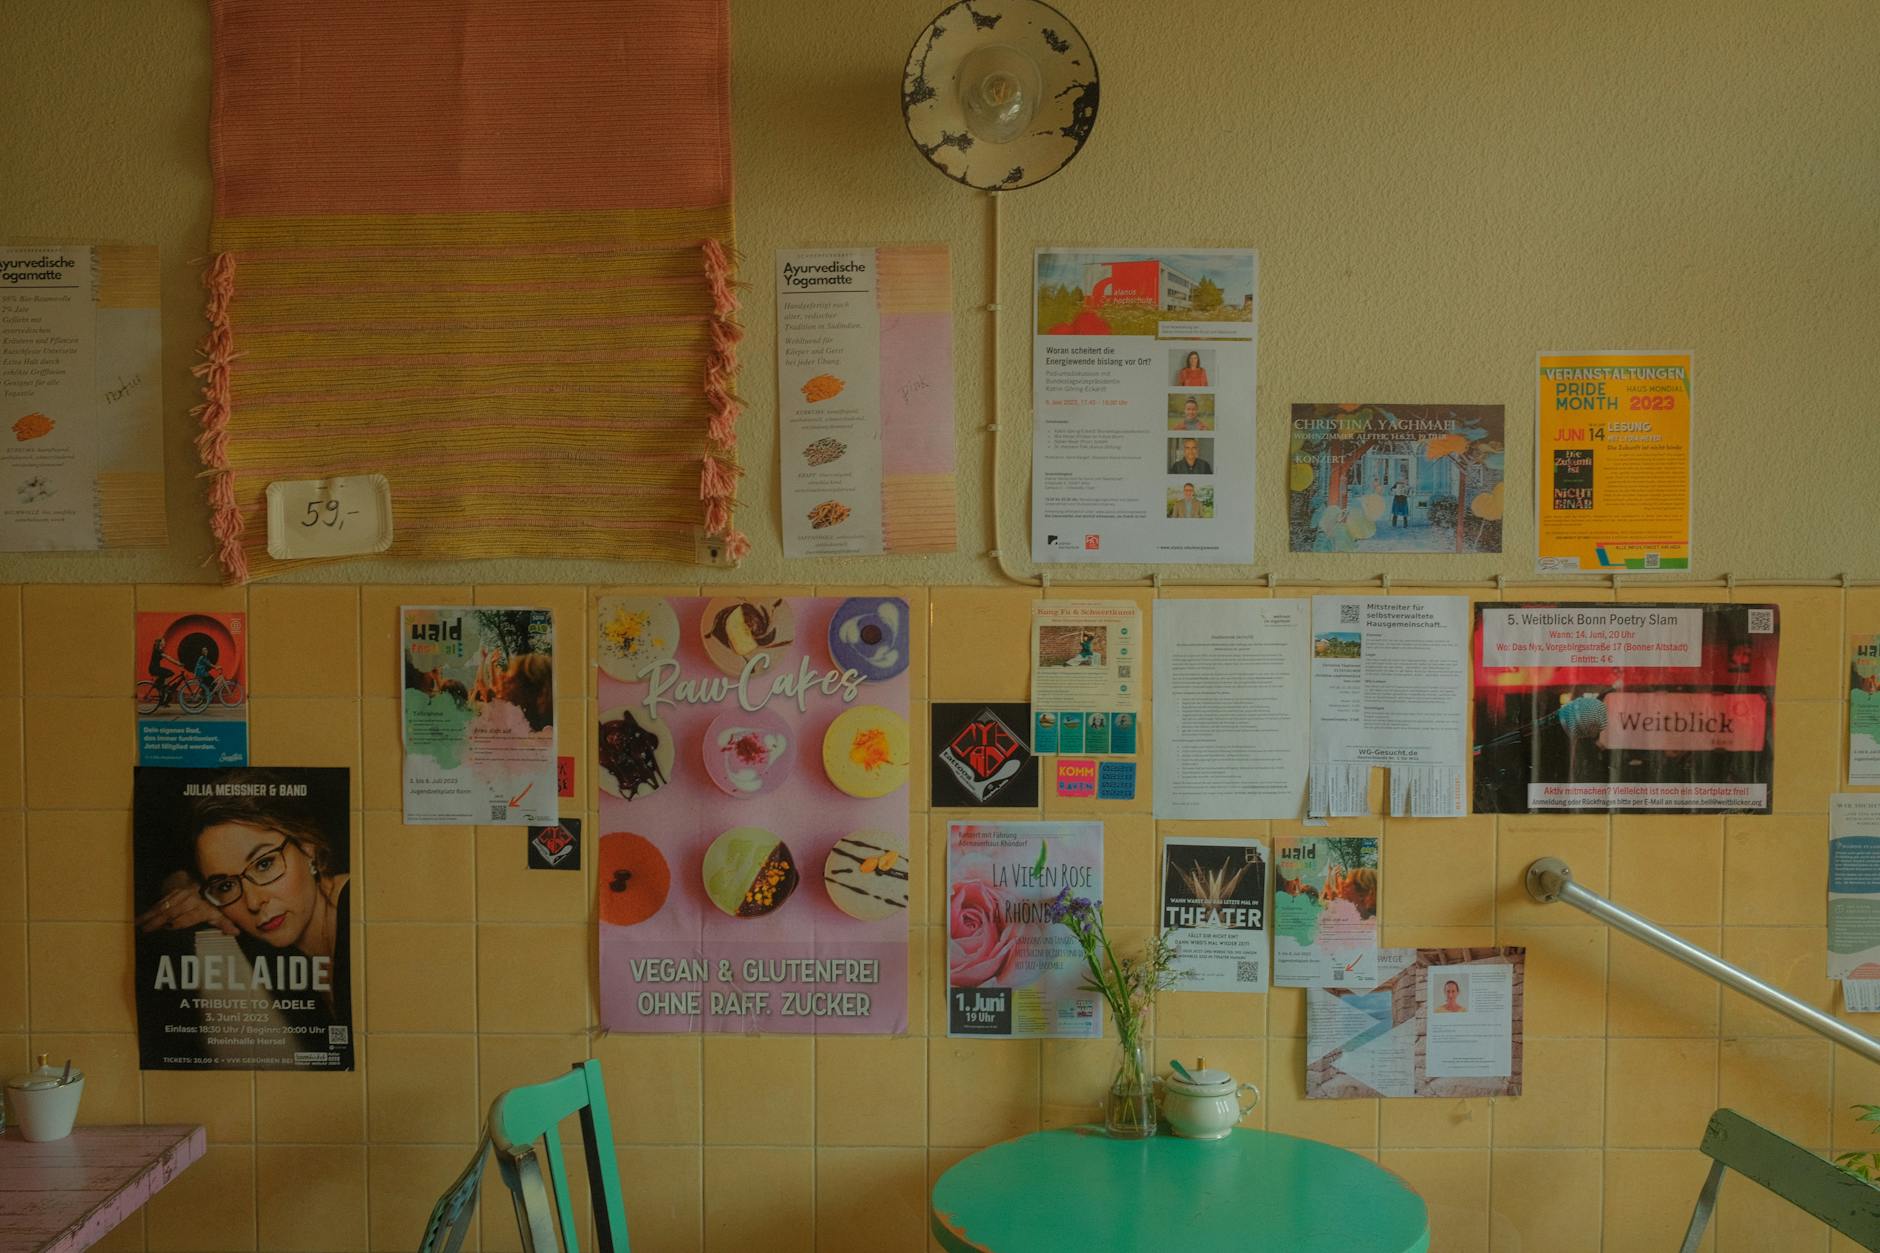
On imagery: one strong, relevant image almost always outperforms a collage of smaller photos. Choose an image that reflects your audience or your product clearly. Avoid generic stock photos that could belong to any business in any industry.
Colour for print is CMYK, not RGB. If you are designing in a screen application, check that your file is set to CMYK before sending to print. Colours built in RGB can shift significantly when printed, particularly vivid blues, oranges, and greens.
The CTA: One Ask, Made Obvious
The call to action is where most flyers lose the sale. After a reader absorbs your headline and skims the offer, they need to know exactly what to do next. The most common mistakes:
- Multiple CTAs. “Call us, visit our website, follow us on Instagram, or drop into the store.” Pick one. The one that best matches your campaign goal.
- Soft language. “Feel free to get in touch” will not move anyone. “Book online by Friday” or “Scan to claim your 20% off” will.
- Buried contact information. The phone number, URL, or QR code associated with your CTA must be large enough to read and act on without squinting.
- No reason to act now. A deadline (“Offer ends 30 June”) or a scarcity signal (“Only 20 spots available”) adds urgency that a generic CTA lacks.
For Australian small businesses, QR codes have become a reliable way to bridge print and digital. Link the QR code to a specific landing page for the campaign, not your homepage, so you can track responses and deliver exactly what the flyer promised.
Front and Back: Using Both Sides Strategically
Double-sided flyers give you significantly more real estate without increasing the physical footprint. The common mistake is treating both sides as two separate flyers. They should work as a sequence:
| Side | Purpose | What goes here |
|---|---|---|
| Front | Attention and interest | Headline, key visual, offer summary, CTA |
| Back | Consideration and conversion | Supporting details, how it works, testimonial or social proof, contact info, map if relevant |
For event flyers: front carries the event name, date, venue and ticket price. Back carries the lineup, map, parking, and website for tickets.
For retail or service flyers: front carries the offer and hook. Back carries product or service details, business hours, and a secondary CTA (e.g. “Save this for your records”).
For letterbox drops: both sides should anticipate the “so what?” question. If a reader flips the flyer, they are interested. Do not waste the back on your logo repeated at full size.
Common Flyer Design Mistakes (and How to Fix Them)
| Mistake | Why it fails | Fix |
|---|---|---|
| Too many fonts | Creates visual noise, looks unprofessional | Use two fonts maximum: one for headings, one for body |
| Logo as the hero | Means nothing to a new prospect | Lead with the offer or benefit, logo goes bottom |
| Tiny body text | Unreadable at normal viewing distance | Minimum 9pt for print, 10-11pt is safer |
| No clear CTA | Reader does not know what to do | One action, one contact method, made prominent |
| Image stretched or pixelated | Undermines trust and quality | Use high-resolution images only (300dpi minimum for print) |
| Full-bleed colour without bleed settings | White edges on the printed result | Set up a 3mm bleed on all sides in your artwork file |
| Same weight throughout | Nothing stands out | Vary size and weight deliberately to create hierarchy |
| Designed for screen, not print | RGB colour shift, font substitution | Design in CMYK, embed fonts, export as print-ready PDF |

Flyer Sizes and When to Use Each
The right size depends on your distribution method and how much information you need to convey.
| Size | Dimensions | Best for |
|---|---|---|
| DL | 99x210mm | Letterbox drops, counter inserts, direct mail |
| A6 | 148x105mm | Quick promotions, event reminders, handouts |
| A5 | 148x210mm | Events, menus, retail offers, most versatile |
| A4 | 210x297mm | Wall display, detailed information, job ads |
| A3 | 297x420mm | Window display, high-traffic areas |
For most Australian small businesses, A5 is the go-to size. It holds enough information, fits naturally in a bag or on a counter, and costs less to print and distribute than A4.
Paper Stock and Finish: A Short Guide
Paper stock affects how your flyer feels in the hand and how it reads. Paperlust prints flyers on four main stocks:
| Stock | Best for | Feel |
|---|---|---|
| 115gsm Gloss | High-volume campaigns, letterbox drops | Lightweight, cost-effective |
| 150gsm Gloss | Events, retail, everyday business use | Good weight, vibrant colours |
| 170gsm Gloss | Premium retail, hospitality, real estate | Noticeably heavier, professional |
| 170gsm Matte | Photography, high-end brands, art events | Smooth, non-reflective, upmarket |
| 250gsm Gloss | Showcase pieces, top-tier hospitality | Thick, luxurious, stands out |
Gloss finishes make colours pop and suit most commercial applications. Matte finishes suit photography-heavy designs or brands positioning themselves as premium and understated. For most letterbox drop campaigns where cost-per-unit matters, 115gsm or 150gsm gloss is the practical choice.
How to Order Flyers in Australia
Once your artwork is print-ready (CMYK, 300dpi, 3mm bleed, trim marks), ordering is straightforward. Paperlust offers DL, A6, A5, A4 and A3 sizes in a range of stocks and finishes, printed and dispatched from Australia with fast turnaround. Visit the flyers product page for live pricing, size options and to upload your file.
If you are still deciding on format, the flyer printing Australia guide covers DL, A5 and A6 comparisons in more detail. If you are weighing flyers against postcards for a direct mail campaign, the postcard vs flyer guide covers the differences.
Frequently Asked Questions
What is the most important element of a flyer design?
Visual hierarchy is the foundation of any effective flyer. This means making sure the headline is read first, the key information second, and the call to action last. When everything on a flyer is the same size or weight, nothing stands out and readers disengage quickly.
How many words should a flyer have?
For most A5 flyers, 50 to 150 words of body copy is enough. The goal is to answer the questions “what is this?”, “why does it matter to me?” and “what do I do next?” in the shortest possible space. If you need more than 200 words, consider whether a brochure or double-sided format is a better fit.
What makes a call to action effective on a flyer?
An effective CTA is specific (“Book before 30 June”), actionable (it tells the reader exactly what to do), and supported by the contact method needed to complete the action (phone number, QR code, or URL). One CTA per flyer is the standard. Multiple competing CTAs dilute response rates.
Should I use CMYK or RGB for flyer design?
Always design for print in CMYK. RGB is the colour mode used by screens, and colours built in RGB can shift noticeably when converted for printing, particularly for vivid blues, oranges and greens. Set your document to CMYK from the start in your design software.
What resolution do I need for print-ready flyer artwork?
300dpi (dots per inch) at the final print size is the industry standard for print-ready artwork. Images sourced from the web are typically 72dpi, which will appear pixelated when printed. Use high-resolution photography or vector graphics where possible.
What is a bleed and why does it matter for flyer printing?
A bleed is a 3mm extension of your background colour or image beyond the trim edge of the flyer. Without a bleed, any slight variation in the cutting process produces a white border on the printed edge. Most print suppliers, including Paperlust, will ask for a 3mm bleed on all sides.
Is A5 or DL the better size for a letterbox drop in Australia?
DL (99x210mm) is the more cost-effective choice for high-volume letterbox drops. It fits inside a standard DL envelope, slots easily into a letterbox, and costs less per unit to print. A5 gives you more design space and stands out in a pile of mail, which can improve read rates if your message needs more room to land.