Running an event or conference is a logistics exercise. Between venue, catering, AV, and speakers, print tends to get scheduled last and budgeted too thin. The result: rushed signage, flimsy programs, and a stage backdrop that looks like it belongs at a school fair rather than a professional event.
This guide is for the organiser placing the print order, not the exhibitor setting up a booth. Whether you are running a one-day industry conference for 200 delegates, a product launch, a gala dinner, or a community festival, the kit below covers every print touchpoint your attendees will see, from the carpark to the closing keynote.
At a glance: the 5 prints every event organiser needs
- Stage and sponsor backdrop: stretch fabric media wall (wrinkle-free, fast setup)
- Outdoor entry and registration: teardrop banners (ground stake or cross-base)
- Delegate programs and agendas: A5 saddle-stitch booklets
- Directional and session signage: corflute plastic signs (lightweight, reusable)
- Sponsor recognition boards: stretch fabric panels or corflute composite
Tip: order all five from the same supplier to keep brand colours consistent across print methods.
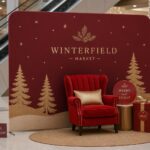
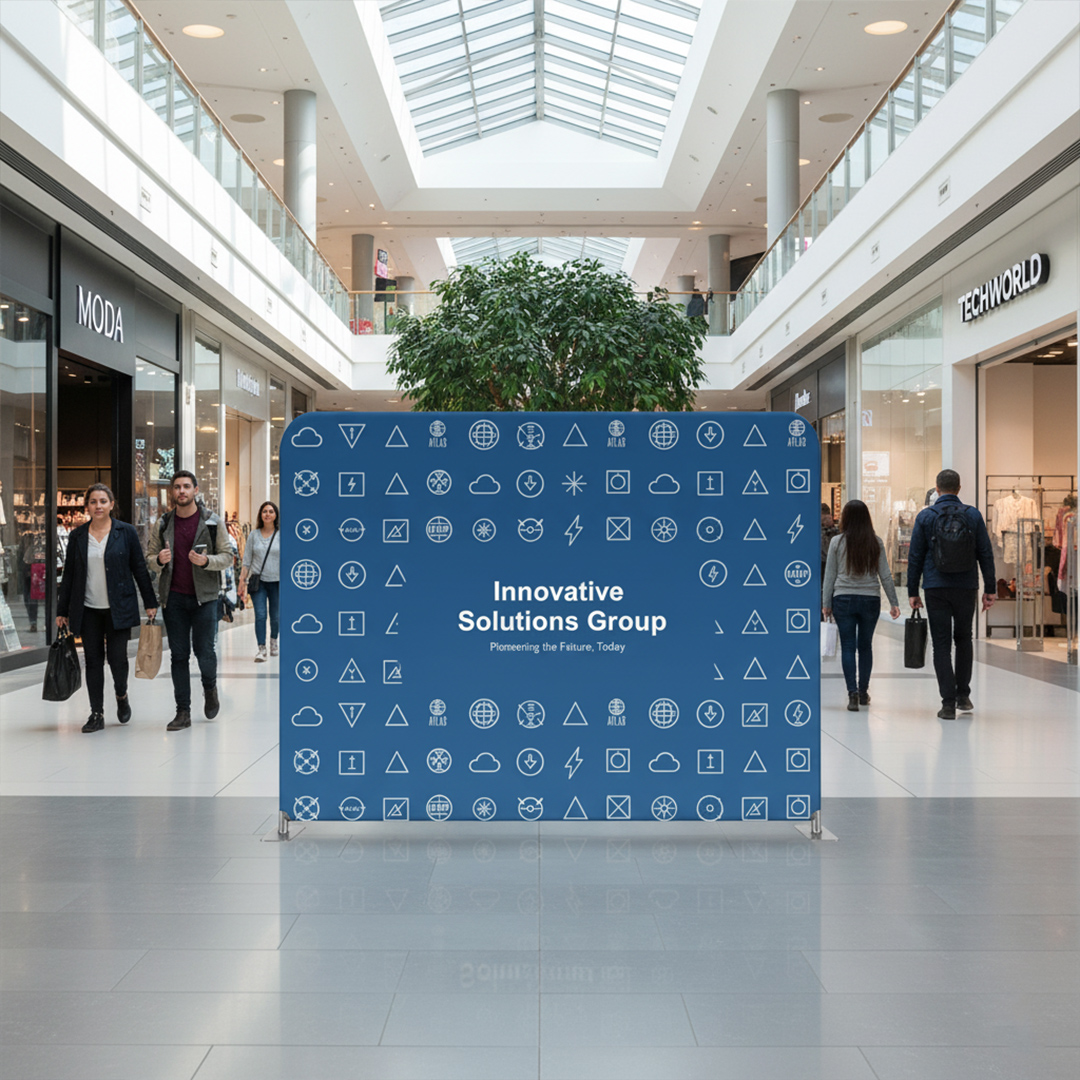
The Stage and Photo Backdrop: Stretch Fabric Media Walls
The media wall is the anchor of any professional event. It is the surface behind your keynote speakers, the background every delegate photographs, and the most prominent placement for your major sponsors. A creased or poorly-printed banner at that moment undermines the entire production.
Stretch fabric media walls use a dye-sublimation print process on a fabric that is tensioned over a lightweight aluminium frame. The result is a completely flat, wrinkle-free surface with vibrant, edge-to-edge coverage. Unlike vinyl banners, the fabric rolls into a carry bag and the frame breaks down into a carry case, making venue bump-in and bump-out significantly faster.
For event use, fabric media walls are the correct choice over vinyl for several reasons. The fabric does not reflect stage lighting, which matters if you are shooting video or photography of presentations. Setup does not require tools, which matters when your bump-in window is tight. And the printed graphic can be updated for different events while reusing the same frame hardware.
Common media wall uses at conferences and events:
- Main stage backdrop behind the podium or panel table
- Sponsor activation walls at registration, networking areas, or cocktail hour
- Step-and-repeat photo walls for awards nights and gala dinners
- Media interview backdrop for PR coverage
- Exhibition-hall feature walls for event branding
For sizing guidance, see our media wall sizes guide which covers common frame widths and how to scale sponsor logo grids for different standback distances. Most conferences work with widths between 2.4m and 6m depending on the stage configuration.
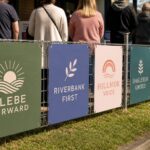
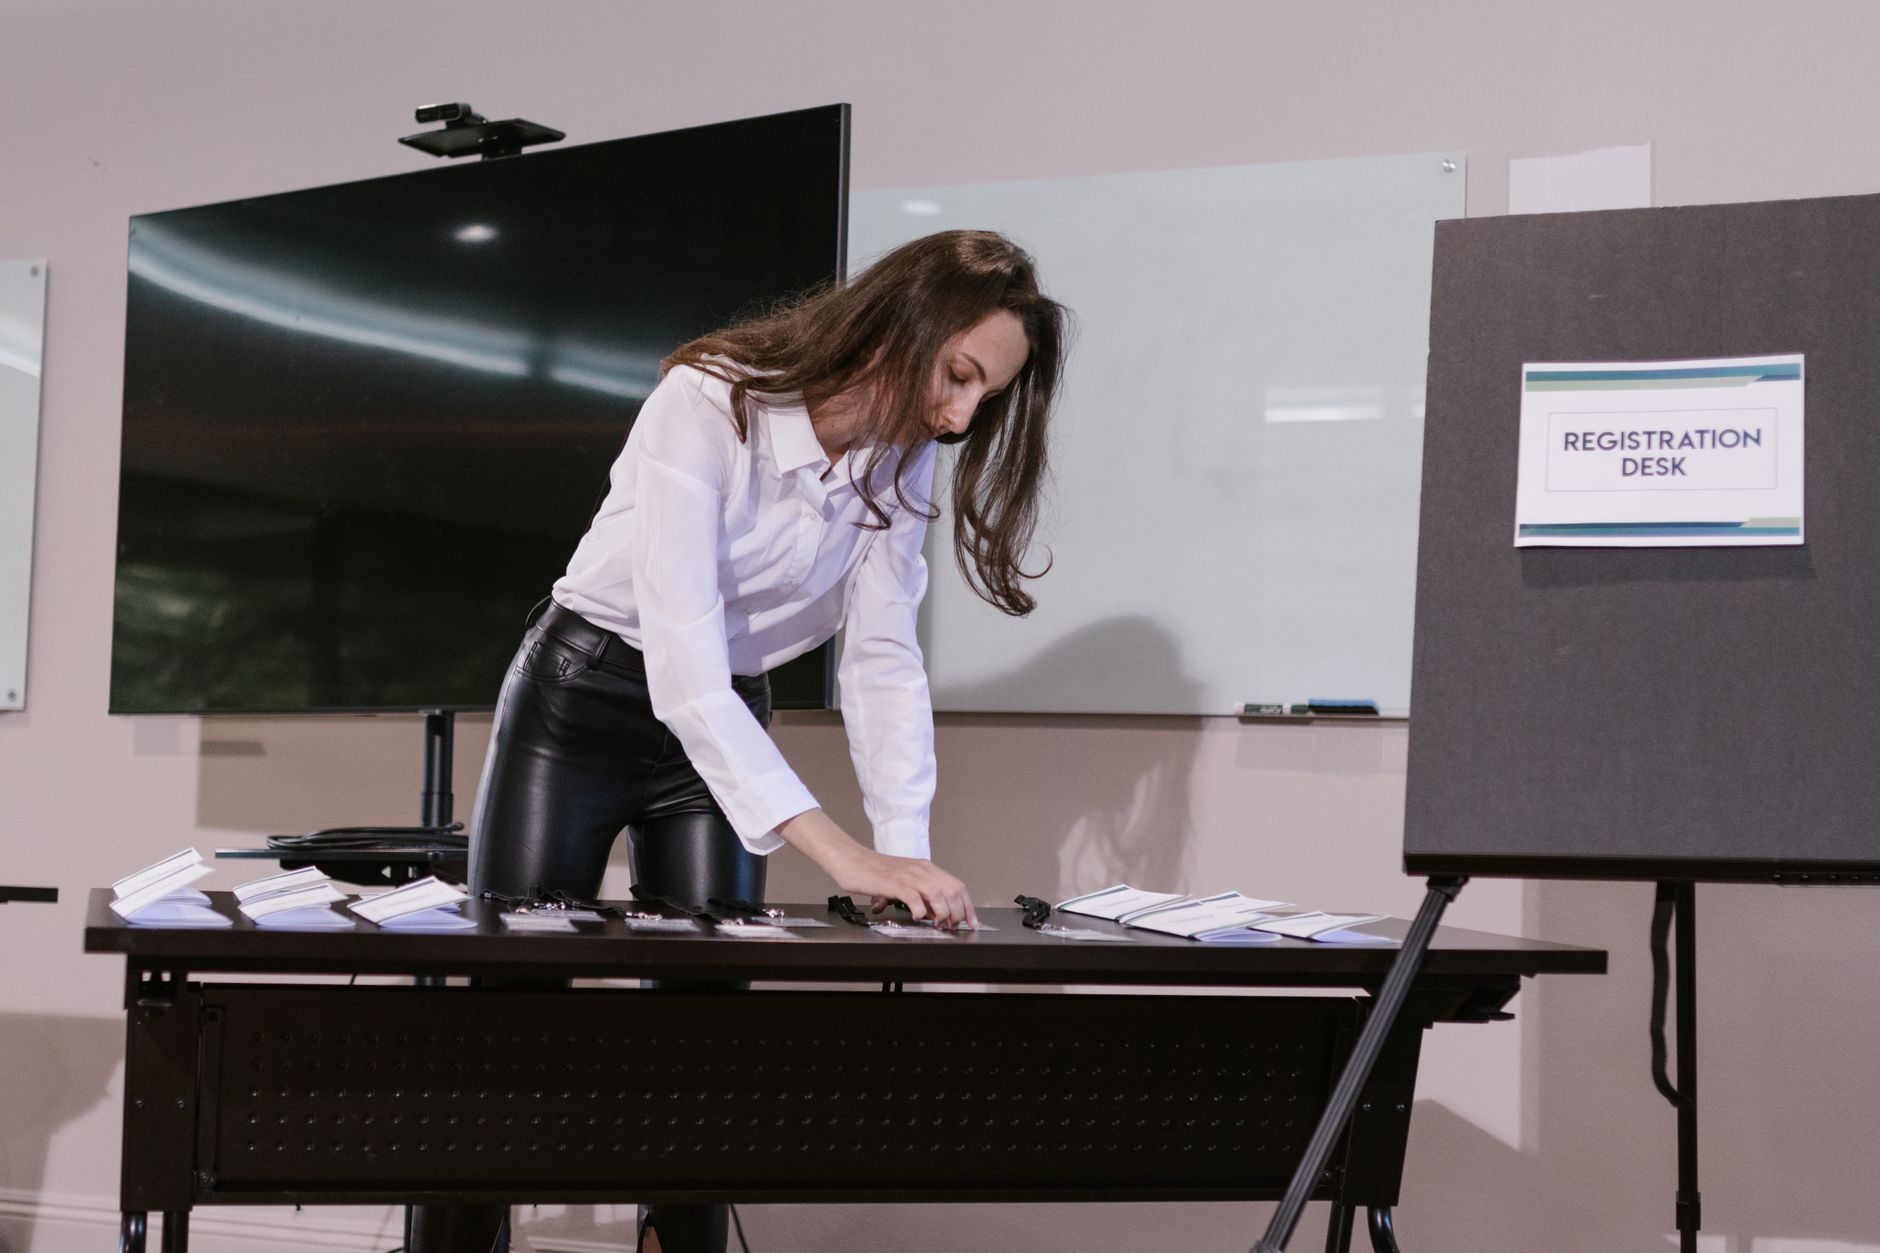
Entry, Registration and Wayfinding: Teardrop Banners
Delegates need to find you before they can attend. Teardrop banners are the workhorse for outdoor event presence: they are visible from distance, weather-resistant, and stand without requiring a wall or frame.
Teardrop banners are typically placed at venue entry points, carpark turnoffs, and registration areas. Their distinctive curved shape catches peripheral vision, which makes them more effective than rectangular banners for directing foot traffic in open environments like convention centres, showgrounds, and hotel forecourts.
For indoor registration and session-entry use, the same teardrop banners work well in foyer environments, positioned at corridor junctions or session room doorways. The cross-base option (rather than ground stake) is suitable for hard flooring.
| Use at event | Recommended placement | Suggested size |
|---|---|---|
| Entry road marking | Carpark and street turnoffs | Large (3.8m+) |
| Venue entry | Footpath outside main entrance | Medium to large |
| Registration desk | Immediately flanking desk | Medium |
| Session room entry | Corridor outside each room | Small to medium |
| Outdoor sponsor activation | Alongside marquee or tent | Large |
For a detailed breakdown of teardrop sizes and pole heights, see the teardrop banner flag sizes guide.
Print both sides if delegates will approach from multiple directions. The graphic wraps around the shaped leading edge of the banner, so your key message should sit in the upper two-thirds where it clears most people’s sightlines.
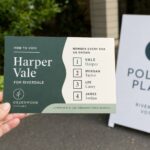
Delegate Programs and Agendas: A5 Booklets
A printed program does something a conference app cannot: it gives delegates something to hold, annotate, and take home. For events with sessions running across multiple streams, a well-organised program booklet reduces questions to staff and helps delegates plan their day in advance.
For agendas and programs that need a larger page, A4 booklets give more room for multi-stream timetables and detailed delegate information.
A5 booklets are the standard format for conference programs in Australia. The A5 size (148 x 210mm) fits in a jacket pocket, sits flat on a conference table, and is substantial enough to include the detail delegates need without becoming unwieldy.
What to include in a conference program booklet:
- Welcome message from the organiser or keynote sponsor
- Full agenda by time slot with room allocations
- Speaker bios (photo, title, topic summary)
- Floor plan or venue map
- Sponsor acknowledgements by tier
- Networking session details
- WiFi credentials and venue logistics
- Evaluation form (if not using a digital tool)
Saddle-stitch binding (stapled spine) suits booklets up to around 64 pages. This covers most conference programs comfortably, including a floor plan spread and full bios. The finished booklet is flat and easy to insert into a delegate satchel or lay on a chair before doors open.
For events with a longer run (multi-day conferences, annual conventions), consider booklets with a higher page count or a heavier cover stock to convey the prestige of the event.
Program booklet quantity planning:
| Registration type | Recommended print run |
|---|---|
| Hard ticket, pre-registered | Registered count + 8% buffer |
| Open registration, ticketed | Registered count + 15% buffer |
| Open entry, pay-at-door | Venue capacity x 0.6 (estimate) |
| VIP or gala dinner | Exact cover count, no buffer needed |
Print one week before the event. Late agenda changes can be handled with a single-page insert rather than reprinting the full booklet.
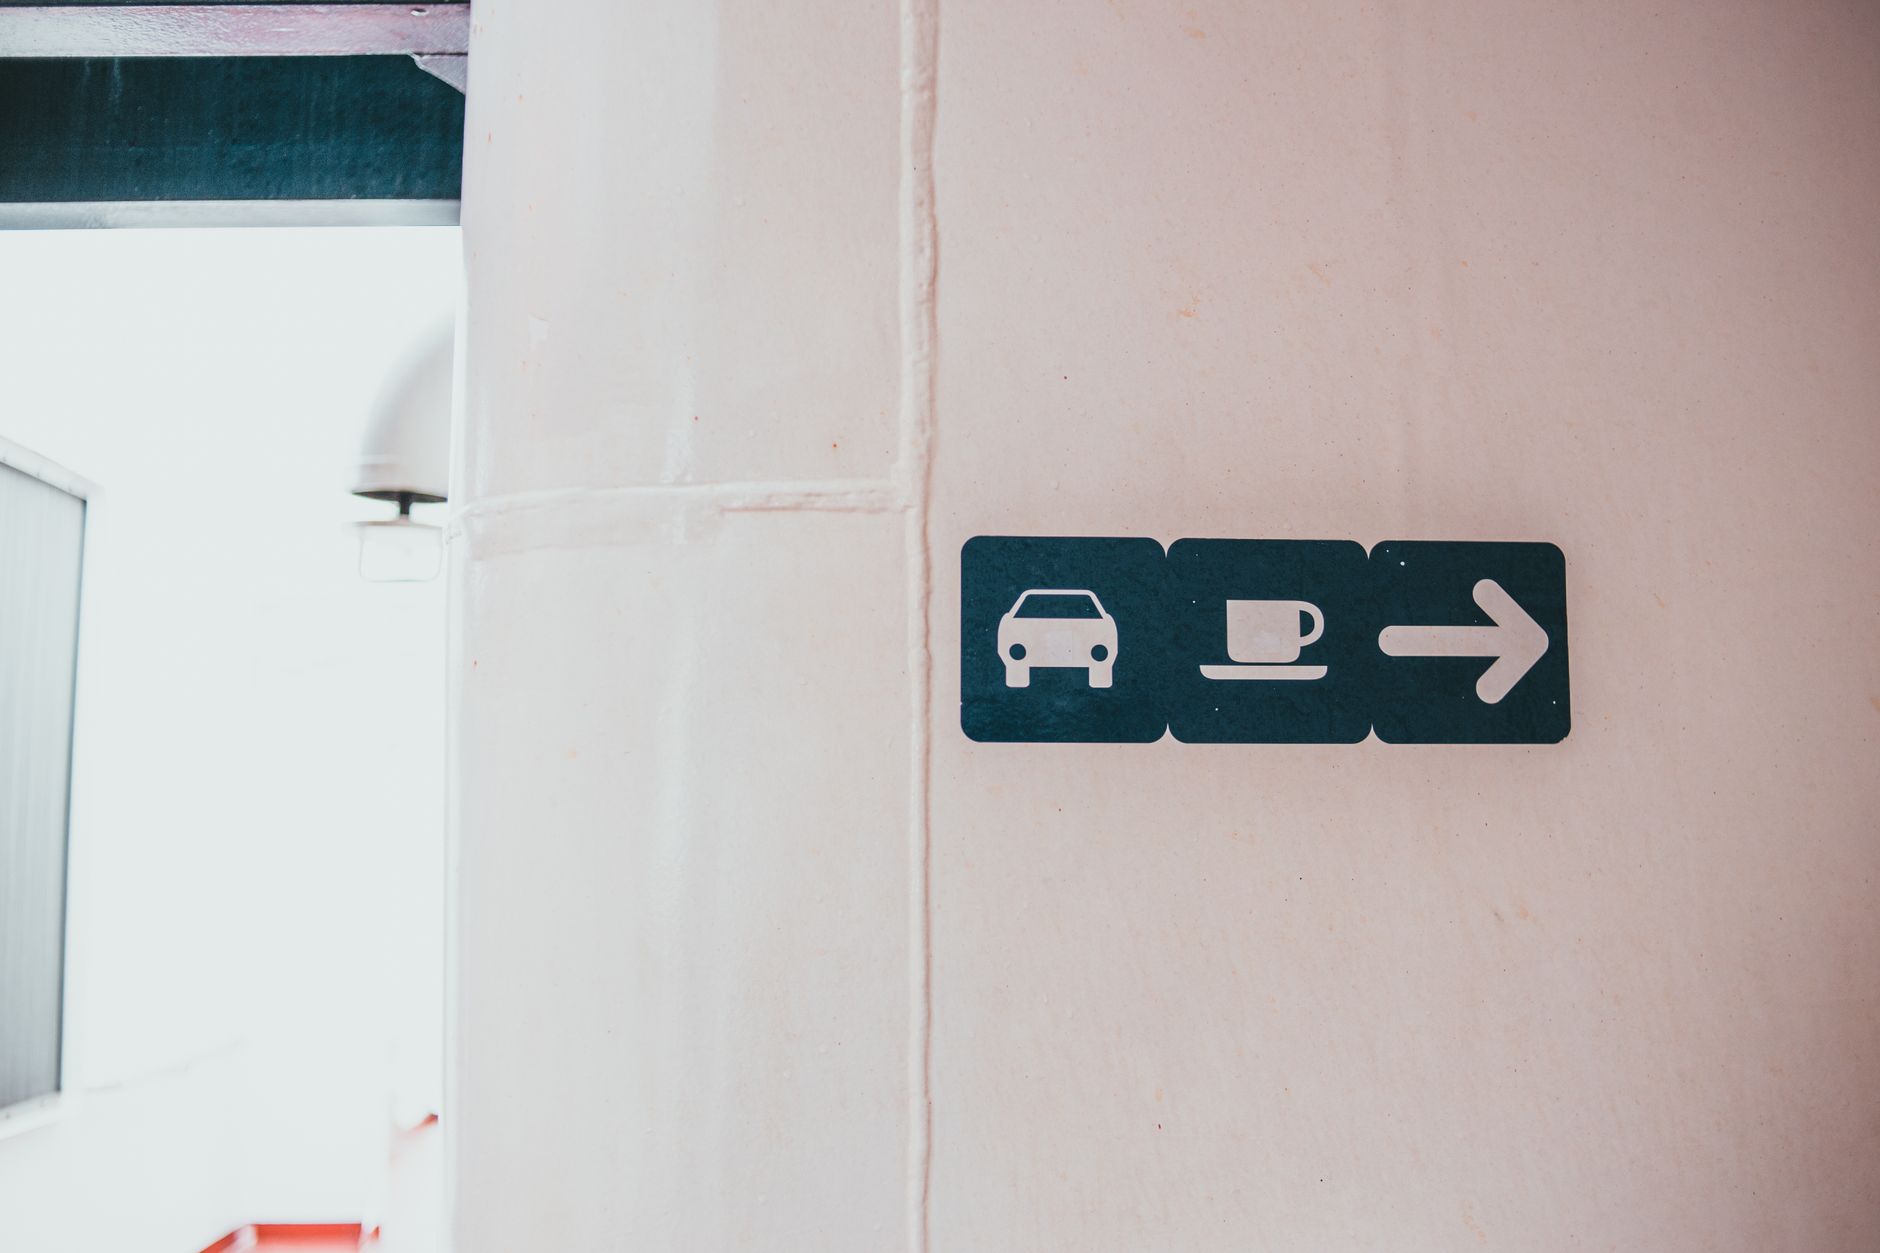
Directional and Session Signage: Corflute Plastic Signs
Inside the venue, clear wayfinding signage reduces delegate confusion and frees your staff for higher-value interaction than giving directions. Corflute plastic signs are the practical choice for temporary event directional signage: they are lightweight, rigid, and easy to mount on walls or existing frames.
Standard event signage applications:
- Room allocation signs (e.g. “Main Auditorium, Stream A”, “Breakout Room 2, Workshop”)
- Directional arrows at corridor junctions
- Registration signage
- Sponsor recognition boards in foyer areas
- “This session is full / next session begins at…” notices
- Catering and facilities directions (toilets, first aid, emergency exits)
Corflute signs can be produced with grommets for hanging, or cut to standard sizes that fit into snap frames if the venue provides them. Plan your signage hierarchy before ordering: identify every decision point a delegate will encounter between the entry and their first session, and put a sign at each one.
For outdoor directional use (showgrounds, outdoor festivals, carparks), corflute handles Australian weather conditions well. If signs are going into ground stakes for extended outdoor use, request a heavier board weight.
Typical conference signage checklist:
| Sign type | Quantity guideline |
|---|---|
| Main entrance directional | 2-4 (both sides of walkway) |
| Registration desk signs | 2-3 (lane dividers, queue markers) |
| Session room allocation | 1 per room entrance |
| Corridor junction directions | 1 per junction (all exits covered) |
| Catering and facilities | 1-2 at key congregating areas |
| Emergency/first aid | As required by venue |
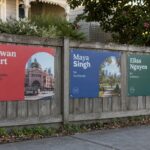
Sponsor Recognition: Making the Hierarchy Visible
Sponsors pay for visibility. Print is one of the clearest ways to fulfil that visibility commitment and give sponsors a tangible return on their investment. A clear sponsorship hierarchy across your print collateral demonstrates professionalism and makes renewal conversations easier.
How to tier sponsor visibility in print:
Major or naming-rights sponsors appear on the main stage media wall in the largest position, typically occupying 30-40% of a step-and-repeat grid. They also appear on the front cover of the program booklet.
Gold or premium sponsors appear in the media wall grid at a smaller scale, on the inside front cover of the program, and on key session room directional signs.
Silver sponsors appear in the program, in the acknowledgements section, and optionally on networking area signage.
Event partners and community sponsors appear in the program acknowledgements and on a dedicated sponsor board if the event has one.
When briefing your designer, set up the media wall artwork grid first. It is the most complex placement because logo sizes, spacing, and minimum clear space need to work at 3-5 metre standback. Once the grid is locked, scaling sponsor logos for other print items becomes straightforward.
Putting It Together: Branding Consistency Across Print Items
Five print products, potentially from five different orders, is where brand consistency breaks down. Spot the risks early:
Colour matching across print methods. Stretch fabric media walls print via dye-sublimation; corflute signs and booklets print via digital offset. The colour gamuts differ slightly. Provide your designer with your brand colours in CMYK (not just RGB or HEX) and ask them to check proofs across all items before you approve production. A small variance in your primary brand colour reads as inconsistency on the day.
Consistent logo versions. Provide your designer with a single, current logo file (vector format, ideally .ai or .eps) for each logo on the event. Do not let individual sponsors send their own files unless you have a template they must use.
Font consistency. If your event uses a custom typeface, embed it or convert all text to outlines in your artwork files. Missing fonts cause substitution errors that are often not caught until print is already running.
Consistent bleed and sizing. Each print item has different bleed and safe-zone specifications. Your designer should be working from print-ready templates for each product. Ask your printer to provide specifications before artwork is built, not after.
Budget-Tiered Starter Kit
Not every event has the same budget. Here is how to allocate print spend across three budget levels:
| Print item | Essential (tight budget) | Professional | Premium |
|---|---|---|---|
| Stage backdrop | Single-panel stretch fabric (2.4m x 2m) | Full-width media wall (4-6m x 2.2m) | Multiple panels, custom frame config |
| Entry banners | 2 x medium teardrop (single-sided) | 4 x large teardrop (double-sided) | 6+ banners, matching frame hardware |
| Program booklet | 8pp saddle-stitch, standard cover | 16-24pp, heavier cover stock | 32-64pp, layered content + floor plan |
| Directional signs | 6-8 corflute, A3 size | 12-16 corflute, A2 with grommets | Full suite with venue-matched sizes |
| Total print items | 4 | 4 (upgraded spec) | 4-5 (added sponsor boards) |
For all pricing and available quantities, see the individual product pages: the media wall PDP includes frame size options; the teardrop banner PDP shows per-unit pricing at different quantities; the A5 booklet PDP shows pricing by page count.
Ordering Timeline for Events
Rushed print is the single most common avoidable problem at events. Work backwards from your event date:
8+ weeks out: finalise venue and room allocations so your signage numbers are locked. Begin artwork for the media wall (longest production lead time due to artwork complexity).
6 weeks out: program booklet content locked. Speaker bios, session descriptions, and sponsor hierarchy confirmed by this point.
4 weeks out: all print artwork submitted and approved. This allows a proof round, any revisions, production, and standard freight with time to spare.
2 weeks out: all print delivered to your warehouse or event office. Do a physical stock count against your order. Check for any production issues with time to resolve them.
1 week out: signage kit packed and labelled by venue zone. This saves significant time at bump-in.
For urgent event print, fast Australian production turnaround is available on many products. Check the product pages for current lead times, and contact the team if your deadline is tight.
Frequently Asked Questions
What print items should every conference organiser order?
The five core items are a stretch fabric media wall for the main stage, teardrop banners for venue entry, A5 saddle-stitch booklets for the delegate program, corflute signs for directional and session signage, and a sponsor board if you have tiered sponsorships. This covers every major attendee touchpoint from arrival to keynote.
How far in advance should I order event print?
Allow at least four weeks from artwork submission to delivery for a complete event print kit. This covers proof rounds, production, and standard freight. If your event is in a capital city, faster options may be available. Check product pages for current lead times and contact the print team if you need expedited turnaround.
Can I use the same media wall frame at multiple events?
Yes. Stretch fabric media wall frames are designed to be reused. You purchase the frame once and can order replacement fabric graphics for each event. The printed fabric detaches from the frame and rolls or folds for transport. This makes the media wall a long-term investment rather than a single-use expense.
What is the difference between a teardrop banner and a pull-up banner for event use?
Teardrop banners are designed for outdoor and semi-outdoor environments. They are wind-resistant due to their curved shape and use a ground stake or cross-base to stand independently. Pull-up (retractable) banners are primarily for indoor use and retract into a base for easy transport. For conference entries and carpark wayfinding, teardrop banners are generally the better choice. For indoor trade show-style display, pull-up banners are more common.
How many pages can an A5 saddle-stitch booklet have?
Saddle-stitch binding (two staples through the spine) works up to approximately 64 pages. For most conference programs this is more than sufficient. Thicker programs (multi-day conferences, annual reports included as program) may require perfect binding or a different format. Check the product page or speak with the print team about your page count.
What size should my corflute directional signs be?
A2 (420 x 594mm) is the most common size for indoor conference directional signs. It is large enough to read at corridor distance without overwhelming the space. A3 works well for desk or table-top signs. For outdoor or carpark use, A1 or custom sizes may be warranted depending on the viewing distance. Corflute signs can be produced in custom sizes.
Do I need to design the artwork myself?
You can supply print-ready artwork or work with a graphic designer for your event. Print suppliers typically provide artwork specifications and templates on request. For a professional result, engage a designer with event branding experience, particularly for the media wall, where sponsor logo grid layout requires careful attention to hierarchy and spacing.
Ready to Order Your Event Print Kit?
Order each piece online or contact the team for a bulk event quote if you are ordering five or more items together.
- Stretch fabric media walls (stage and sponsor backdrops)
- Teardrop banners (entry, registration, outdoor wayfinding)
- A5 booklets (delegate programs, agendas, event guides)
- Corflute plastic signs (directional signage, session room markers)
Fast Australian production. Delivered to your door or venue.