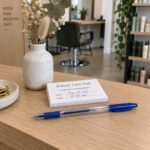
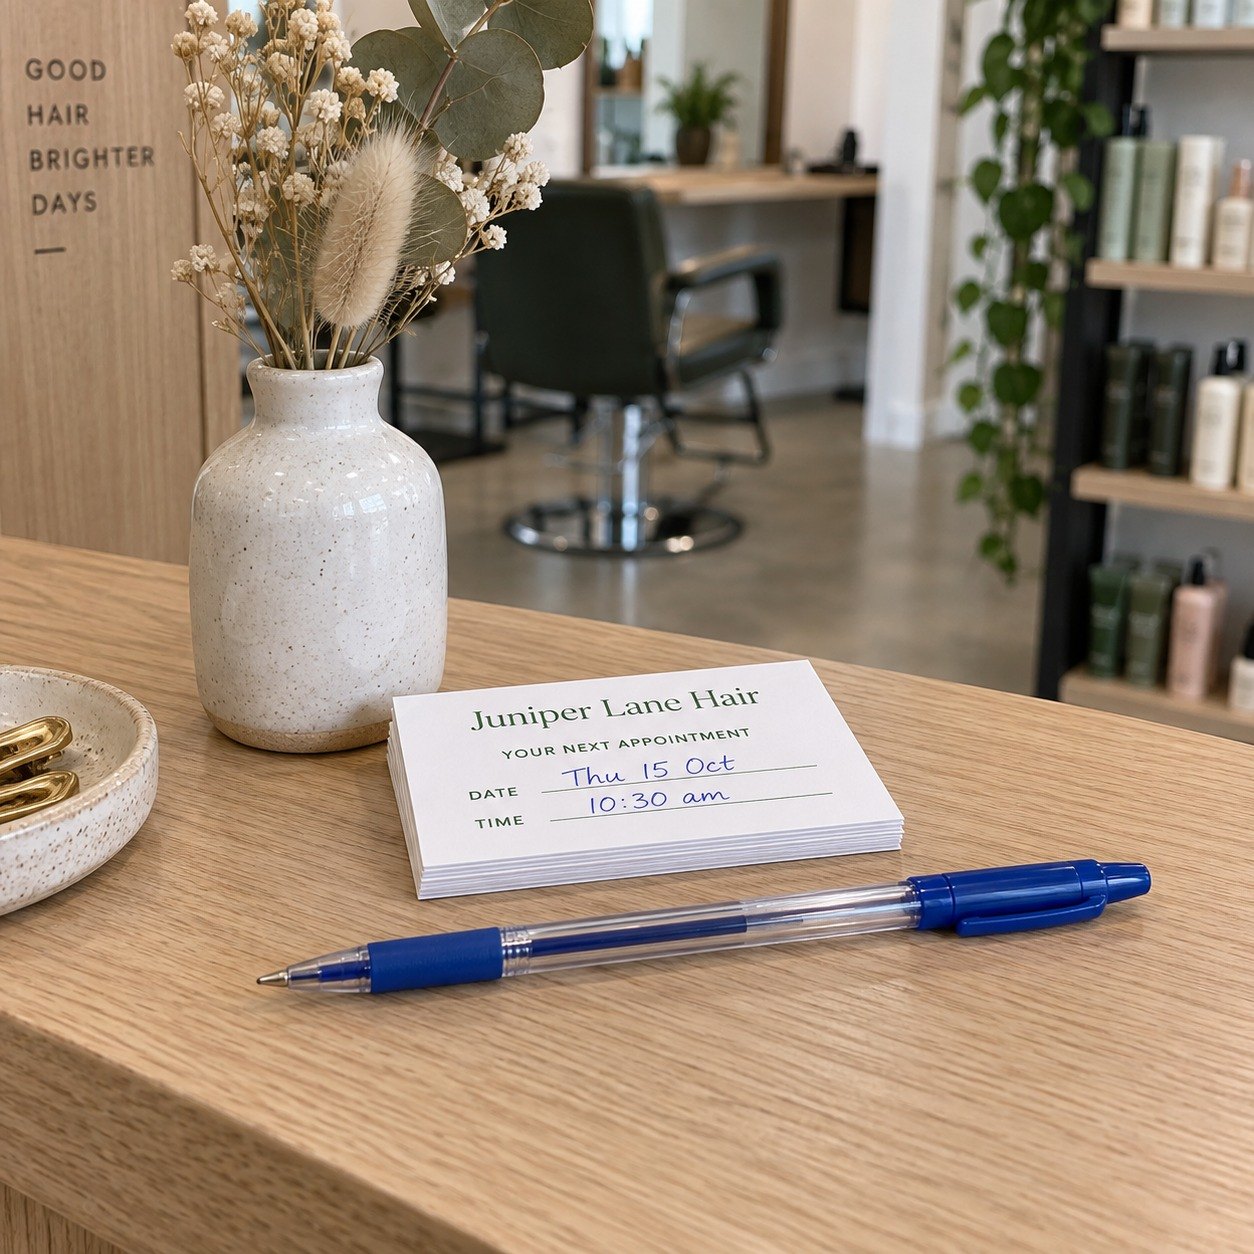
The next visit is agreed at the counter, the client is already halfway out the door, and the appointment card in your hand is doing the work of holding the details together.
A filled-in card is one of the simplest appointment reminder cards a practice can hand over, but it only works if the printed layout is right before the pen touches the paper.
This guide covers the written fields, the front and back layout, wording, privacy, paper choice and two worked examples. It will help you order appointment cards that are quick to write at the desk and easy to read days later on a fridge or in a wallet.
The short version
- Print the practice name, logo, phone, address and booking link, then rule the written lines so they stay straight.
- Leave the back uncluttered and spaced like ruled notepaper for the Date, Time and Practitioner lines.
- Write only the date, the time and the practitioner’s name, never the treatment or reason for the visit.
- Order an unlaminated 300 GSM stock so the surface takes ballpoint and gel pen ink.
- Check the proof with a pen line in mind, and approve only when printed details sit clear of the trim.
What to put on an appointment card
The card breaks into two sets of information. The first set is printed: practice name and logo, phone number, address, and website or online booking link. The second set is written by hand at the desk: the three short booking lines.
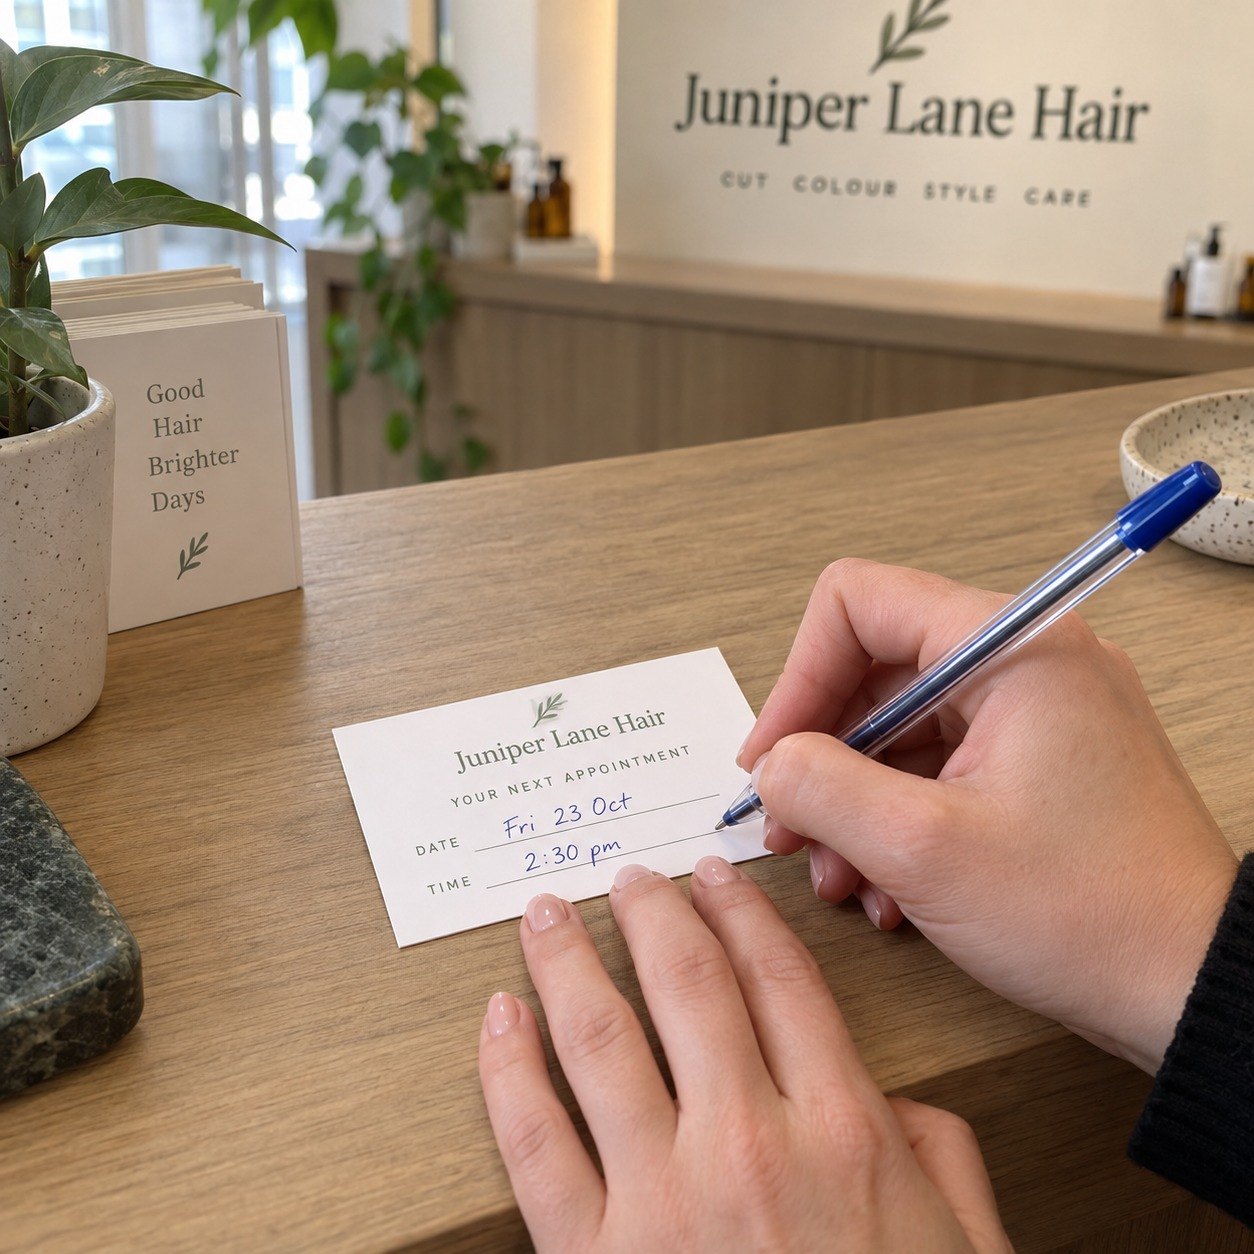
You can add one optional printed line for changing or cancelling, using the notice your practice asks for. Keep that line short. The written part should be the only part the receptionist has to think about.
Think of the card as a small handover document. The front desk writes three facts while the client puts on a coat. If any one of those facts is missing, the card loses its purpose.
Laying out the front and the back
Appointment cards work best printed front and back. The front carries the brand and contact details, so the card still works as a business card if the back is never filled in. The back carries the written fields as short printed labels, each with a ruled line long enough to write on comfortably.
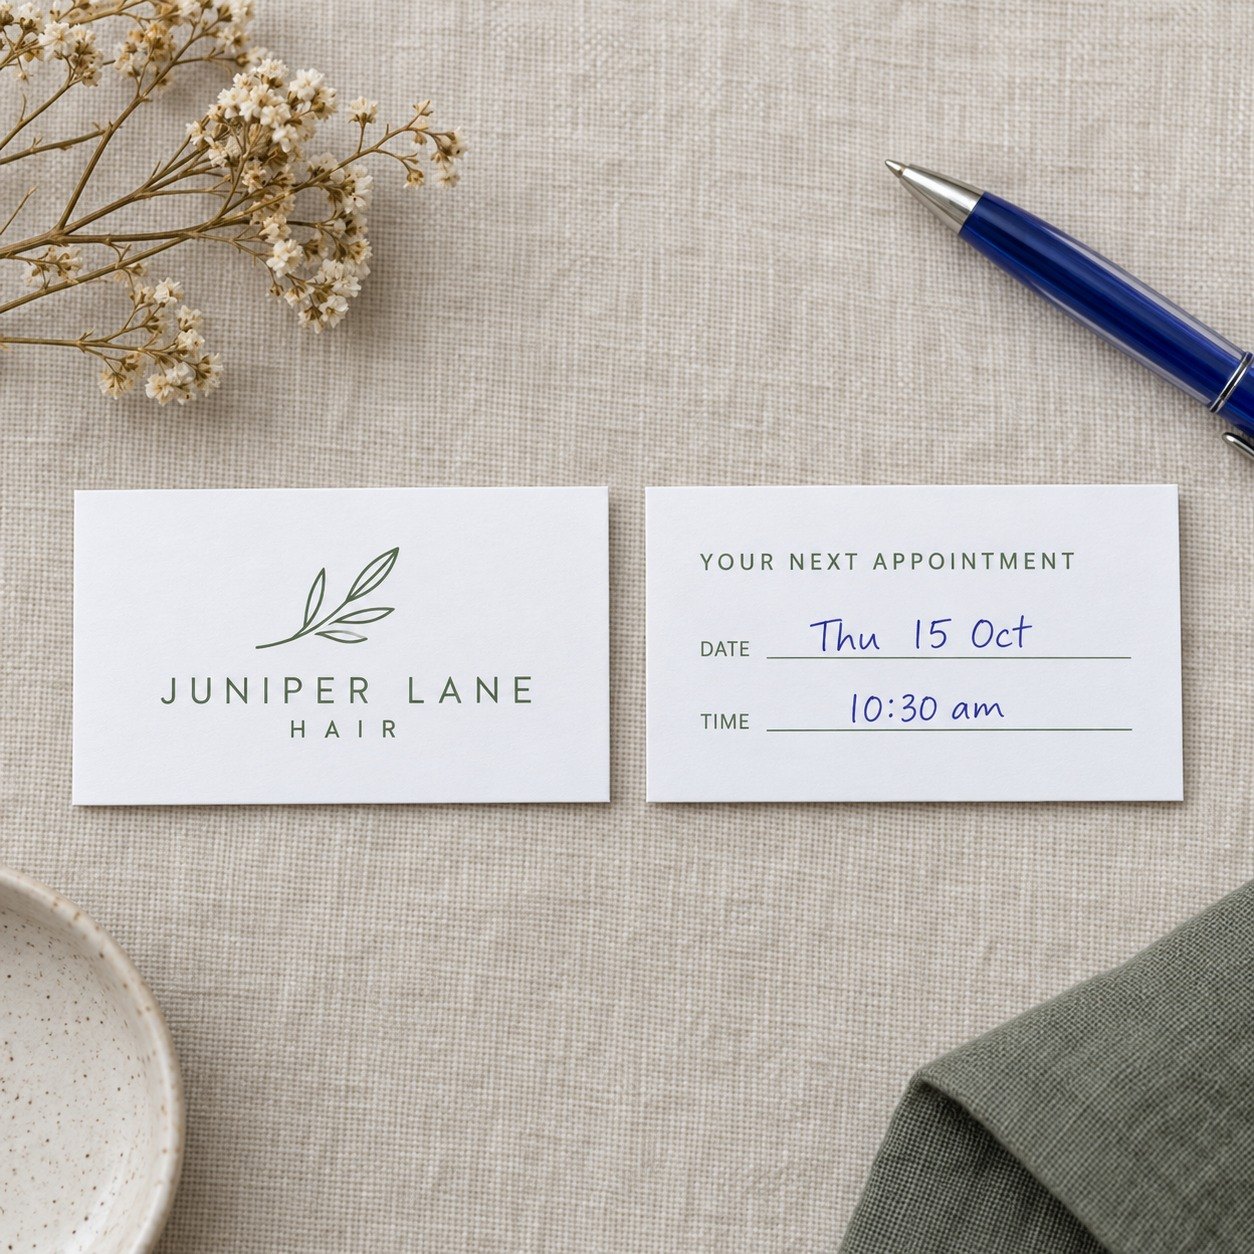
You can order front only, leaving the back as bare paper, but front and back printing lets a practice put a branded face on one side and ruled lines for the written details on the other. On a 90 x 55 mm card, keeping the live area 4 mm inside the trim leaves 82 x 47 mm of usable space. Keep the ruled lines and written labels inside that live area, and keep every printed name, number, grid and ruled line at least 4 mm from the trim.
Supply the artwork as a 96 x 61 mm file with 3 mm bleed on all four sides. PDF, SVG and Adobe Illustrator files are preferred with fonts outlined and artwork at 100% scale. A high resolution PNG or TIFF at 300 dpi is also accepted.
The ruled lines are part of the artwork you supply. There is no ready-made layout, so the practice or its designer sets the line position, spacing and label style.
| Field | Printed or written | Where it goes |
|---|---|---|
| Practice name and logo | Printed | Front |
| Phone and address | Printed | Front |
| Booking link | Printed | Front |
| Date | Written | Back |
| Time | Written | Back |
| Practitioner | Written | Back |
| Changing or cancelling | Printed | Back, near the written lines |
Wording that makes the booking easy to keep
A short printed heading does most of the explaining. A line such as “Your next appointment” tells the client what the card is before they read the handwriting. Write the day as well as the date, for example by placing the weekday in front of the calendar date, so a mid-week mix-up is harder to make.
Keep the labels plain: Date, Time and With. Print the practice phone number beside the change or cancel line, so the client does not have to search for contact details when they need to move a booking. The fewer words on the back, the more room there is for a clear, unhurried pen line.
Keeping the appointment card private
The card may end up on a fridge, in a wallet or on a shared desk. Write only the date, the time and the practitioner’s name. Leave the treatment or reason for the visit off the card, because other people may see it.
Keep the same discipline in artwork. When you set up a proof or a designer’s mock-up, use invented placeholders for the written lines, never a real client’s name or booking.
Paper that takes a pen
Paperlust supplies appointment cards in 300 GSM Matte, 300 GSM Linen and 300 GSM Cotton. 300 GSM Matte is smooth, low glare and bright white. 300 GSM Linen has a visible linen texture and ultra white finish. 300 GSM Cotton is an off white cotton blend that prints well and writes well. All three are supplied with no laminate, so the unlaminated surface takes ballpoint and gel pen ink, as well as rubber stamp ink. A laminated or velvet finished card resists ink, which is why no laminate is offered on these cards.
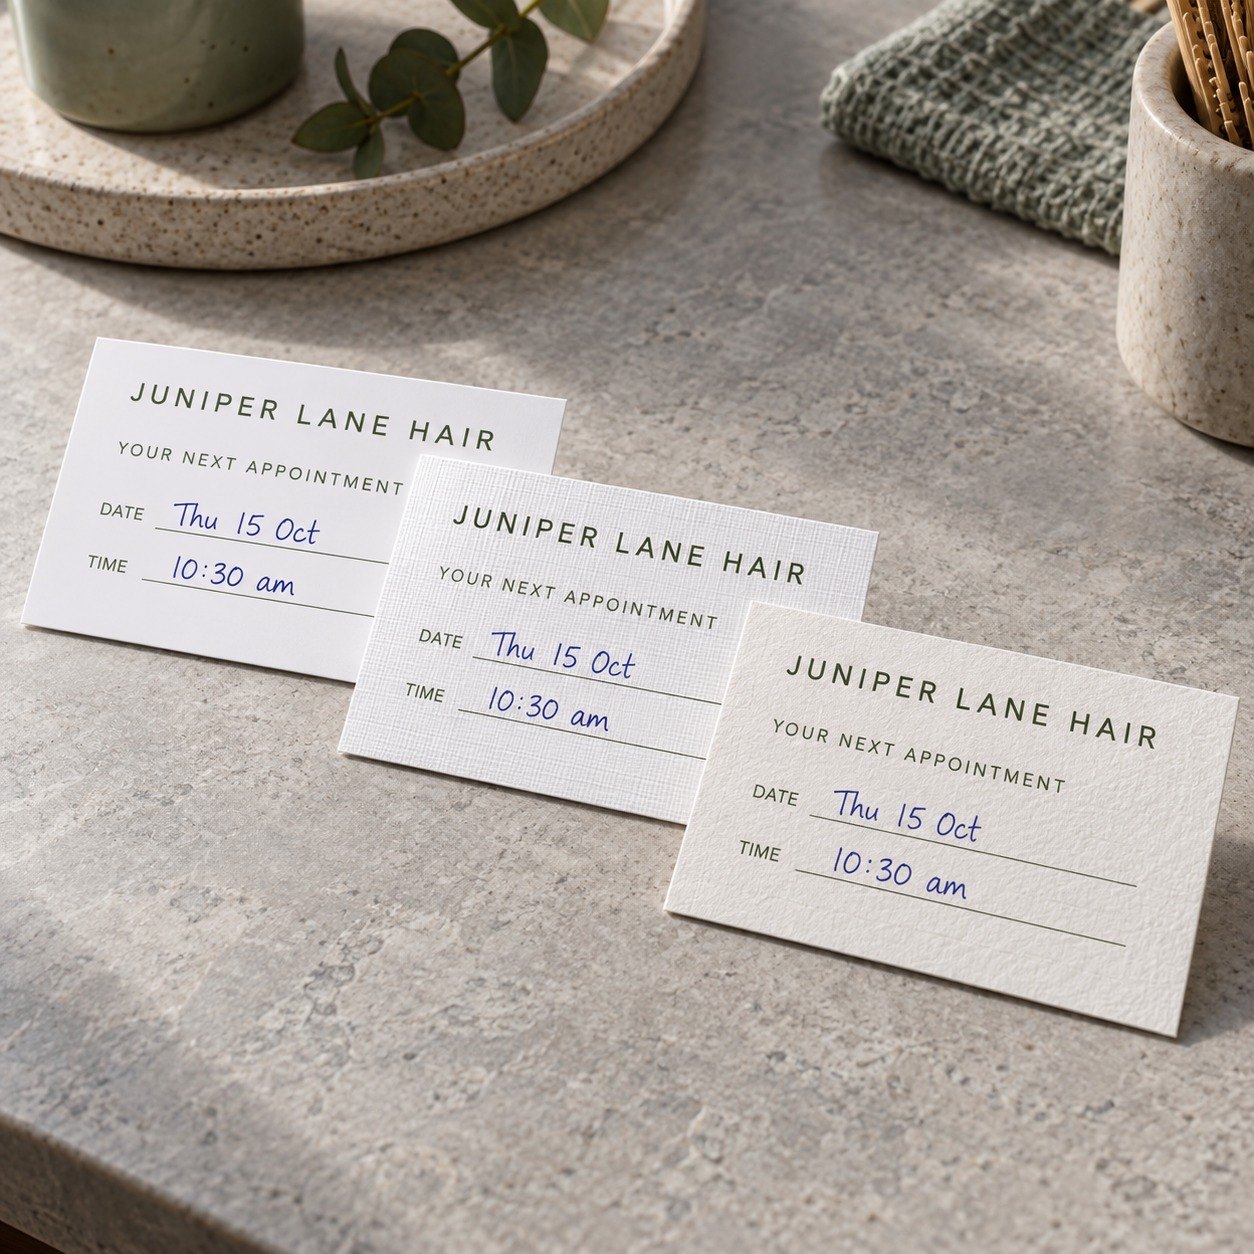
Production timing is the other practical difference. 300 GSM Matte runs on 24 hour production after proof approval. 300 GSM Linen and 300 GSM Cotton run on 3 to 5 business days after proof approval. Every order is printed at the Melbourne studio.
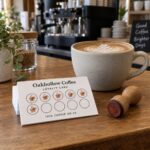
If you want to compare the feel before a full run, order the business cards sample pack. Practices that also reward repeat visits can order loyalty cards at the same time.
Two worked examples: a clinic card and a salon card
For a dental, medical or allied health clinic, put the practice name, logo, address, phone and booking link on the front. On the back, use a “Your next appointment” heading, ruled lines for the three written fields, plus one printed line on changing the booking. Order 300 GSM Matte if the reception team wants a crisp pen line and the fastest turnaround. This layout is a natural fit inside a broader medical and dental print kit.
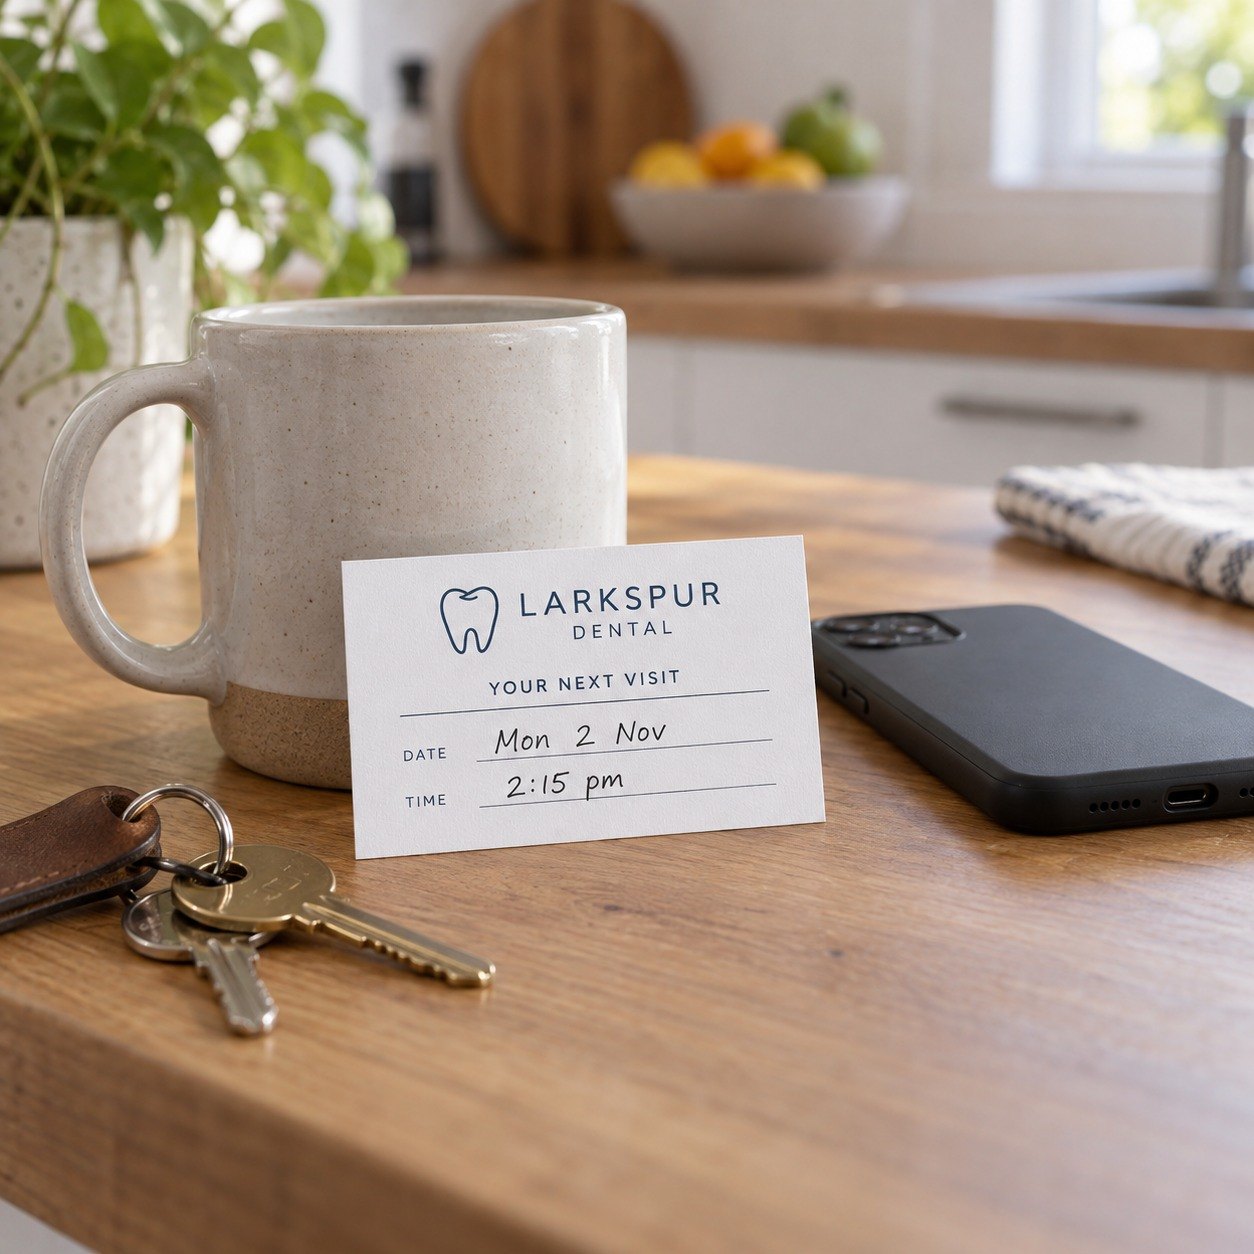
For a salon or barber, keep the front simple with the salon name, logo and booking link. On the back, rule the three handwritten lines, leaving the stylist slot clearly labelled, and leave room for a short service note the client can choose to have written, only if they want it. Choose 300 GSM Cotton for a softer feel and allow 3 to 5 business days. Rounded corners suit a card that lives in a purse. The same front can work alongside hair salon business cards.
In both cases, the card works because the written part is short and the printed part carries everything else.
Frequently asked questions
What information does an appointment card need?
The card needs a printed practice name and logo, phone number, address and website or online booking link, plus space to write the booking details on the back. A printed line for changing or cancelling is optional and should use the notice your practice asks for.
Can you write on the appointment cards with a normal pen?
Yes. The 300 GSM Matte, Linen and Cotton stocks are supplied with no laminate, so the surface takes ballpoint, gel pen and rubber stamp ink. A laminated or velvet finished card resists ink.
Do you supply an appointment card template or ready-made layout?
No ready-made layout is supplied. You upload print-ready artwork, or order the Design Artwork Package if your artwork is not print ready.
Should the treatment be written on the appointment card?
No. Write only the details needed to attend: when the appointment is and with whom. Leave the treatment or reason for the visit off the card because it may be seen by other people.
What size are the appointment cards?
Both options are 90 x 55 mm, the standard Australian business card size. You can choose Rectangle with square corners, or Rounded Corners.
What is the minimum order for appointment cards?
The minimum order is 50 cards. The quantity selector runs up to 5,000 cards.