Packing a box well is two jobs running at once, and most packing guides only address one. The first job is protection: the product should arrive in the same condition it left your bench. The second is presentation: when the customer opens the box, their first impression begins before they even touch the product. A well-packed box does both. A poorly packed box usually fails at one or both, and the customer notices either way.
This guide covers the full sequence from flat board to sealed, labelled box, in the order you would actually follow it at a packing bench. It includes an honest comparison of the void fill options you are likely to use, because the right choice depends on what you are sending, how you want your brand to read, and what your customer is going to do with the packaging once the excitement fades.
Whether you are packing your first order or your five hundredth, the single most useful test is always the same: pack the box, close it, and give it a gentle shake. If you can hear or feel the product move, something needs to change before that box goes near a carrier.
The short version
- Choose a box that fits your product with roughly 15 to 25mm of clearance on each side. Snug beats spacious.
- The movement test is non-negotiable: close the box, shake it gently. No sound and no shift means the pack is good to go.
- Void fill is not just cushioning. Paper shred reads as premium; air pillows read as fulfilment warehouse. Choose the one that matches your brand.
- The RETF closure self-locks without tape or glue. For anything going through a carrier, one strip of tape across the front flap is enough.
- A smaller box is often the better box: it needs less fill, ships at lower cubic weight, and looks cleaner when the lid opens.
- Tissue wrap, a sticker seal and a thank-you card cost almost nothing and account for most of the unboxing moment the customer remembers.
Start with the box flat on the bench
The roll end tuck front (RETF) mailer box ships and stores completely flat, which keeps freight costs down and means you can hold more stock without taking over the storeroom. When you are ready to pack, fold the side panels in and push the roll end flaps up into the base. The floor locks in place. No tape, no glue, no tools. If you want to see exactly how the RETF style folds together before you commit to an order, the assembly sequence and locking mechanism are covered there in detail.
At volume, the flat storage format matters more than people expect. A pallet of flat boxes takes a fraction of the space of assembled boxes, which lets you keep a reasonable buffer on hand without dedicating a corner of the warehouse to it.
Once assembled, set the box on your bench with the lid open and the interior facing up. You are working from the base upward: base layer, product, void fill, extras, close. Follow that sequence and the process becomes repeatable.
Lay a base layer
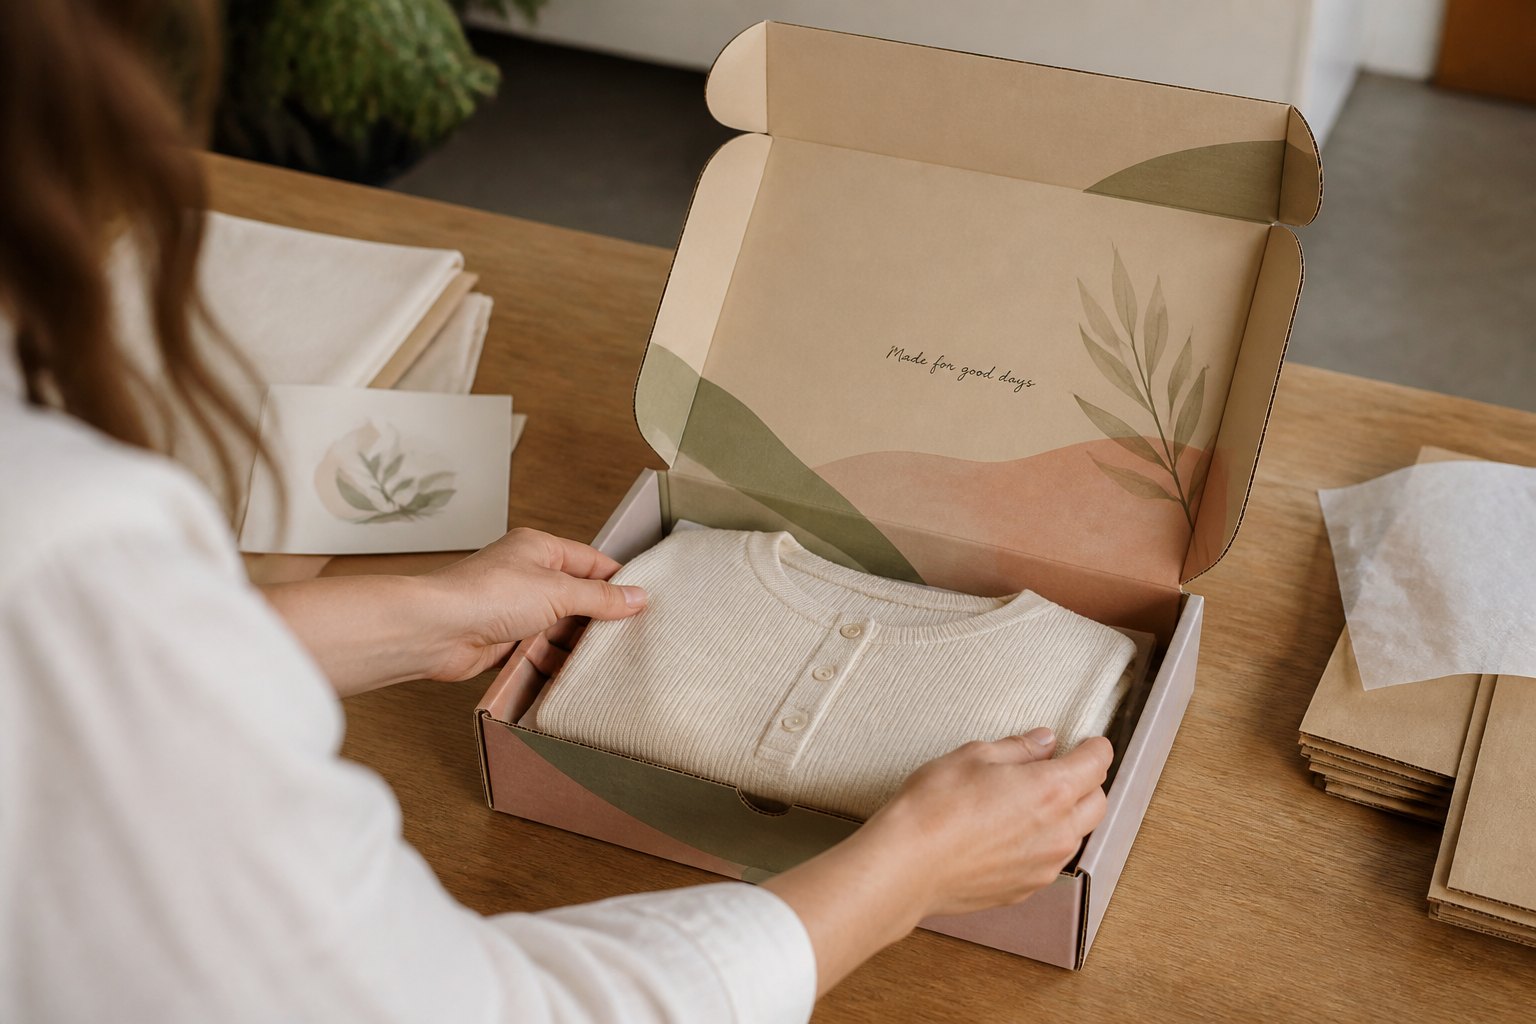
A thin base layer at the bottom of the box serves two purposes at once. It cushions the floor contact point for the product, and it frames the inside of the box visually when the customer first opens the lid. Without anything on the floor, the corrugated board of the base is the first thing they see, which is a missed opportunity.
For a single lightweight product, a loose nest of paper shred is often enough. It cushions the base and fills the space around the sides. For anything heavier or fragile, a flat layer of foam sheet or corrugated card under the item gives it a stable platform before you add fill. Another option for the base is printed tissue lying flat on the floor of the box, so the inside looks finished the moment the lid opens. Our guide to choosing a tissue paper sheet size will help you settle on a format before you order.
Keep the base layer thin. Its job is floor protection and visual framing. The protection along the sides and corners comes next.
Position the product so it cannot move
Place the product in the centre of the box, with even clearance on all sides. The 15 to 25mm clearance guideline in the sizing advice refers to this gap. It is enough room for a base layer and a ring of void fill without leaving dead air where the product can slide.
If you are packing multiple items, think about the order the customer encounters them. The hero product, or the most visually striking item, should be the first thing they see. Heavier items go below lighter ones. Fragile items get wrapped individually before they go in, not just nested among other things. A sheet of tissue or a small piece of foam around anything that could scratch or break costs almost nothing. A replacement order costs a great deal more.
With the product in position, run the movement test for the first time. Hold the lid closed over the box without locking the flap and give it a short, firm shake. If the product shifts or makes a sound, add fill before going further. That shake takes ten seconds and it is the most reliable QA check on a packing bench.
Compare your void fill options honestly
Void fill does two things: it stops the product moving and it occupies the visual space around it when the box opens. The common options differ on cost, protection level, the impression they give the customer, and how the customer disposes of them afterwards. Here is how they compare across those axes.
| Void fill | Protection | Presentation | Disposal | Best for |
|---|---|---|---|---|
| Paper shred / crinkle paper | Good for light to medium products | Premium, tactile, generous | Kerbside recyclable | Gifts, boutique brands, subscription boxes |
| Tissue paper | Light cushioning only | Soft, elevated | Kerbside recyclable | Wrapping the product, not filling gaps |
| Kraft paper (scrunched) | Good for most products | Natural, minimal, honest | Kerbside recyclable | Everyday e-commerce, sustainability-led brands |
| Corrugated card inserts | Excellent, structured hold | Clean, engineered, intentional | Kerbside recyclable | Fragile items, heavier products, luxury gifting |
| Air pillows | Good for lightweight fragiles | Functional, low-effort signal | Not kerbside recyclable in most areas | High-volume fulfilment where speed is the priority |
| Foam sheets or chips | Very good, impact-absorbent | Clinical, not premium | Not kerbside recyclable | Technical or high-value fragiles |
A few things the table does not capture. Paper shred and crinkle paper are the most common choice for brands with a gifting or boutique positioning. They look generous on opening, they are tactile and warm, and most customers understand they are recyclable. The main downsides are cost per cubic centimetre and the occasional customer who opens the parcel too enthusiastically and finds shred across the kitchen table.
Air pillows are quick to apply and do the job, but they carry a signal. Many customers associate them with large, impersonal fulfilment operations. If your brand positioning leans on quality, craft or care, there is a mismatch between the experience you are selling and the fill material you are using.
Corrugated card inserts sit at the other end of the spectrum. They take more thought to design and source, but they hold the product in an exact position without any loose fill at all, and they look intentional. For fragile or high-value products, they are usually the right call.
Tissue paper is not void fill. It does not compress reliably enough to stop movement. Use it to wrap the product or line the interior of the box, and use a separate material to handle the gaps.
None of these materials are something we supply – you source void fill from a packaging materials supplier. If you are working through the broader picture of packaging on a budget, including where to source void fill and how to balance cost against presentation, that guide pulls those decisions together.
The extras that make the unboxing
A well-packed box protects the product. An intentionally packed box creates a moment the customer talks about. The gap between the two is smaller than most people expect, and the additions that close it are cheap.
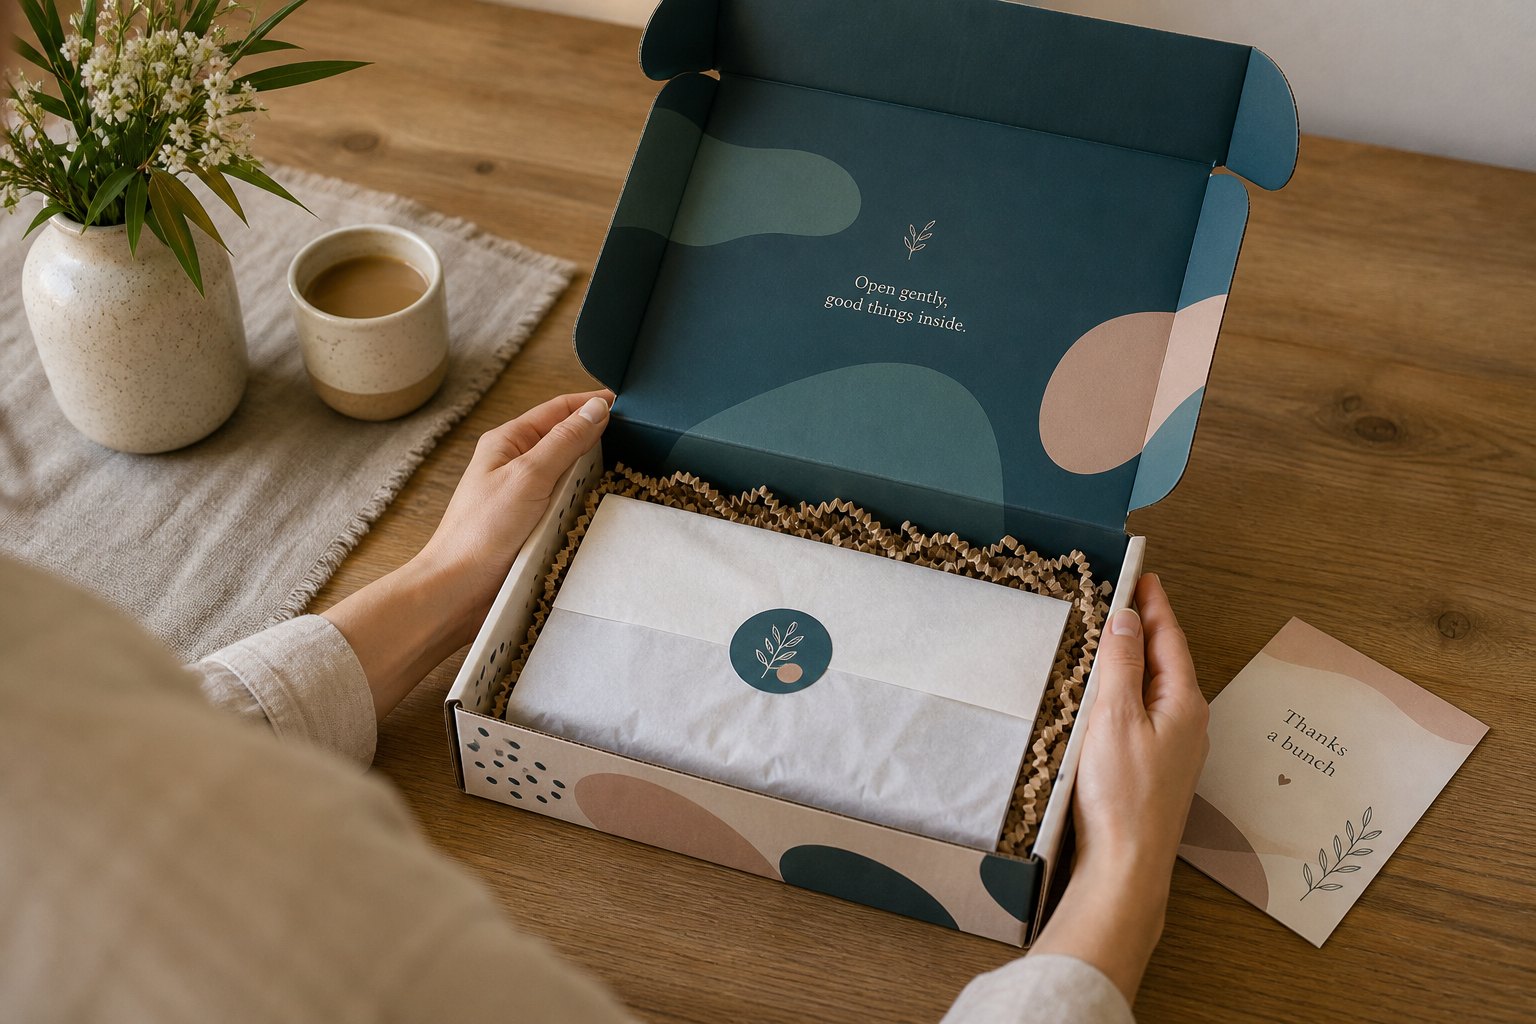
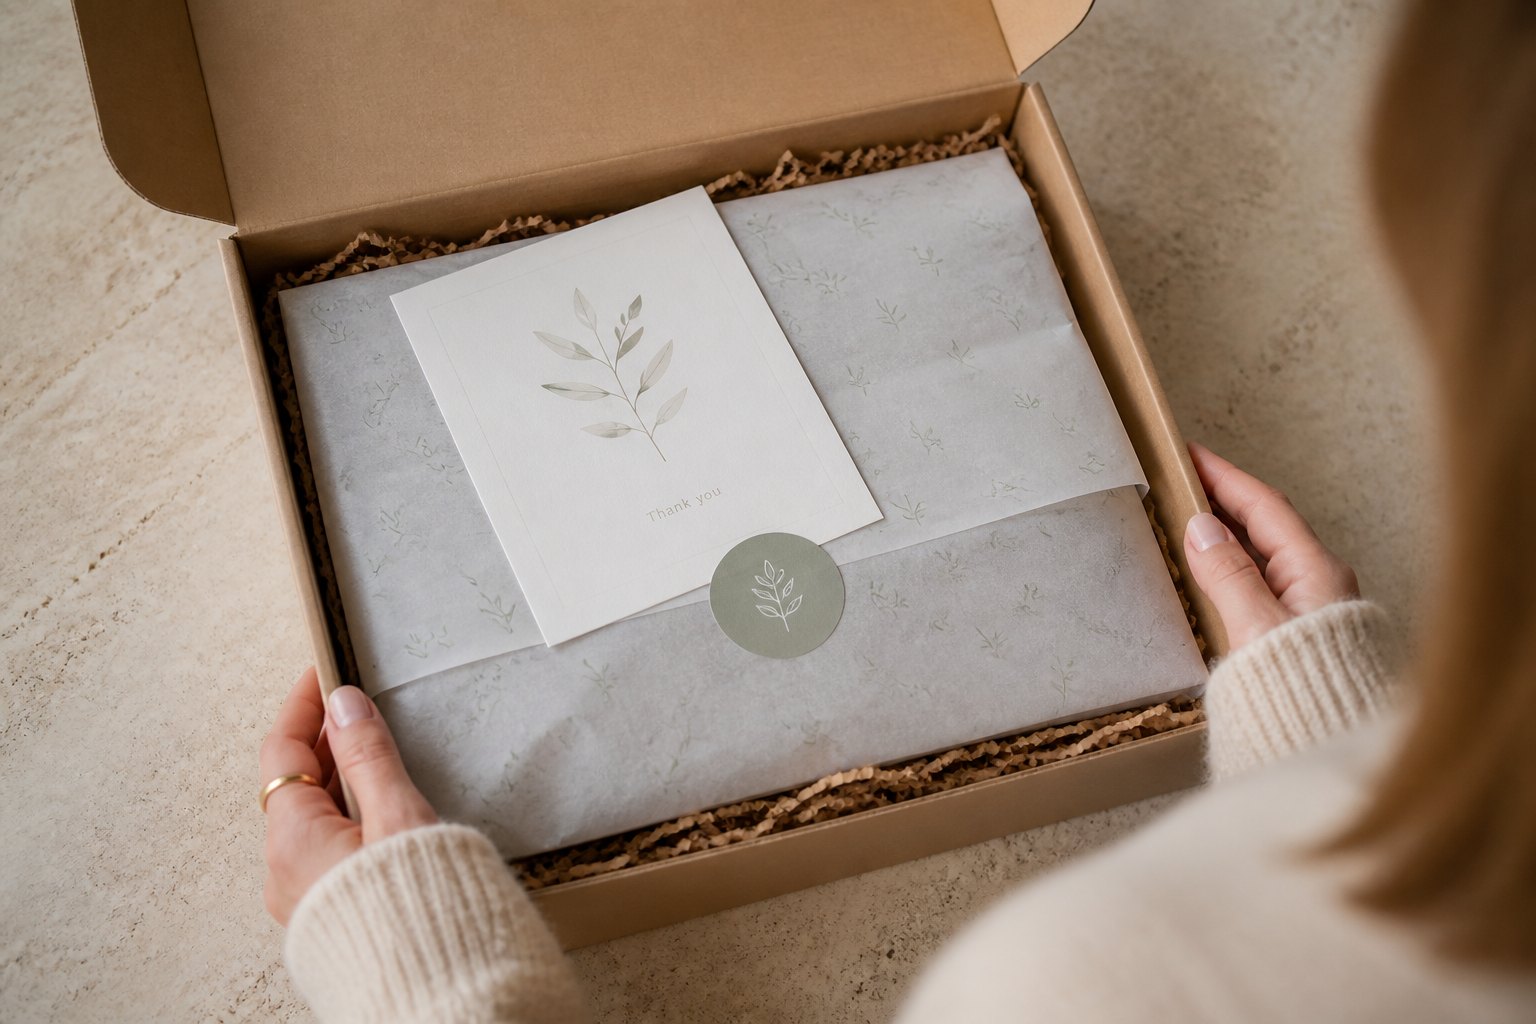
Tissue wrap around the product itself is the single highest-return upgrade at the packing bench. A sheet or two of tissue paper, folded over the product and held with a sticker seal, adds almost no cost or time. It stops small items shifting during the last stretch of transit, creates a reveal when the box opens, and puts your branding at eye level the moment the customer lifts the lid.
The sticker seal matters more than it looks. It keeps the tissue wrap from unfolding in transit, and it is the first thing the customer picks up. A custom die-cut sticker in your brand’s shape or colour reads very differently to a plain round label. For subscription box packaging, where the same customer opens your box every month, that small detail compounds across the year.
A thank-you card or printed insert sitting on top of the tissue is the other inclusion worth making a habit. It does not need to be elaborate. A short handwritten line, or a printed card with care instructions and a QR code, adds warmth and gives the customer something to keep. If you include a discount code for a future order, keep the copy short. You are interrupting an unboxing moment, not sending a newsletter.
Close the box and tape the flap
The RETF front tuck flap folds in and self-locks. For lightweight products collected in person or carried directly to a customer, the self-lock holds without anything extra. For anything going through a carrier, Australia Post included, run one strip of clear packing tape across the front tuck flap before it leaves your bench. The box is already strong. The tape keeps the flap from lifting on a conveyor belt or under the weight of other parcels in transit.
If you have branded packaging tape, use it here. It turns the sealing step into a second touchpoint. If you are using standard clear tape, that is fine too. Avoid masking tape or paper tape on the exterior flap for carrier shipments. Both can lift in humid conditions or when handled roughly.
Before you reach for the tape, run the movement test a second time. Close the flap, hold the box upright, and give it a short firm shake. No sound. No shift. If you hear or feel anything, open it back up and add more fill. The test takes five seconds. It is the reason this whole guide exists.
Right-sizing beats over-packing
A box that fits your product properly needs less fill, costs less in freight, and looks better when it opens. Over-sized boxes are one of the most common mistakes in small-business e-commerce, usually because a seller orders a single box size to cover a broad product range and defaults to the largest option for safety.
The cubic weight reality in Australian freight is worth understanding. Carriers do not charge purely on physical weight. They charge on the greater of physical weight and cubic weight, which is calculated from the box’s dimensions. A large, lightly-filled box can attract a high freight charge even if the product inside weighs almost nothing. A snugger box with the same product inside costs less to ship at every volume level.
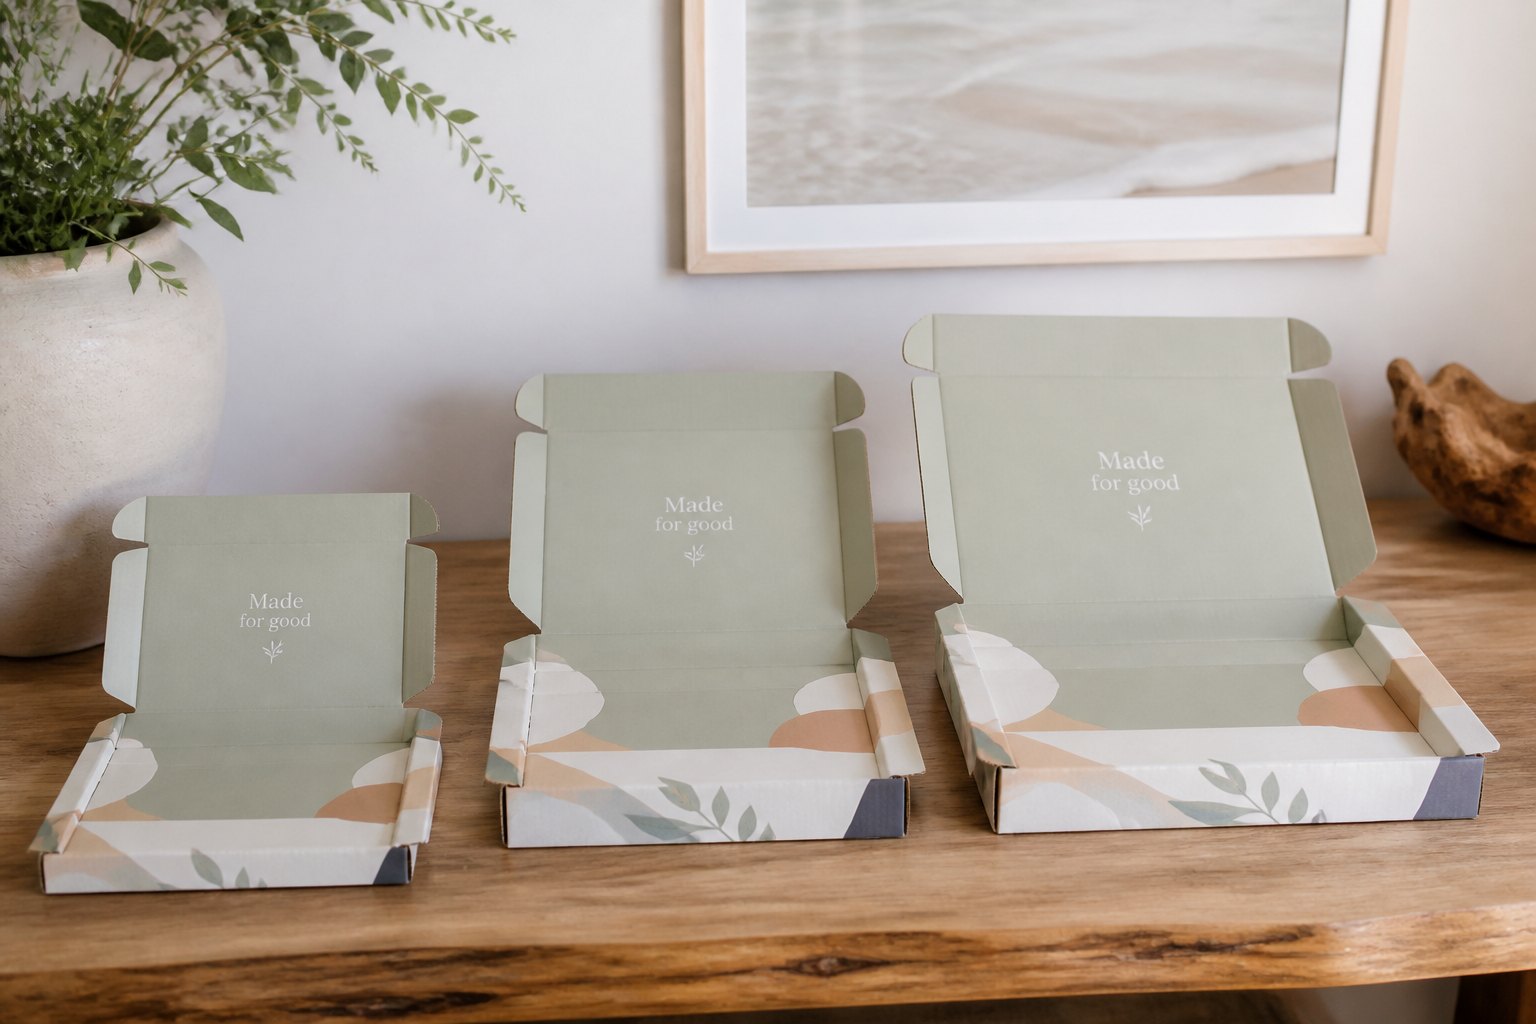
Our range of printed mailer boxes covers three internal sizes for the full-colour range: 265 x 200 x 90mm, 310 x 240 x 110mm and 425 x 295 x 110mm. To choose between them, measure your product as it will be packed, including any tissue or padding, and add 15 to 25mm of clearance on each side. That is the target gap. If your measurement lands between two sizes, take the smaller one and adjust your fill rather than moving up. A snugger box needs less material and is cheaper to freight, and it usually looks better on opening because there is less empty space to explain away.
If your product range genuinely spans more than one size category, order the size that fits each product rather than one large box for everything. The savings in fill and freight usually offset the added SKU complexity within the first few hundred orders.
Label clearly and consistently
The address label goes on the largest flat face of the sealed box. For a standard mailer box, that is the lid panel. Centre the label and keep it well clear of edges, folds and the tuck flap.
For Australia Post and most Australian couriers, the barcode on your label needs to be flat, readable and unobstructed. Do not apply the label across a fold. Do not cover the barcode with tape. Do not use label stock that curls at the edges or goes glossy enough to confuse a scanner. If you are printing labels from a thermal printer, confirm the print head is producing a clean, dark output before you run a full batch.
Address details and your return address both belong on the label. Some sellers add a separate small return-address label on the rear flap as a backup in case the main label is damaged in transit. For high-volume shipping it is also worth including a packing slip inside the box. It helps at pick-and-pack and it helps the customer if the outer label is ever lost or damaged on arrival.
If you are adding a “Fragile” or “This Side Up” marking to the exterior, apply it on a secondary face, away from the address label and away from the tuck flap.
Where to go from here
Good packing starts with the right box. A box that fits your product, carries your branding clearly, and arrives in the same condition it left your bench is the foundation the whole process sits on. Our range of custom mailer boxes covers full-colour digital and offset printing from small batches through to volume runs, and kraft spot-colour printing at higher quantities. Both pages carry a live price calculator. Pick a size and a quantity and the per-box price updates as you go.
—
Frequently asked questions
How much void fill do I need in a mailer box?
Fill until the product cannot move. The movement test is the practical rule: close the box and shake it firmly. If the product shifts or makes a sound, add more fill. As a rough guide, aim for 15 to 25mm of fill on each side of the product. For fragile items, err on the side of more. Over-filling to the point the box will not close cleanly is the other failure mode to watch for.
What is the difference between void fill and protective wrap?
Void fill occupies the empty space inside the box so the product cannot shift during transit. Protective wrap goes on the product itself – bubble wrap, foam or tissue around the item to absorb impact if the box takes a knock. For most e-commerce products you need both: wrap the product first, then fill the gaps around it. For robust products like clothing or books, a base layer and snug void fill is often enough.
Does the RETF mailer box closure need tape?
The RETF front tuck flap self-locks and holds without tape. For hand-delivered orders or in-person collection, the self-lock is enough. For anything going through a carrier, one strip of clear packing tape across the front tuck flap keeps it secure on conveyor belts and under stack weight in transit. You source tape from a packaging supplier.
What void fill works best for a gifting brand?
Paper shred, crinkle paper and tissue paper are the most common choices where the unboxing experience matters. All three are kerbside recyclable, look generous, and feel considered when the customer opens the box. Air pillows and foam chips are functional, but they carry a fulfilment-warehouse feel that does not suit every brand. Match the fill material to how you want your brand to read.
How do I choose the right mailer box size?
Measure your product as it will be packed, including any tissue or padding around it, then add 15 to 25mm of clearance on each side. Check the internal dimensions on the product page for each size option. If your measurement falls between two sizes, take the smaller one and adjust your fill. A snugger box needs less material and is cheaper to ship on cubic weight.
Can I pack multiple products in one mailer box?
Yes. Put heavier items at the base and lighter or more fragile ones on top. Wrap each item individually before placing them in the box so they cannot scratch or knock against each other. Use void fill to eliminate any movement between items and between the outermost items and the box walls. Run the movement test after packing to confirm nothing shifts before you seal.
What goes on top of the tissue wrap before I close the box?
A sticker seal is the most common finish. It holds the tissue closed, keeps it tidy in transit, and puts your branding at eye level the moment the customer opens the box. A thank-you card or a printed insert on top of the seal adds warmth and gives the customer something to keep. Keep any insert copy brief.