A 60mm label file feels close until the proof comes back clipped or the upload is rejected. Generic artwork is the usual cause, and it is avoidable once the file matches the actual product, shape and size you ordered.
Sticker artwork templates for businesses are setup guides, not a design library, an online editor or a combined downloadable design pack. They show trim, bleed and safe area for a specific product. You still create the artwork and follow the export notes for the route you are buying.
Start with the product, not the template
Set up the product route first. A custom die-cut sticker uses a different file from a roll label, a kiss-cut sheet or a standard circle sticker. The template belongs to the product.
The template files available on the roll-label circle labels page, the custom sticker sheets page and the die-cut sticker page are PDF, SVG and Canva guide PNG downloads. They are blank setup documents. The Canva PNG is a visual reference, not an editable Canva design and not a built-in editor. If a page does not show a template, do not assume one exists elsewhere.
Trim, bleed and safe area are separate measurements
A template works because it separates four values: document size, finished trim, bleed and safe area. The finished trim is the cut edge. Bleed is extra background beyond it. The safe area is the inner buffer that keeps text and logos away from the cut.
Do not treat those as one number. A label may have a 50mm finished width, a document size set slightly larger to carry bleed, and a safe area that starts further in from the trim. The exact bleed and safe values vary by product. Use the notes on the page you are ordering from.
Match the sticker format to the business job
| Business use | Product route | Key setup notes | Starting quantity |
|---|---|---|---|
| Custom silhouette or logo outline | Custom die-cut sticker | Vector cut path at the artwork outline; cut through material and backing | 10 per design |
| Multiple designs on one backing | Custom sticker sheets | Outer sheet size plus kiss-cut lines for each design | 10 sheets |
| Round lids, cap seals or giveaways | Standard circle stickers | Circle trim at the finished size; no custom cut path | Check the product page |
| Symmetrical logos or square packaging faces | Standard square stickers | Square trim and safe area | Check the product page |
| Horizontal product, address or packing layouts | Standard rectangle stickers | Rectangle trim and safe area | Check the product page |
| Outdoor or vehicle surfaces | Custom vinyl stickers | Contour-cut outline on white or clear vinyl; No Laminate only | 10 per design |
| Transparent no-border look | Clear sticker product page | Follow the clear sticker artwork instructions; do not assume removing the background is enough | Check the product page |
If none of those fits, compare the custom stickers category before producing artwork.
Roll labels: measure the container before setup
For roll labels, artwork setup starts with the actual container. Capacity in millilitres or grams does not define the panel. On a cylindrical straight zone, wrap a paper strip or soft tape around the jar, note the circumference, then subtract the seam gap you want. There is no universal gap. Tapered, ribbed or shouldered surfaces need a paper fit test and possibly custom shape advice.
This process is covered in the bottle and jar label sizing guide, including the printable ruler. Print it at actual size, disable fit-to-page, and check the 100mm calibration line against a physical ruler before relying on it.
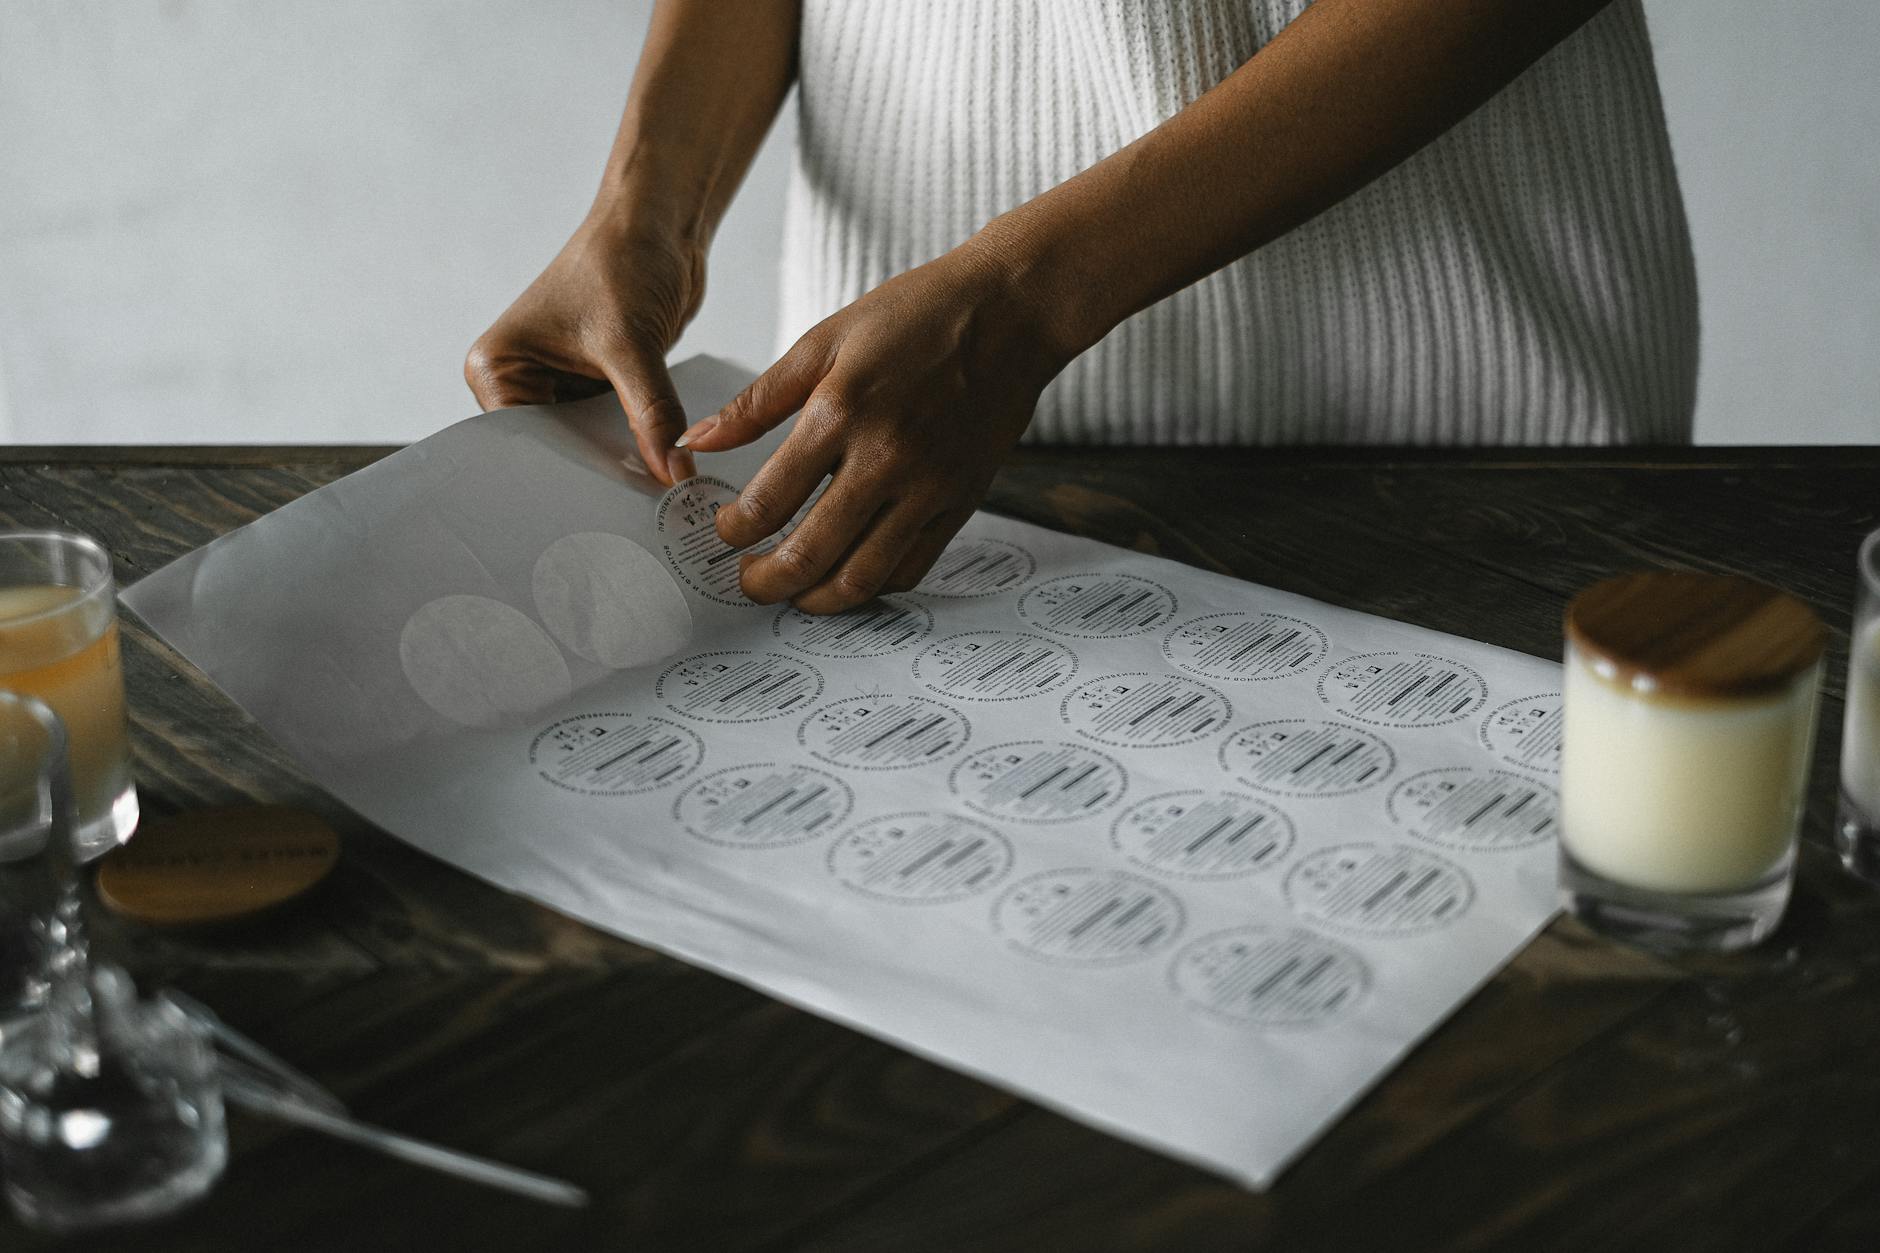
Roll labels such as roll-format jar labels are set up one-up on a roll. Minimum is 500 labels per roll per design and per size. If a product line has front, lid and back artwork across 500 jars, that is three designs of 500 labels each, which equals 1500 labels in this example. The total is an example; the minimum still applies to each design and size independently.
Different sizes, stocks and finishes are separate configurations. Set up each configuration on its own route or ask the team to confirm a mixed brief before you upload.
Record the stock and finish on each variant because the material affects artwork expectations and handling. White cast paper with laminate suits dry indoor packaging. White synthetic with laminate is the material for moisture and handling. Clear synthetic with gloss varnish is a transparent film option. White ink underprinting on clear synthetic can sit beneath coloured areas or form white printed areas. A digital proof still checks layout, text and declared dimensions only, not physical colour, adhesion or stock feel.
Setup notes for die-cut, sheets and standard shapes
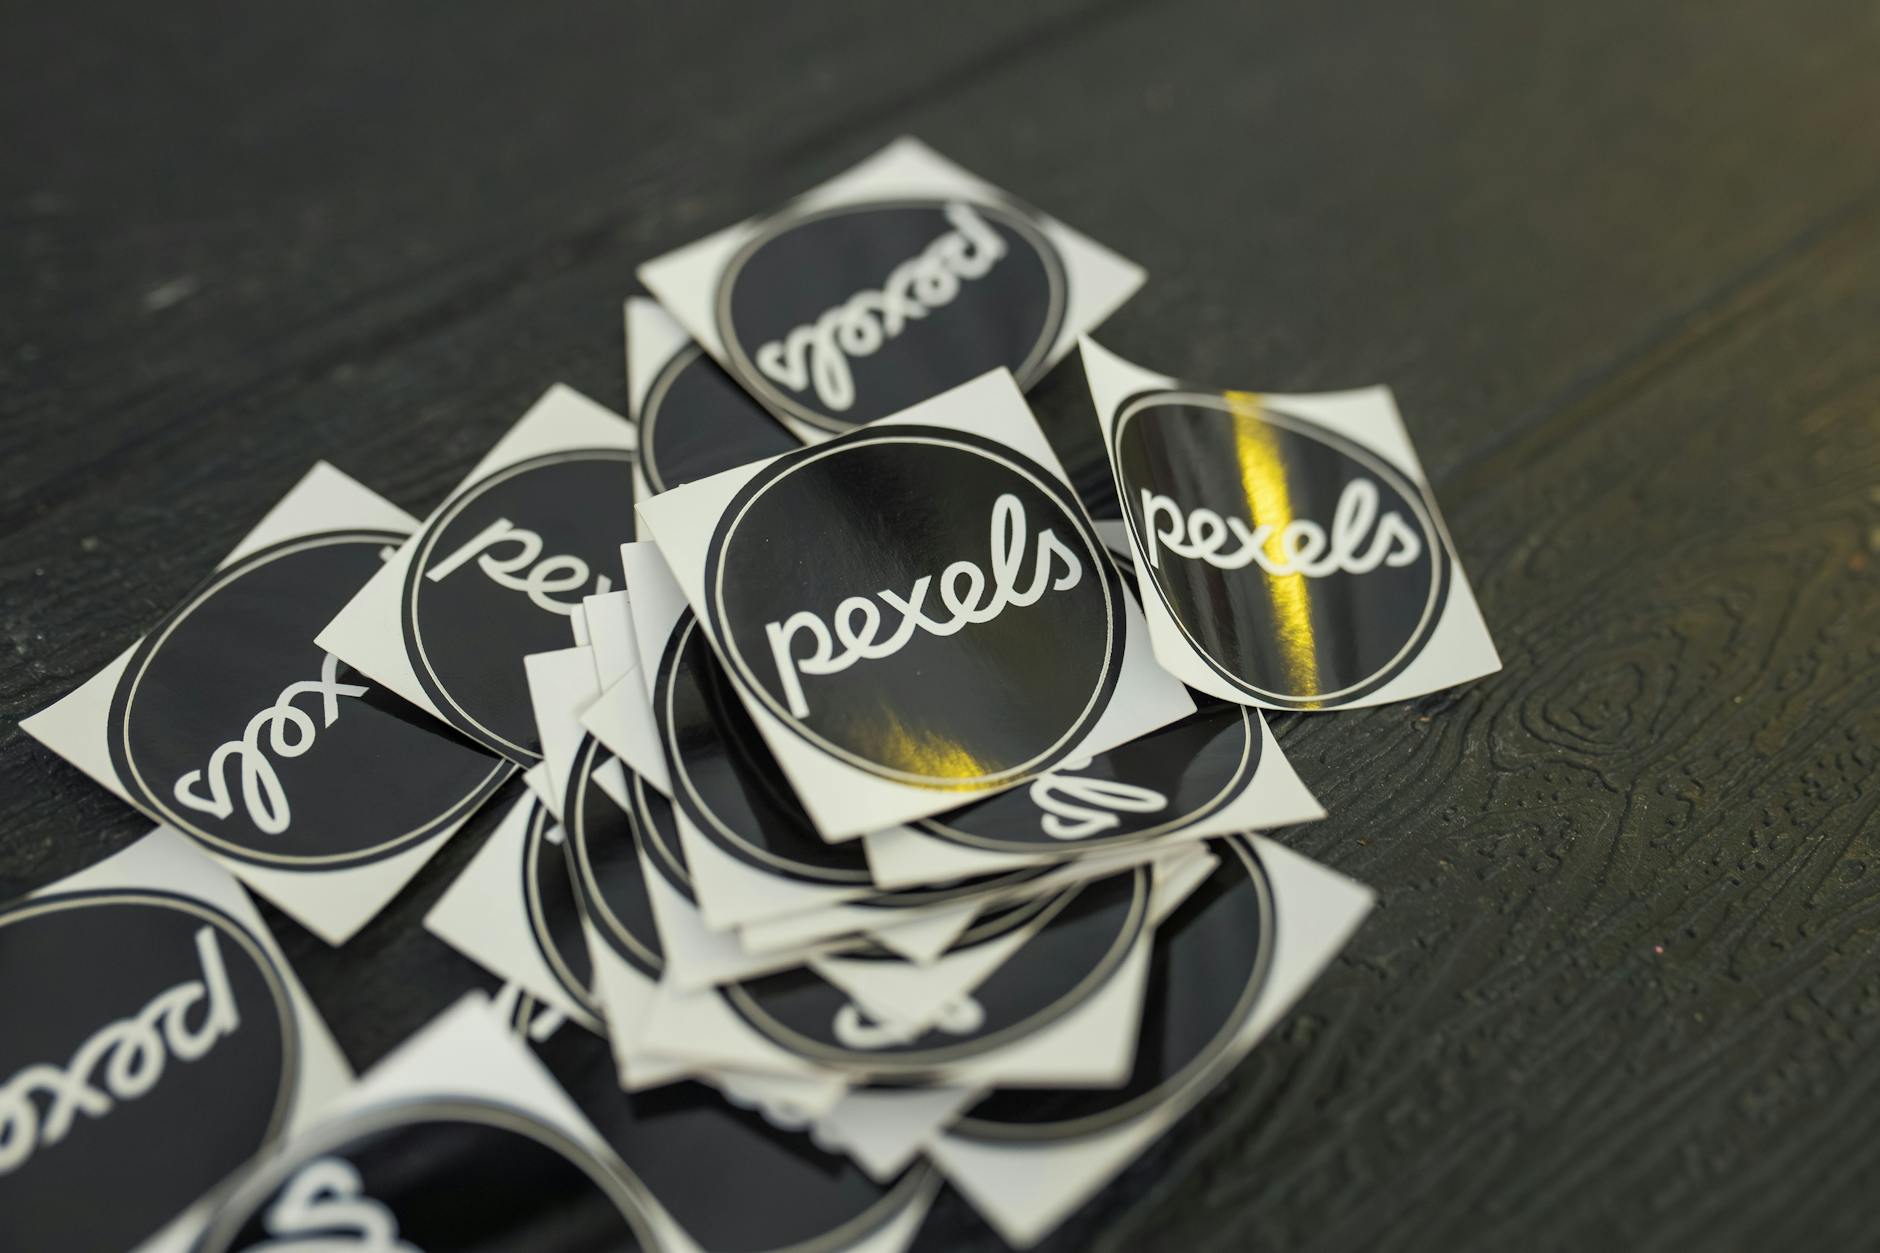
For a custom die-cut sticker, the cut path is part of the artwork. The product page asks for a vector file such as AI, EPS or PDF with a clear outline. Die-cut stickers are printed on White Gloss Sticker or White Matte Sticker, a paper-based stock, with optional gloss, matte or no laminate. The minimum is 10 stickers per design. The sticker is cut all the way through the material and the backing to the artwork outline, so each design becomes an individual sticker ready to peel and stick. The shaped liner stays with the sticker until it is peeled.
Custom sticker sheets hold multiple designs on one backing. You define the outer sheet size and the kiss-cut line for each sticker. Kiss-cut means the cut goes through the sticker layer only, so the shared backing stays intact and each piece peels off individually. The minimum is 10 sheets. Paper stocks are White Gloss or White Matte; Clear Sticker is a separate option with laminate choices depending on the selected stock. There is no vinyl option in this range.
Vinyl stickers are a separate route: White Matte Vinyl Sticker or Clear Vinyl Sticker, No Laminate only, minimum 10 per design. Use that page for outdoor or vehicle artwork instructions.
Standard circle, square and rectangle stickers usually use a flat artboard at the finished size, plus whatever bleed the page states. They do not need a custom cut path. If the job is really about packaging faces rather than giveaways, start in the product labels category for label-focused routes.
Upload, proof and record keeping
After the file is exported, upload it with the product choices. Nothing prints until you approve the proof. The digital proof is for checking layout, text and declared dimensions. It is not a physical check of colour, adhesion or stock feel. A material sample, a digital proof and a printed own-artwork run answer different questions.
For multi-design work, keep an identifier on every variant or panel: filename, shape, finished width and height, material, finish, quantity, version and proof status. Store approved files and the quote reference. Paperlust does not automatically serialise labels or add variable data. If each label must vary by batch, name or barcode, ask the team before finalising artwork. The multiple product variant label artwork workflow has a practical log for keeping those files separate.
For roll labels, production takes 48 hours after proof approval. That time is separate from delivery.
Common setup mistakes to avoid
- Downloading a template before choosing the product or size.
- Treating the Canva guide PNG as an editable Canva design or a built-in editor.
- Using one bleed or colour preset across every product page.
- Confusing trim with document size, or placing text outside the safe area.
- Assuming every product page has a downloadable template.
- Mixing up pack quantities with label quantities. The number of containers is not the label count.
What to check before you upload
- Confirm the product, shape and finished size match the template.
- Check bleed and safe area from the specific product page.
- Export using that page’s instructions, not a generic print preset.
- Name the file with product, size and version.
- Upload and wait for the proof. Approve only after checking layout and text.
Frequently asked questions
What is the difference between trim, bleed and safe area?
Trim is the finished cut edge. Bleed is extra background or fill extending beyond that edge. Safe area is the inner buffer that keeps text, logos and key shapes away from the cut. Treat them as separate values on the template.
Do Paperlust template downloads include editable Canva templates?
No. The Canva PNG guide on these product pages is a visual setup reference, not an editable Canva design and not a built-in editor. Paperlust does not provide a combined downloadable design pack attached to this article.
What is the difference between die-cut and kiss-cut backing?
Die-cut stickers are cut all the way through the sticker material and the backing to the artwork outline, so each sticker arrives as an individual piece ready to peel. Kiss-cut stickers are cut through the sticker layer only, leaving the shared backing intact so they stay organised on the sheet. Both keep their liner until you peel them.
Do all sticker and label products use the same template?
No. A roll label template is not the same as a kiss-cut sheet or a die-cut sticker setup. Choose the product first, then download the matching guide if one is shown on that page. Not every product page has a template.
What file should I upload for a die-cut sticker?
The die-cut sticker page asks for a vector file such as AI, EPS or PDF with a clear outline. For other products, follow the upload notes on the page you are ordering from.
How do I set up labels for multiple product variants?
Give each variant or panel its own identifier, filename, shape, finished width and height, material, finish, quantity, version and proof status. Remember that each design and size has its own roll-label minimum. Three designs of 500 labels each equals 1500 labels in this example, and each minimum is met separately.