

If you have ever ordered clear stickers and been disappointed that the colours looked washed out or the white text disappeared entirely, the answer is almost always the same: you needed a white ink underprint and did not know to ask for one.
This guide explains the outcomes you can get from a clear sticker, the one alternative material to know about, and the exact decision framework for choosing between them before you place your order.
White Ink Quick Reference
| Your situation | Choose this |
|---|---|
| Dark or coloured surface (tins, bottles, kraft, dark bags) | Clear + white underprint |
| White text or light elements in the design | Clear + white underprint |
| Inside-glass (reverse-applied, read from the other side) | Clear + white underprint |
| Dark design on a clear glass jar (floating look) | Clear, no underprint |
| Intentional tinted or layered see-through effect | Clear, no underprint |
| You want a metallic accent on a clear sticker | Foil + Digital Print, a less transparent finish |
| You need full opacity everywhere | Vinyl Stickers in White Matte Vinyl Sticker |
Why colours go translucent on clear stickers
Clear sticker film is transparent. The CMYK inks printed onto it are also semi-transparent by nature. On white paper or white vinyl, the stock underneath reflects light back through the ink, which is why your reds look red and your blues look blue. On a clear film with no backing, that reflected light is missing. Colours print onto the film but they transmit light rather than reflect it, so they appear translucent rather than opaque.
White ink solves this by printing an opaque white layer directly behind your design. That layer becomes the new background, and all your CMYK colours sit on top of it. The result is colour reproduction that holds true regardless of the surface underneath.
In standard colour printing, white in a design file means no ink is laid down there. On white stock, the stock supplies the white. On clear film, that area is simply clear unless a white ink layer is added.
The three outcomes on clear stock
Understanding the distinct results you can achieve helps you make the right call before uploading your artwork.
Outcome 1: Clear sticker, no white ink
The design prints onto the transparent film. Areas of solid colour are slightly translucent. White areas disappear entirely. Dark designs on a light or white background hold up well because the surface below provides contrast. This option suits:
– Black or dark text on clear glass jars (the label floats, the jar is visible below) – Simple line-art logos where some transparency is acceptable – Window decals intended to let light through – Any situation where you want the surface to show through the design When the surface needs to remain visible, these clear labels on clear film give the packaging the same subtle finish, leaving the surface visible through the print.
Avoid this option if you have white text, light-coloured elements, or need the design to read clearly on a dark, kraft, or coloured surface.
Outcome 2: Clear sticker with white ink underprint
An opaque white layer is printed behind your design on the clear film. Your artwork sits on top of that white base, so colours reproduce true-to-proof. The film stays clear wherever your artwork does not extend, so the printed area is opaque while the surrounding sticker remains see-through. Because the white layer follows your design, you can put white behind a full label or behind just the text and logo, leaving the rest of the sticker transparent. This is the correct choice for:
– Full-colour logos on dark candle tins, brown kraft mailers, navy paper bags – White text on transparent bottles or packaging – Product labels applied to dark-coloured jars or glass containers – Any inside-glass application where the sticker is reverse-applied to the back of a glass surface
White ink is not an option on the Clear Stickers order form. Add a note at checkout that you need it, or contact customer service before you order. The emailed design proof is your chance to confirm where the white sits before anything prints.
Outcome 3: Foil + Digital Print
Foil + Digital Print applies foil to chosen elements over the printed artwork. The foil colour is named in the special request box.
A laminate makes this finish less transparent than Digital Print. Choose it for a metallic accent, not for the most see-through result.
The alternative: opaque white vinyl stickers
When none of the clear outcomes fit your brief, the right answer is often to change material rather than the print setup.
When you need full opacity, White Matte Vinyl Sticker is the stock to choose. Nothing shows through it, so colours sit on a solid white base. It is an opaque sticker, not a clear film product.
| Feature | Clear sticker with white underprint | White Matte Vinyl Sticker |
|---|---|---|
| Transparency | Clear areas stay see-through | Fully opaque, no clear film |
| Colour on dark surfaces | White layer keeps selected areas bright | Solid white base keeps all colours bright |
| How the edge is cut | Cut to the size chosen | Cut to the artwork outline |
| Best for | Dark surfaces where you want some clear film | Full opacity on smooth, flat surfaces |
If you need complete coverage and a cut edge that follows the artwork, choose vinyl stickers in White Matte Vinyl Sticker. Clear Stickers stay the choice when you want the surface to show around the design.
Real-world use cases
Logo sticker on a dark candle tin
A candle brand uses kraft or dark matte tins. The logo is full-colour with a white wordmark. Without a white underprint, the white wordmark disappears and the colour logo tints dark from the tin beneath it. With a white underprint, the logo reproduces exactly as designed. In this case, the answer is clear plus white underprint, every time. The same logic applies to most clear labels for product packaging on dark or coloured containers.
White text on a clear bottle
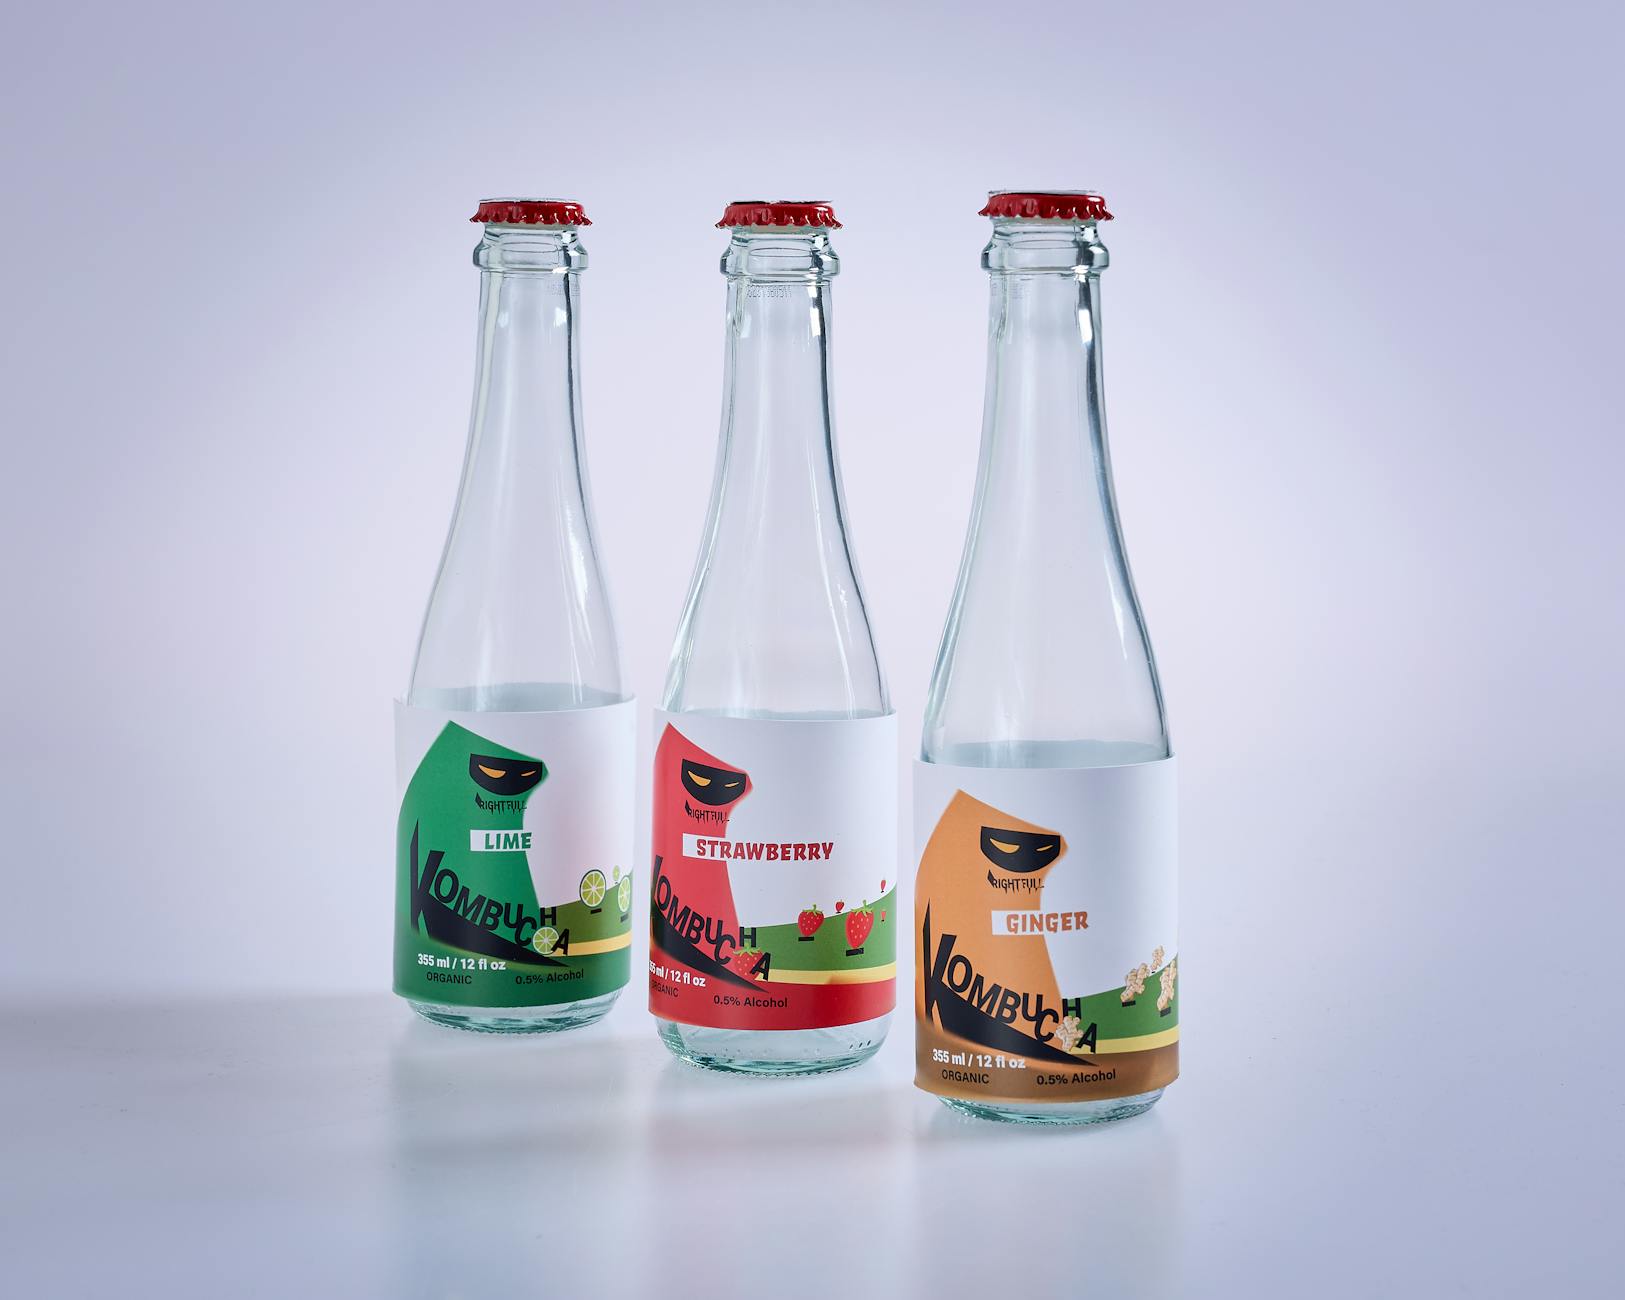
A skincare or beverage brand wants labels that let the product show through while keeping the text legible. Because the white layer follows your artwork, you can lay white ink behind the text and logo only, so those elements stay crisp and opaque while the rest of the label remains clear and the product shows through around them.
Layered translucent effect on packaging tissue
Some brands layer transparent stickers to create a deliberate depth effect, placing a no-underprint sticker over packaging tissue so the tissue pattern shows faintly through the logo. This is a legitimate creative choice, but plan it with the surface in mind. A no-underprint sticker on ivory tissue reads completely differently from the same sticker on black tissue.
How to set up your file for white ink
This is the most common point where orders go wrong. Most designers send a single artwork file and expect the printer to figure out the white layer. For clear sticker printing with white ink, the white area needs to be defined separately.
The standard method is a spot colour layer in Adobe Illustrator:
1. Create a new layer in your artwork file and label it “White Ink” or “White_Underprint”. 2. Place this layer beneath all of your artwork layers. 3. Create the shape you want to print in white (usually a copy of your artwork outline, or a solid fill behind the elements that need to stay opaque). 4. Create a new swatch: name it “White” or “White_Ink”, set the colour type to Spot Colour, and set the values to 0/0/0/0 (or a light tint so the layer stays visible while you design). 5. Fill the white-layer shape with this spot colour swatch. 6. Save as an Adobe Illustrator (.ai) or PDF file with layers preserved.
If your design has elements you want to remain transparent (a gradient fade or a see-through area), simply leave the white layer out of that area. This gives the printer a clear instruction: white ink here, none there.
If your design tool cannot create a separate white layer, contact customer service before ordering. Tell us which areas need white and which should stay clear. We can guide the setup before you upload the file.
Choosing between the options: a decision flow
Start with these three questions:
1. What colour is the surface the sticker is going onto? White or very light: you may not need an underprint. Mid-tone, dark, or metallic: use a white underprint so colours stay accurate.
2. Does the design include any white or very light elements? Yes: a white underprint is required, or those elements will disappear. No: you may be able to skip the underprint on a light surface.
3. Do you need the label to be fully opaque with no film edge? Yes: move to white vinyl rather than clear stock.
Order clear stickers and add a note at checkout that you need a white underprint. If the file needs help, contact customer service first. Upload the artwork with its white layer, then check the emailed proof to confirm the white sits where you expect.
For more guidance on choosing the right clear sticker finish, see the clear stickers guide on the Print Shop blog.
FAQs
Do I need white ink on clear stickers?
You need white ink if your design is going onto a dark, coloured, or metallic surface, or if your design includes any white or very light elements. Without a white underprint, colours appear translucent on clear film because the material transmits light rather than reflecting it back through the ink. On light or white surfaces with dark designs, you can often skip the underprint.
What happens if I order clear stickers without white ink?
Your design will print as translucent on the clear film. Dark or bold colours may still read well on light surfaces, but on dark or coloured surfaces the design will tint from the surface below. Any white elements in the design will become invisible, because white ink on a clear sticker without a backing is invisible.
Can I put white ink behind only part of the design?
Yes. The white underprint follows your artwork, so you can place an opaque white layer behind your text and logo only, leaving the rest of the sticker clear so the surface shows through around those elements. This is set up as a separate spot-colour layer in your artwork file.
How do I set up a file for white ink on clear stickers?
Create a separate layer under your artwork and name it White Ink. Fill the areas that need white with a spot colour swatch, then save the file as AI or PDF with layers kept. Leave the white layer out of any area that should stay see-through. If your design tool cannot do this, contact customer service before ordering.
Does white ink underprint make the sticker more expensive?
White ink underprint is not a listed option on the Clear Stickers order form, so there is no listed figure for it. Ask customer service about your design before you order. The order form total covers the listed options only. Customer service will confirm what your design needs before anything prints.
When should I choose white vinyl stickers instead of clear stickers with white ink?
Choose white vinyl stickers when you want full opacity with no clear film anywhere, or when the sticker needs to be cut to the outline of the artwork. Vinyl Stickers come in White Matte Vinyl Sticker and are designed for smooth, flat surfaces indoors and out.
For surface choices, read the clear sticker buying guide. For artwork setup, open the clear sticker printing guide before you build the white layer.
The US shop carries the same clear film. Find clear stickers for US orders or clear labels on rolls for the bottle and jar format.