Die cut stickers give every brand, product, and event giveaway a finished look that plain rectangles simply cannot match. At Paperlust Print Shop, custom die cut stickers cost the same as standard shapes – and they are printed right here in Australia from premium waterproof vinyl. Each sticker is cut to the precise outline of your artwork: no white border, no excess backing on the finished piece, no visual compromise. Whether you are printing 50 logo stickers for a weekend market or 5,000 packaging seals for an e-commerce launch, die cut stickers deliver the same precision result at the same price.
At a Glance
Die cut stickers printed in Australia cost the same as rectangles and cut to the exact outline of your artwork.
From a 30mm packaging seal to a 100mm event giveaway, any custom shape is achievable with no tooling fee and the same production timeline as standard shapes.
- Custom shapes at no extra cost – digital die-cutting has eliminated the old tooling expense
- Waterproof white vinyl as standard: suitable for outdoor use, water bottles, and product packaging
- Optimal for logos, brand marks, and organic shapes with detail elements above 30mm
- Printed and cut in Australia: 2-3 business day production with free overnight Startrack delivery
- Die-cut and kiss-cut use identical materials at identical pricing – cut style is chosen by use case, not budget
What Die-Cutting Actually Means
The Process:
Die-cutting = cutting stickers to match the exact contour of your design, rather than cutting them into standard shapes (square, circle, rectangle).
How it works:
- Your design is printed on vinyl or paper
- A cutting machine follows the outline of your design
- Excess material around your design is removed (“weeded”)
- You’re left with a sticker that’s the exact shape of your artwork
No rectangular border. No white background. Just your design.
Die-Cut vs Kiss-Cut (What’s the Difference?)
People confuse these. Here’s the breakdown:
Die-Cut:
- Cuts through the sticker AND the backing paper
- Individual stickers (each one separate)
- Clean contour, no backing visible
- Best for: Single stickers, branding, professional look
Kiss-Cut:
- Cuts through the sticker layer ONLY (not the backing)
- Stickers stay on a backing sheet
- Easy to peel off one at a time
- Best for: Sticker sheets, multiple designs on one sheet
Most businesses want die-cut (individual custom-shaped stickers). Kiss-cut is for sticker sheets with multiple designs.
| Feature | Die-Cut | Kiss-Cut |
|---|---|---|
| Shape | Cut completely to your artwork outline – the sticker IS the shape | Cut through vinyl only; a border of backing remains around the design |
| Backing | No visible backing once the sticker is applied to a surface | Backing border stays intact; acts as a peel handle and protects edges in transit |
| Peeling | Peel from the backer board individually; can be fiddly on shapes under 30mm | Easy peel – the border gives a firm grip; ideal for bulk peel-and-apply situations |
| Cost | Same as kiss-cut at Paperlust – digital die-cutting carries no tooling fee | Same as die-cut at Paperlust |
| Best For | Packaging seals, product labels, branded merch, retail displays, envelope seals | Sticker sheets, multi-design packs, intricate fine-detail artwork, bulk giveaways |
Why Die-Cut Looks Premium (The Psychology)
1. No Wasted Space
Die-cut is one option in our wider custom stickers range — kiss-cut, sticker sheets, vinyl, foil, and specialty finishes are all available alongside die-cut.
Rectangle stickers have empty space around the design. Die-cut stickers don’t.
Result: Your logo/design is the entire sticker. More visual impact, less distraction.
2. Custom = Care
Die-cut signals “We put thought into this.” Rectangle signals “We used a default template.”
Psychology: People perceive custom-shaped stickers as higher-effort, which reflects well on your brand.
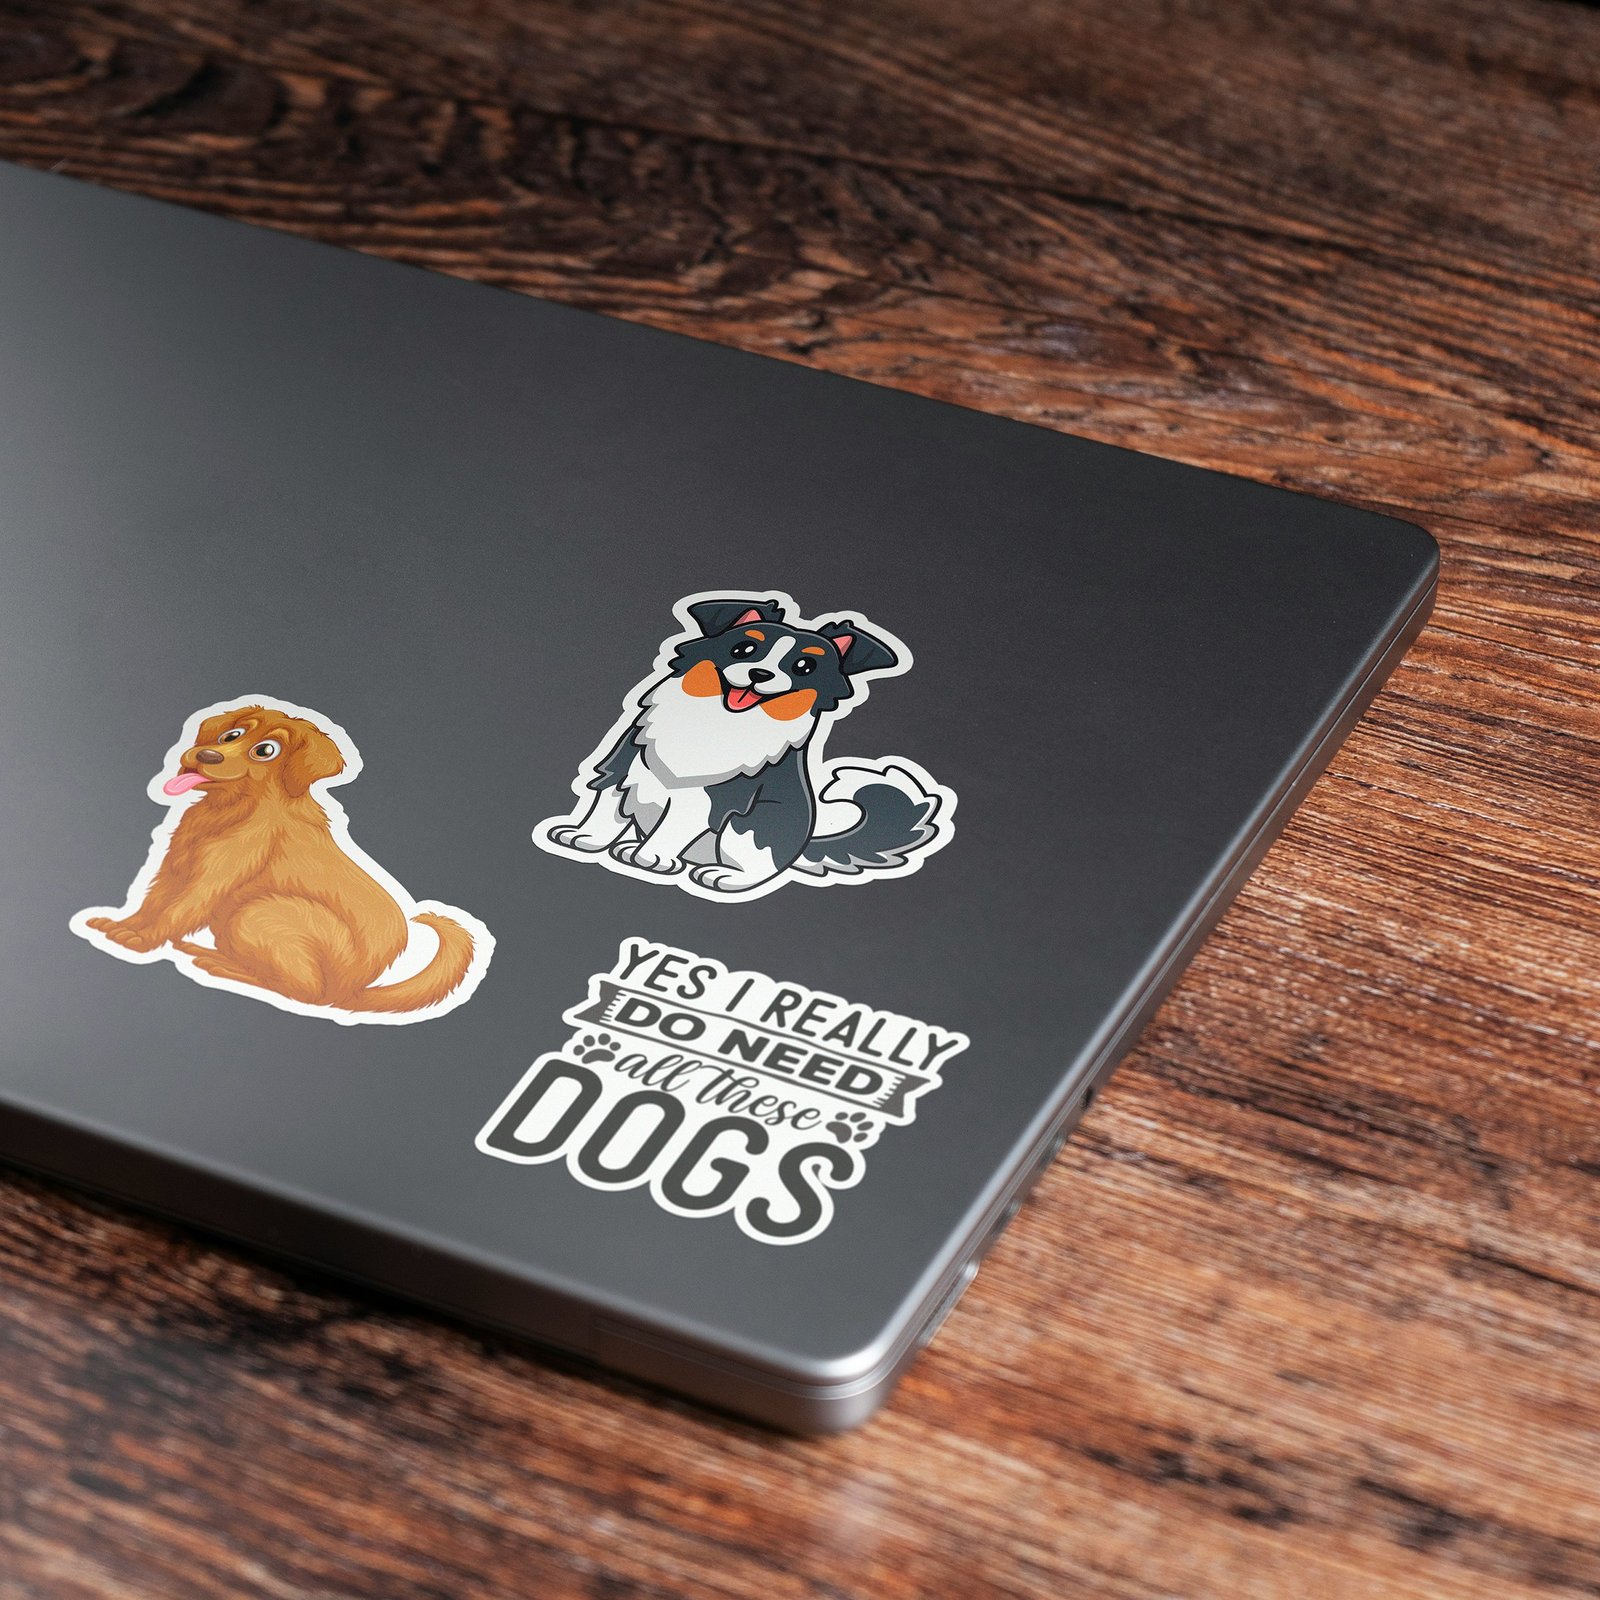
3. Stands Out in a Stack
Laptop lid covered in stickers? The die-cut ones always stand out from the rectangles.
Why: Unique shapes break visual monotony.
What Shapes Are Possible? (Spoiler: Almost Anything)
Order die-cut stickers from $0.30/unit
Any closed shape, no tooling fee. Vinyl substrate, matte or gloss finish. From 50 stickers; 24h express dispatch.
✅ Shapes That Work Great:
1. Logo Contour
Your logo, cut to its exact shape. Most common die-cut use case.
Example: Nike swoosh, Apple apple, your custom brand mark.
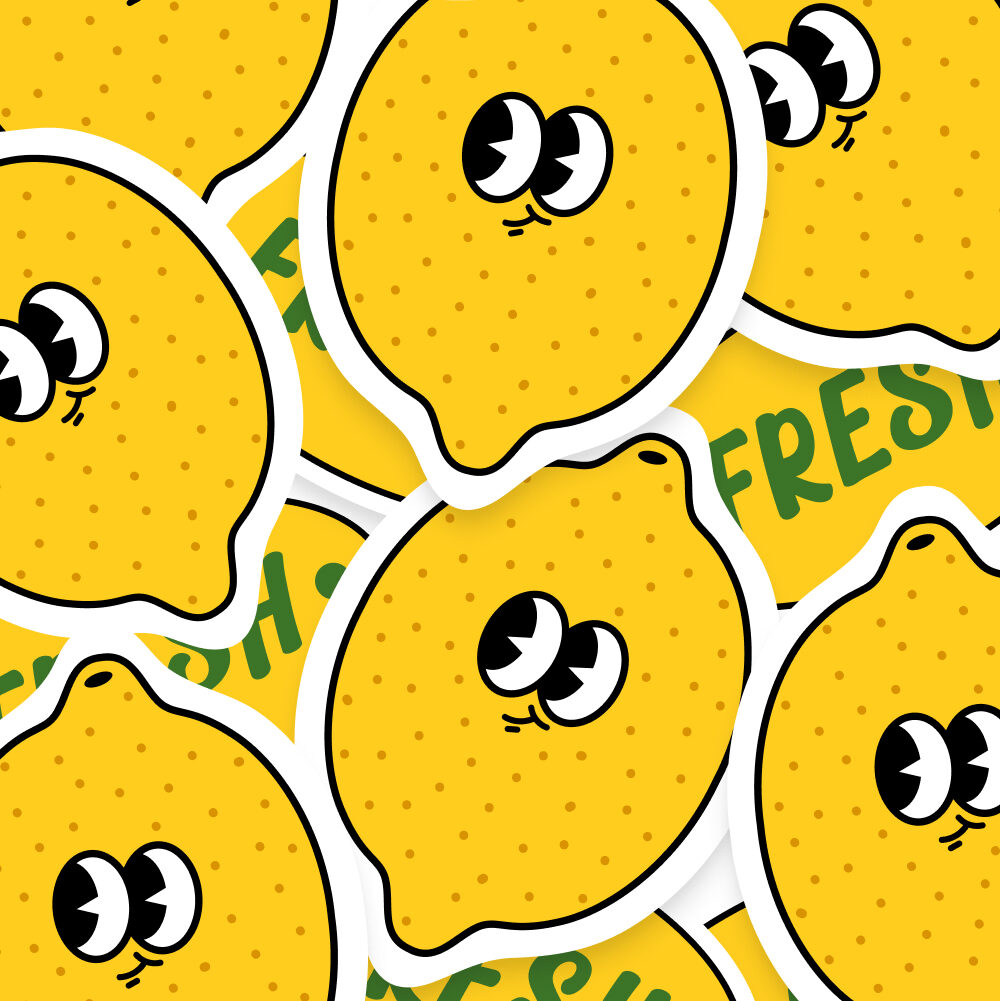
2. Character/Mascot
If your brand has a character or mascot, die-cutting makes it pop.
Example: Cartoon koala, illustrated coffee cup, brand icon.
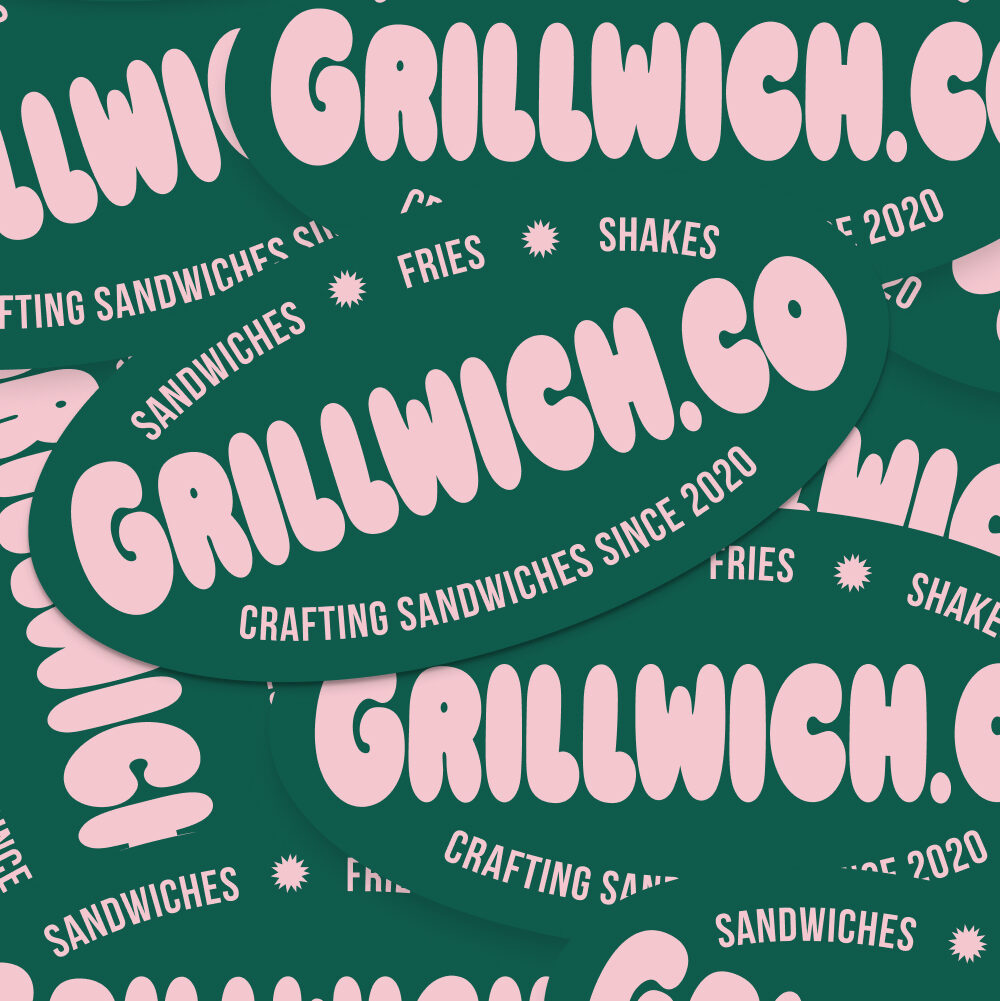
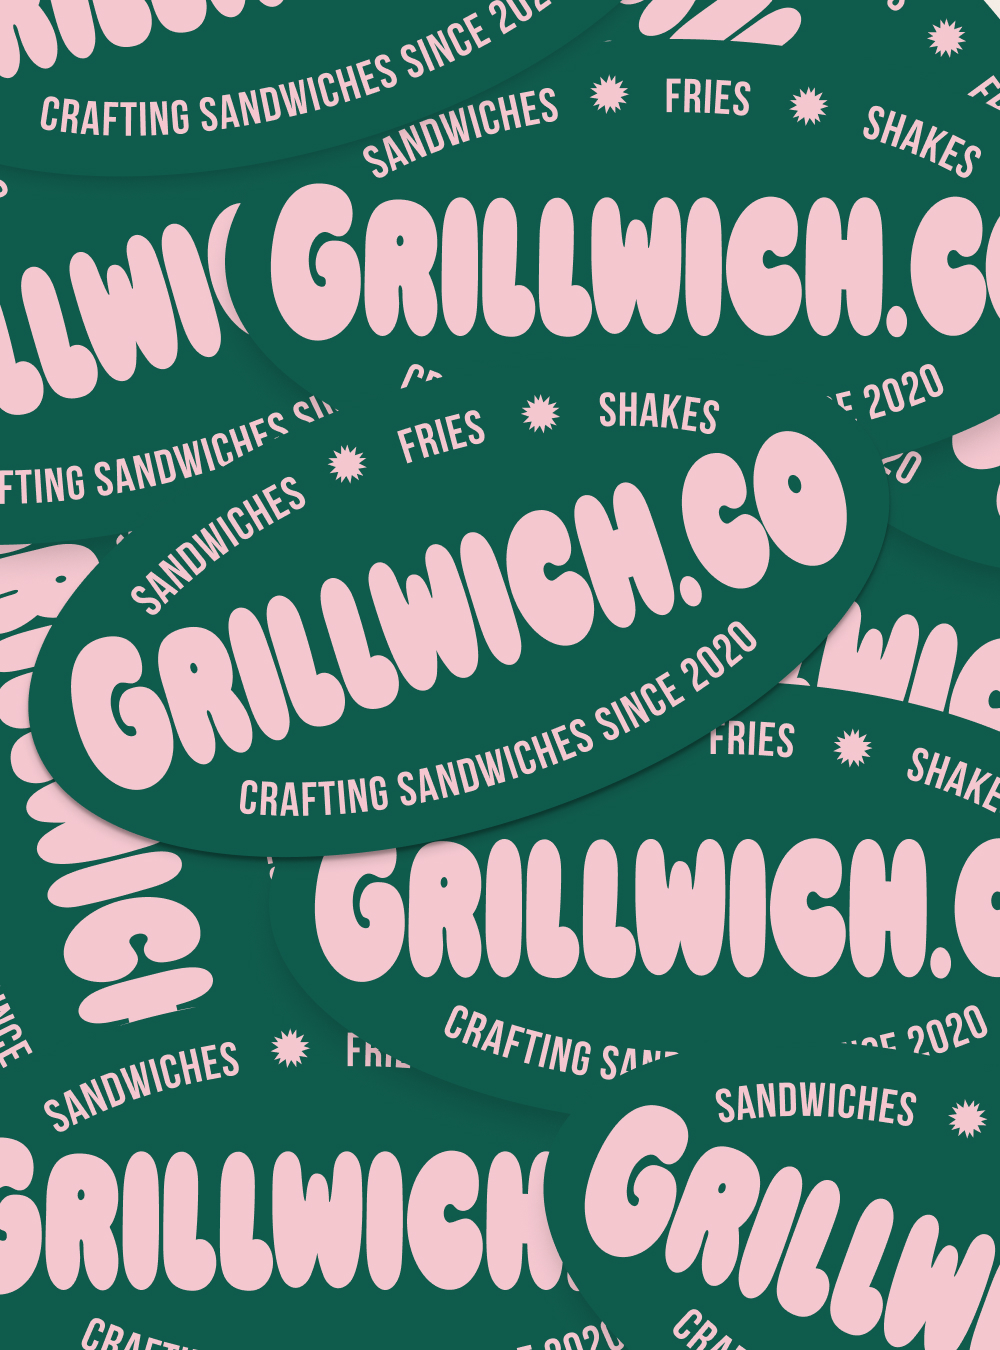
3. Text Outline
Bold typography cut to the shape of the letters.
Example: “AUSSIE MADE” in bold sans-serif, cut tight to the letterforms.
Design tip: Works best with thick, bold fonts. Thin script fonts are hard to cut cleanly.
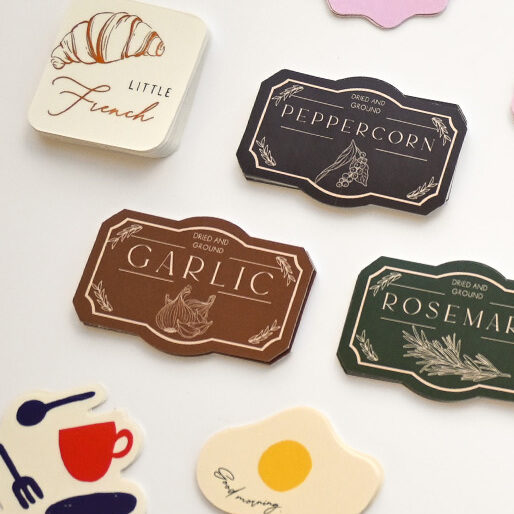
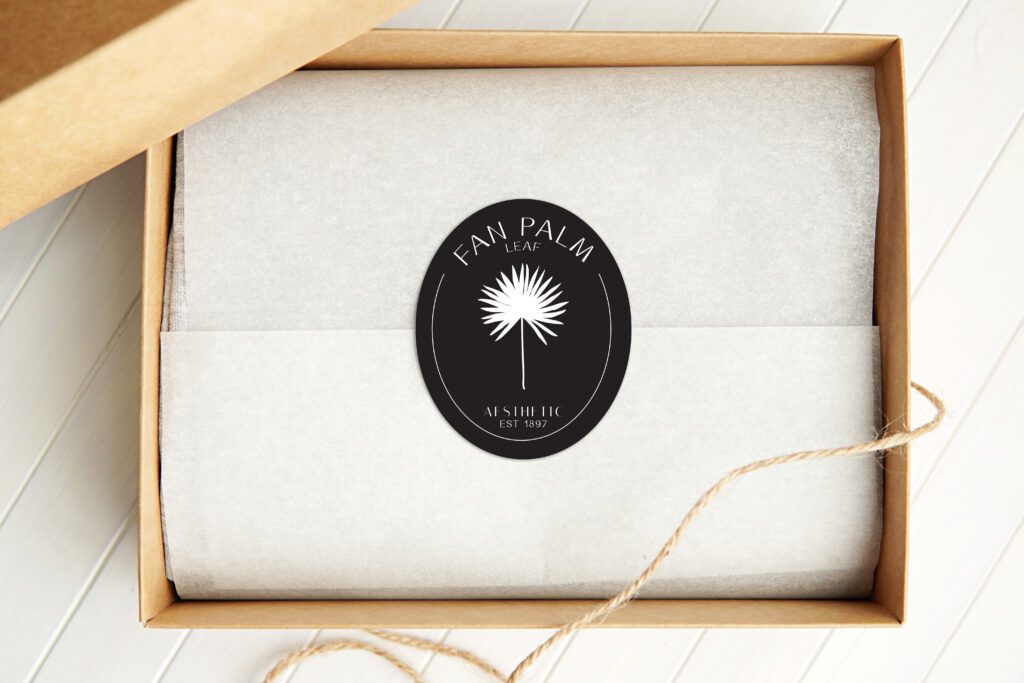
4. Organic Shapes
Leaves, clouds, mountains, waves, anything with smooth curves.
Example: Surf brand with a wave-shaped sticker.
5. Objects
Coffee cup, bicycle, camera, wrench, recognizable objects cut to shape.
Example: Bike shop with a bicycle silhouette sticker.
⚠️ Shapes That Need Careful Design:
1. Very Thin Elements
Lines thinner than 2mm can tear or peel easily.
Fix: Thicken thin lines, simplify complex details.
2. Sharp Interior Corners
90° internal corners are hard to cut cleanly and prone to peeling.
Fix: Round interior corners slightly (1-2mm radius).
3. Extremely Intricate Details
Lace patterns, fine text under 8pt, super-detailed illustrations.
Fix: Simplify, or stick with standard shapes for complex designs.
❌ Shapes That Don’t Work:
1. Super-thin letters (< 5mm wide)
They’ll rip when peeled.
2. Holes smaller than 5mm
Can’t be cut reliably.
3. Shapes with disconnected floating elements
The pieces fall apart (unless you want that, which is rare).
Common Die-Cut Shapes (And When to Use Each)
You don’t have to design a custom shape from scratch. These standard die-cut shapes work for most businesses:
1. Circle Stickers
Best for:
- Simple logos that fit circular layouts
- Seals for packaging
- Badges or emblems
Why it works: Symmetry is visually pleasing. Circles feel complete, professional.
Sizes: 25mm, 38mm, 51mm, 76mm, 100mm diameter
2. Oval Stickers
Best for:
- Vintage or heritage brands
- Text-heavy designs (company name + tagline)
- Classic aesthetic
Why it works: Softer than rectangles, more elegant than circles.
3. Rounded Corner Stickers
Best for:
- Modern brands
- QR code stickers (softens the hard edges)
- Text + logo combinations
Why it works: Friendlier than sharp corners, still structured.
Radius options: 2mm, 3mm, 5mm corner radius
Best for:
- Symmetrical logos
- QR codes (square format matches QR code shape)
- Minimalist designs
Why it works: Clean, balanced, modern.
5. Custom Logo Contour (True Die-Cut)
Best for:
- Unique brand marks
- Mascots or characters
- Standing out from generic shapes
Why it works: Nobody else has your exact shape. Instant differentiation.
Most popular choice for branding
Design Tips for Die-Cut Success
✅ Do This:
1. Leave 2-3mm padding around critical elements
If your logo has thin lines or small text, don’t cut right to the edge. Leave breathing room.
Why: Prevents accidental trimming of important details.
2. Use vector files (AI, SVG, PDF)
Vector graphics scale perfectly and cut cleanly. Raster images (PNG, JPG) can look pixelated or have rough edges.
Why: Die-cutting follows the vector path exactly. Clean vectors = clean cuts.
3. Include a 3mm bleed
Extend your design 3mm beyond the cut line in all directions.
Why: Ensures no white edges if the cut is slightly off (it happens).
4. Bold, simple shapes work best
Complex, intricate designs are harder to cut and weed (remove excess material).
Why: Simple = faster production, lower error rate, easier peeling.
5. Test on the actual surface
Get a sample and stick it where it’ll live (laptop, water bottle, car). Make sure the shape looks good at that size/surface.
Why: What looks great on screen might not work on a curved bottle.
❌ Don’t Do This:
1. Thin lines (<2mm)
They’ll tear when customers peel the sticker.
Fix: Thicken lines to at least 2-3mm.
2. Sharp interior corners
Hard to cut cleanly, prone to lifting.
Fix: Round corners 1-2mm.
3. Text smaller than 8pt
Too small to cut reliably.
Fix: Use larger text (10pt+) or simplify the design.
4. Forget the cut line layer
If you’re providing design files, include a separate cut line layer (usually magenta, 0.25pt stroke).
Fix: Check with your printer for file specs. We provide templates.
5. Wrong File Format
You send a low-res PNG. The cut line is rough and pixelated.
Fix: Use vector files (AI, SVG, PDF). If you only have PNG/JPG, make sure it’s 300 DPI minimum and provide a clean cut line layer.
Sizing Guide (What Works Where)
| Size | Best For | Example Use Case |
| 25-38mm | Small logo stickers, packaging seals | Thank-you stickers, product seals |
| 51-76mm | Standard laptop/water bottle size | Brand awareness, giveaways |
| 100mm | Large feature stickers | Car windows, storefront glass |
| 150mm+ | Bumper stickers, bold statements | Vehicle branding, outdoor signage |
Most popular size for die-cut branding: 51-76mm (big enough to see, small enough to fit anywhere).
Material Options (Paper vs Vinyl for Die-Cut)
Paper Die-Cut Stickers
Pros:
- Cheaper (from $0.06 each in bulk)
- Eco-friendly (biodegradable if uncoated)
- Good for indoor use
Cons:
- Less durable (tears easily along thin cut lines)
- Not waterproof
Best for: Indoor packaging, temporary use, eco-conscious brands
Vinyl Die-Cut Stickers
Pros:
- Durable (lasts years, even outdoors)
- Waterproof
- Doesn’t tear easily along cut edges
Cons:
- More expensive ($0.10-0.14 each)
Best for: Outdoor use, water bottles, laptops, cars, long-term branding
Our recommendation: Vinyl for die-cut. Paper is fragile when cut to custom shapes (thin parts tear). Vinyl holds up better.
Pricing: Do Die-Cut Stickers Cost More?
Short answer: No.
Longer answer: Die-cut and standard shapes (square, circle) cost the same. The cutting process is identical, just a different path.
Pricing (vinyl, laminated, die-cut to logo shape):
| Quantity | Cost | Per Sticker |
| 500 | $70-100 | $0.14-0.20 |
| 1,000 | $110-140 | $0.11-0.14 |
| 5,000 | $450-600 | $0.09-0.12 |
What DOES cost extra:
- Complex shapes with tons of weeding (intricate details) → +10-20% labor
- Multi-layer stickers (rare) → custom quote
- Holographic or specialty vinyl → +20-30%
But for 95% of die-cut logos: Same price as circles or squares.
Get a quote for custom die-cut stickers
Production Process (What to Expect)
Step 1: Design Approval
Submit your design file (vector preferred). We create a digital proof showing the cut line.
You approve: Cut line looks good, design is correct.
Step 2: Printing
Your design is printed on vinyl or paper stock.
Timeframe: 1-2 business days (standard), 24-48 hours (rush)
Step 3: Lamination
Stickers are laminated for UV/scratch protection (vinyl only, optional for paper).
Timeframe: Same day as printing
Step 4: Die-Cutting
A cutting machine (plotter) cuts the exact contour of your design.
Timeframe: Hours (automated process)
Step 5: Weeding
Excess material around your design is removed by hand.
Timeframe: Varies (simple shapes = fast, complex shapes = slower)
Step 6: Quality Check & Ship
We inspect for cutting accuracy, peel-ability, and print quality. Then ship.
Total timeline:
- Standard: 2-3 business days after proof approval
- Rush: 24-48 hours (available for most designs)
Real Client Examples (Die-Cut Success Stories)
Startup Tech Company
Stickers: Die-cut logo (their custom geometric mark)
Material: Vinyl, matte laminate
Size: 63mm
Use: Handed out at conferences, included in swag bags
Result: Their stickers showed up on laptops at every major tech event in Australia. Instant brand recognition. Cost: $150 for 1,000 stickers.
ROI: Thousands of impressions per sticker × 1,000 stickers = priceless brand awareness
Coffee Roaster
Stickers: Die-cut coffee bean shape
Material: Vinyl, gloss laminate
Size: 51mm
Use: Given to every customer with bag purchases
Result: Customers stuck them on laptops, water bottles, café windows. Free advertising everywhere. Instagram posts tagged the roaster.
Cost: $300 for 3,000 stickers
ROI: Social media growth + word-of-mouth referrals
Surf Shop
Stickers: Die-cut wave + brand name
Material: Marine-grade vinyl (waterproof)
Size: 76mm
Use: Applied to surfboards, sold in-store ($2 each)
Result: Became a collector’s item. Surfers bought multiple. Revenue stream + mobile advertising.
Cost: $500 for 5,000 stickers
Revenue: $10,000 in sticker sales + years of brand visibility on boards
Common Mistakes (And How to Avoid Them)
❌ Mistake 1: Designing Without Considering the Cut
You create a beautiful design with thin elements, then realize they can’t be cut cleanly.
Fix: Design with die-cutting in mind from the start. Bold shapes, clean edges, minimal intricate details.
❌ Mistake 2: No Bleed
Your design has no bleed, so the cut leaves white slivers around the edges.
Fix: Always include 3mm bleed. Extend your background colors/images beyond the cut line.
❌ Mistake 3: Cutting to Thin Text
You try to die-cut thin script text. It tears when peeled.
Fix: Use die-cut for bold logos/shapes. Put text on standard-shaped stickers (circle, rectangle).
❌ Mistake 4: Forgetting Weeding
Your design has 50 tiny holes that need to be hand-weeded. Production time triples.
Fix: Simplify. Fewer interior cutouts = faster, cheaper production.
❌ Mistake 5: Wrong File Format
You send a low-res PNG. The cut line is rough and pixelated.
Fix: Use vector files (AI, SVG, PDF). If you only have PNG/JPG, make sure it’s 300 DPI minimum and provide a clean cut line layer.

File Specs (Get It Right the First Time)
Preferred Formats:
- Adobe Illustrator (.AI)
- SVG (Scalable Vector Graphics)
- PDF (with vector layers)
Also Accepted:
- PNG or JPG (300 DPI minimum) + separate cut line file
Cut Line Requirements:
- Separate layer labeled “Cut Line”
- Magenta color (#FF00FF)
- 0.25pt stroke weight
- Outline exactly where you want the sticker cut
Bleed:
- 3mm bleed around entire design
- Extend background colors/images beyond cut line
Safe Zone:
- Keep critical elements (text, logos) 3mm inside the cut line
Don’t have design files?
Our free design service can prepare your logo or artwork for die-cutting.
Die-Cut vs Standard Shapes: The Verdict
| Factor | Die-Cut (Custom Shape) | Standard Shapes (Circle, Square) |
| Visual Impact | High (stands out) | Medium (common) |
| Professionalism | Looks custom, premium | Looks standard, generic |
| Cost | Same as standard shapes | Same as die-cut |
| Design Flexibility | Matches your exact logo/artwork | Must fit into circle/square |
| Durability | Slightly less (thin parts can peel) | Slightly more (no thin edges) |
| Ease of Application | Same | Same |
The choice: If your logo/design fits nicely in a circle or square, standard shapes are fine. But if your logo is unique, die-cut makes it shine.
For 80% of brands: Die-cut is the better choice.
Related reading:
Die-cut stickers are a popular wedding stationery addition. For the complete suite, explore Paperlust’s custom sticker collection.
What to Do Next
Step 1: Simplify Your Design
If your logo is complex, create a simplified version for stickers. Bold shapes, clean lines, minimal details.
Step 2: Prepare Your File
- Vector format (AI, SVG, PDF)
- 3mm bleed
- Cut line layer (magenta, 0.25pt)
- 300 DPI if raster
Or: Let our free design service handle it.
Step 3: Choose Material
- Indoor/temporary use → Paper
- Outdoor/waterproof/durable → Vinyl
Most popular: Vinyl (die-cut stickers)
Step 4: Order a Test Batch
Start with 500-1,000 stickers. Hand them out, test them on real surfaces, get feedback.
Step 5: Scale Up
If they work (they will), order 2,000-5,000 for better per-unit pricing.
Not sure if your design will work as die-cut?
Order a sample pack to see die-cut quality in person, or send us your logo for a free consultation.Final Thoughts: Die-Cut Is the Default, Not the Upgrade
Stop thinking of die-cut as a premium option. It’s the standard for professional stickers.
Rectangle stickers look lazy. Circle stickers are fine but generic. Die-cut to your logo’s exact shape looks intentional, polished, and memorable.
And it costs the same.
If you’re ordering stickers, order die-cut. Your brand deserves better than a boring rectangle.
Make it custom. Make it yours.
Related Articles:
- Custom Sticker Printing: Complete Guide for Businesses
- Vinyl Stickers vs Paper Stickers: Which for Your Brand?
- Waterproof Stickers for Outdoor Use: Materials That Last
Ready to print die-cut stickers?
Order custom die-cut stickers or Get sample pack
How to Choose the Right Die-Cut Spec
Die-cut is forgiving as a print spec but unforgiving as a design spec. Cuts below 3mm radius hold poorly; designs under 30mm overall lose detail in the weeding stage; thin connecting bridges in lettering tear off in handling. Most die-cut campaigns under-perform because the design wasn’t prepped for die-cutting – not because the format is wrong.
Before you order die-cut
- Shape complexity – Closed simple shapes – ideal. Complex outlines – require ≥40mm overall size
- Smallest feature size – Above 3mm – safe. Below 3mm – details get lost
- Substrate – Vinyl for outdoor / multi-year. Paper only for indoor short-term
- Bleed and offset – Add 2mm bleed, 3mm safety zone – protects against cut drift
- Sticker size – Above 50mm reads premium. Below 30mm starts to feel small/gimmicky
- Quantity – Under 100 → standard pricing. Above 500 → significant tier savings
Want a die-cut sample pack?
We send 5 die-cut samples in different shapes, sizes, and finishes free with any first order over $80.
| Use Case | Shape Recommendation | Size | Material | Finish |
|---|---|---|---|---|
| Brand laptop sticker | Logo or character silhouette – avoid ultra-fine spikes or gaps under 3mm | 50-80mm wide | White vinyl | Matte (anti-glare on screen surface) |
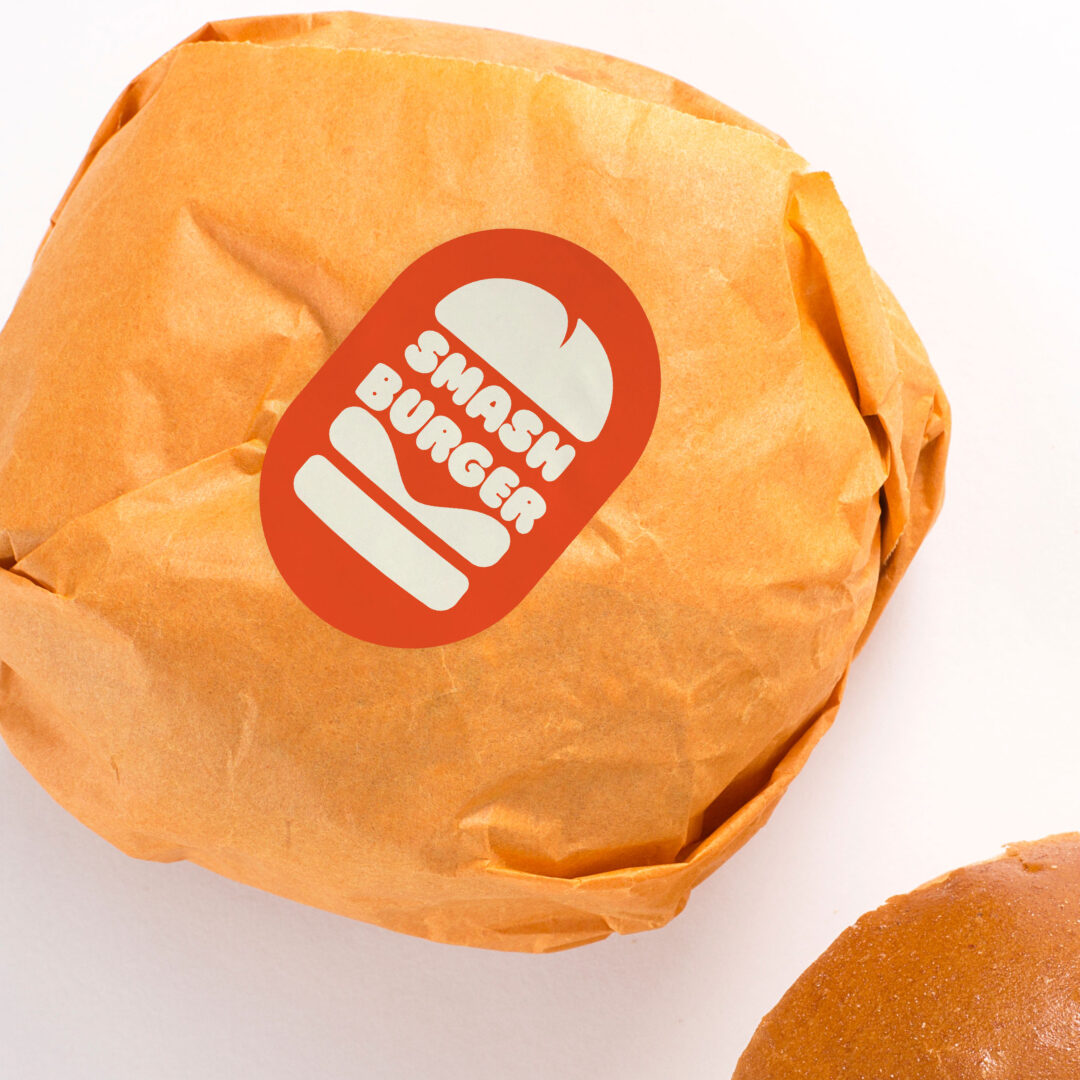
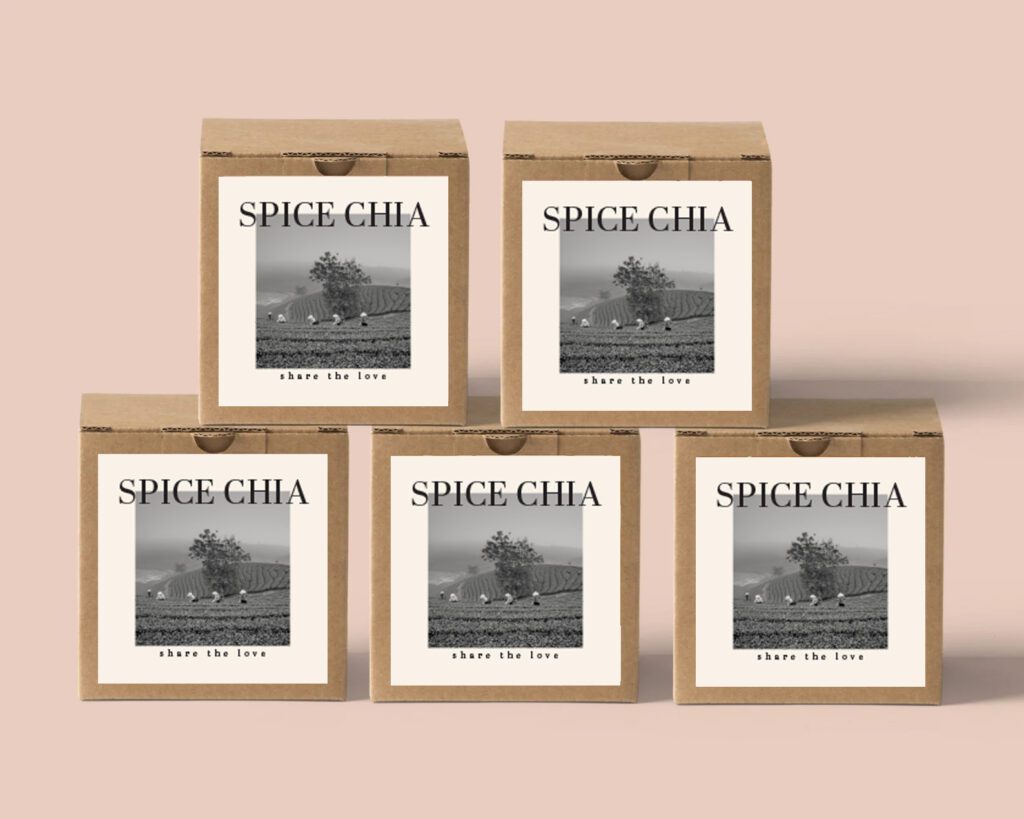
| Product packaging seal | Circle, badge, or custom brand mark with solid edges | 30-50mm wide | White vinyl | Gloss (vibrant colour, seals firmly to box or bag) |
| Event giveaway | Character, illustrated icon, or event badge – maximise silhouette appeal | 60-100mm wide | White vinyl or clear vinyl | Gloss or holographic (high perceived value for giveaway items) |
| Premium gifting / product packaging | Organic shape, script lettering, or botanical outline – keep stroke width above 2mm | 50-75mm wide | White vinyl | Matte (premium tactile feel) or gold foil finish |
Frequently Asked Questions
What is a die-cut sticker?
A die-cut sticker is cut to the exact outline of your artwork rather than left as a standard square or rectangle. The cutter follows the contour of your design, producing a sticker with no excess border material. This means if your logo is a pineapple, the sticker is pineapple-shaped. Die-cut stickers are printed on vinyl or paper stock and backed with a full-sheet liner, making them easy to peel and apply individually.
What is the difference between die-cut and kiss-cut stickers?
Die-cut stickers are cut all the way through both the face material and the liner, producing a fully separated individual sticker. Kiss-cut stickers are cut through the face material only, leaving the liner intact. The result is a sticker sitting within a square or rectangular backing sheet, which is easier to handle and mail. Kiss-cut stickers suit sticker sheets and packaging inserts. Die-cut suits standalone branded stickers, product labels, and promotional giveaway stickers where the shape itself is the design feature.
Is there a minimum order for custom die-cut stickers?
Paperlust Print Shop offers custom die-cut stickers with no minimum order requirement. You can order small quantities for product sampling, event giveaways, or testing a design before a larger run. Per-unit cost decreases significantly at higher quantities, so bulk orders offer better value per sticker. The cutting die for your shape is handled digitally using a laser or plotter cutter, so there is no tooling setup fee added for custom shapes. Browse our die-cut stickers for current minimums and quantity pricing.
How do I supply artwork for die-cut stickers?
Supply your artwork as a vector file (AI, EPS, or PDF) or a high-resolution PNG at 300 dpi minimum with a transparent background where you want the cut to follow. Your design should include a clearly defined cut line as a separate layer or color, typically labeled “cut” or “dieline” in the file. If you are supplying a complex shape, ensure the cut path is at least 2 mm away from any critical artwork or text to allow for minor cutting tolerance. The Paperlust team will confirm your cut path before printing.
How does the cost of die-cut stickers compare to standard circle stickers?
Die-cut stickers at comparable quantities and sizes cost roughly the same as circle stickers at Paperlust Print Shop. There is no premium for a custom shape – the digital cutting process handles any outline without additional tooling cost. The main cost driver is quantity and print size. Where circle stickers have an efficiency edge is in very tight sheet nesting, which can marginally reduce material waste at very high volumes. For most orders, the price difference between shapes is negligible. Browse our die-cut stickers for current pricing and size options.