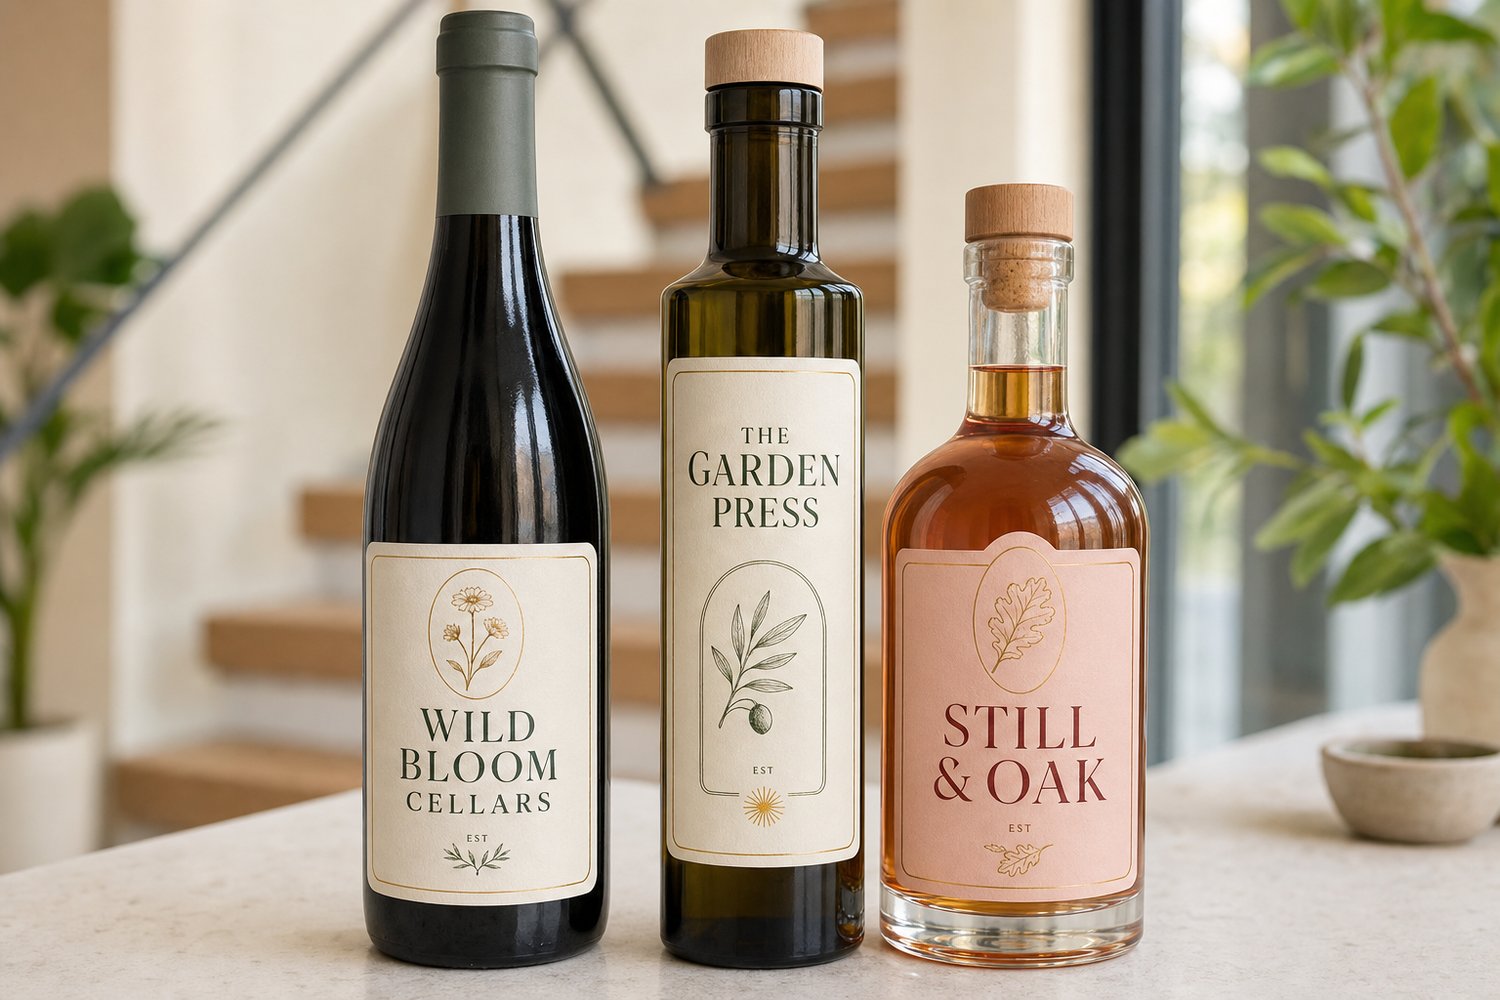
A label can look crisp on a shelf and still lift in a cold esky. For wine, beer and spirit bottles, the choice that matters is the one made for condensation, curved glass and three separate panels that each need their own file. This guide works through the wine bottle labels range from measurement to proof.
Measure the bottle before you choose a size
A 750ml wine bottle and a 750ml sauce bottle may have different front panels. Capacity tells you how much liquid the bottle holds; it does not tell you the label width or height. Start with the actual container, not a common bottle format chart.
Measure the straight part of the cylinder with a paper strip or soft tape. For an open-seam wrap, decide the gap you want between the label edges and subtract it from the circumference. As a purely hypothetical example, a bottle measured at 240mm around with a chosen 20mm gap would take a wrap label 220mm wide. If the label is a front panel rather than a full wrap, set the width and height from the flat area where the label will sit, then check the outer edges against the curve.
The range lists selectable sizes such as 70mm W x 120mm H, 100mm W x 150mm H and 50mm W x 100mm H. These are available finished dimensions, not a promise that a size will fit every bottle. Confirm the chosen size on your measured container. For tapered, ribbed or shouldered surfaces, do a paper fit test before you commit to a rectangle. A curved bottle guide like the bottle and jar label sizing guide is useful to keep open while you measure.
Choose the stock by how the bottle is handled
The stock decision follows the bottle’s life. A bottle that stays on a dry shelf can use paper. A bottle that sweats in a fridge, sits in an esky or moves through a cold room needs a synthetic stock. The range gives you three roll options.
| Stock | Finish choices | Wet handling | Good for |
|---|---|---|---|
| White Cast Paper | Matte Laminate or Gloss Laminate | Not water-resistant | Dry indoor bottles and shelf-stable products |
| White Synthetic | Matte Laminate or Gloss Laminate | Waterproof and scuff resistant; adhesive listed for service from minus 20 degrees C to 80 degrees C | Cold, wet and condensation-prone bottles |
| Clear Synthetic | Gloss Varnish | Transparent no-label look | Glass or coloured containers where the label should disappear |
White Synthetic with Matte Laminate or Gloss Laminate is the stock designed for wet and cold handling. The adhesive is listed for service from minus 20 degrees C to 80 degrees C after application. That is a service range, not an application temperature. Prepare a clean, dry container, apply the label, and follow the supplier’s recommended dwell time before exposing it to temperature or wet conditions.
White Cast Paper with laminate is a cost-effective option for dry indoor products, but it is not water-resistant. Clear Synthetic with Gloss Varnish creates the no-label look on glass and coloured containers. On clear stock, white ink underprinting is available. The white ink can produce white text and graphics, and it can sit beneath coloured areas to stop the bottle colour from dimming the design.
The stock comparison here belongs to the wine and bottle labels product page. If you are quoting a separate wet packaging project, compare the waterproof vinyl labels range and the dedicated clear labels range on their own selectors.
For a metallic look, the foil labels range is a separate page with its own stock and finish options. Review that page if foil is the direction.
Before committing to a stock, ask for available material samples and compare them on the actual container. On coated glass or plastics, test on a small, low-visibility area of the actual container before the main run. The sticker sample testing guide walks through the checks that matter. A material sample is not the same as a printed test of your own artwork. If you need to test a full designed label on the real bottle before the main run, arrange that as a separate printed order.
Plan the set: front, back, neck and vintages
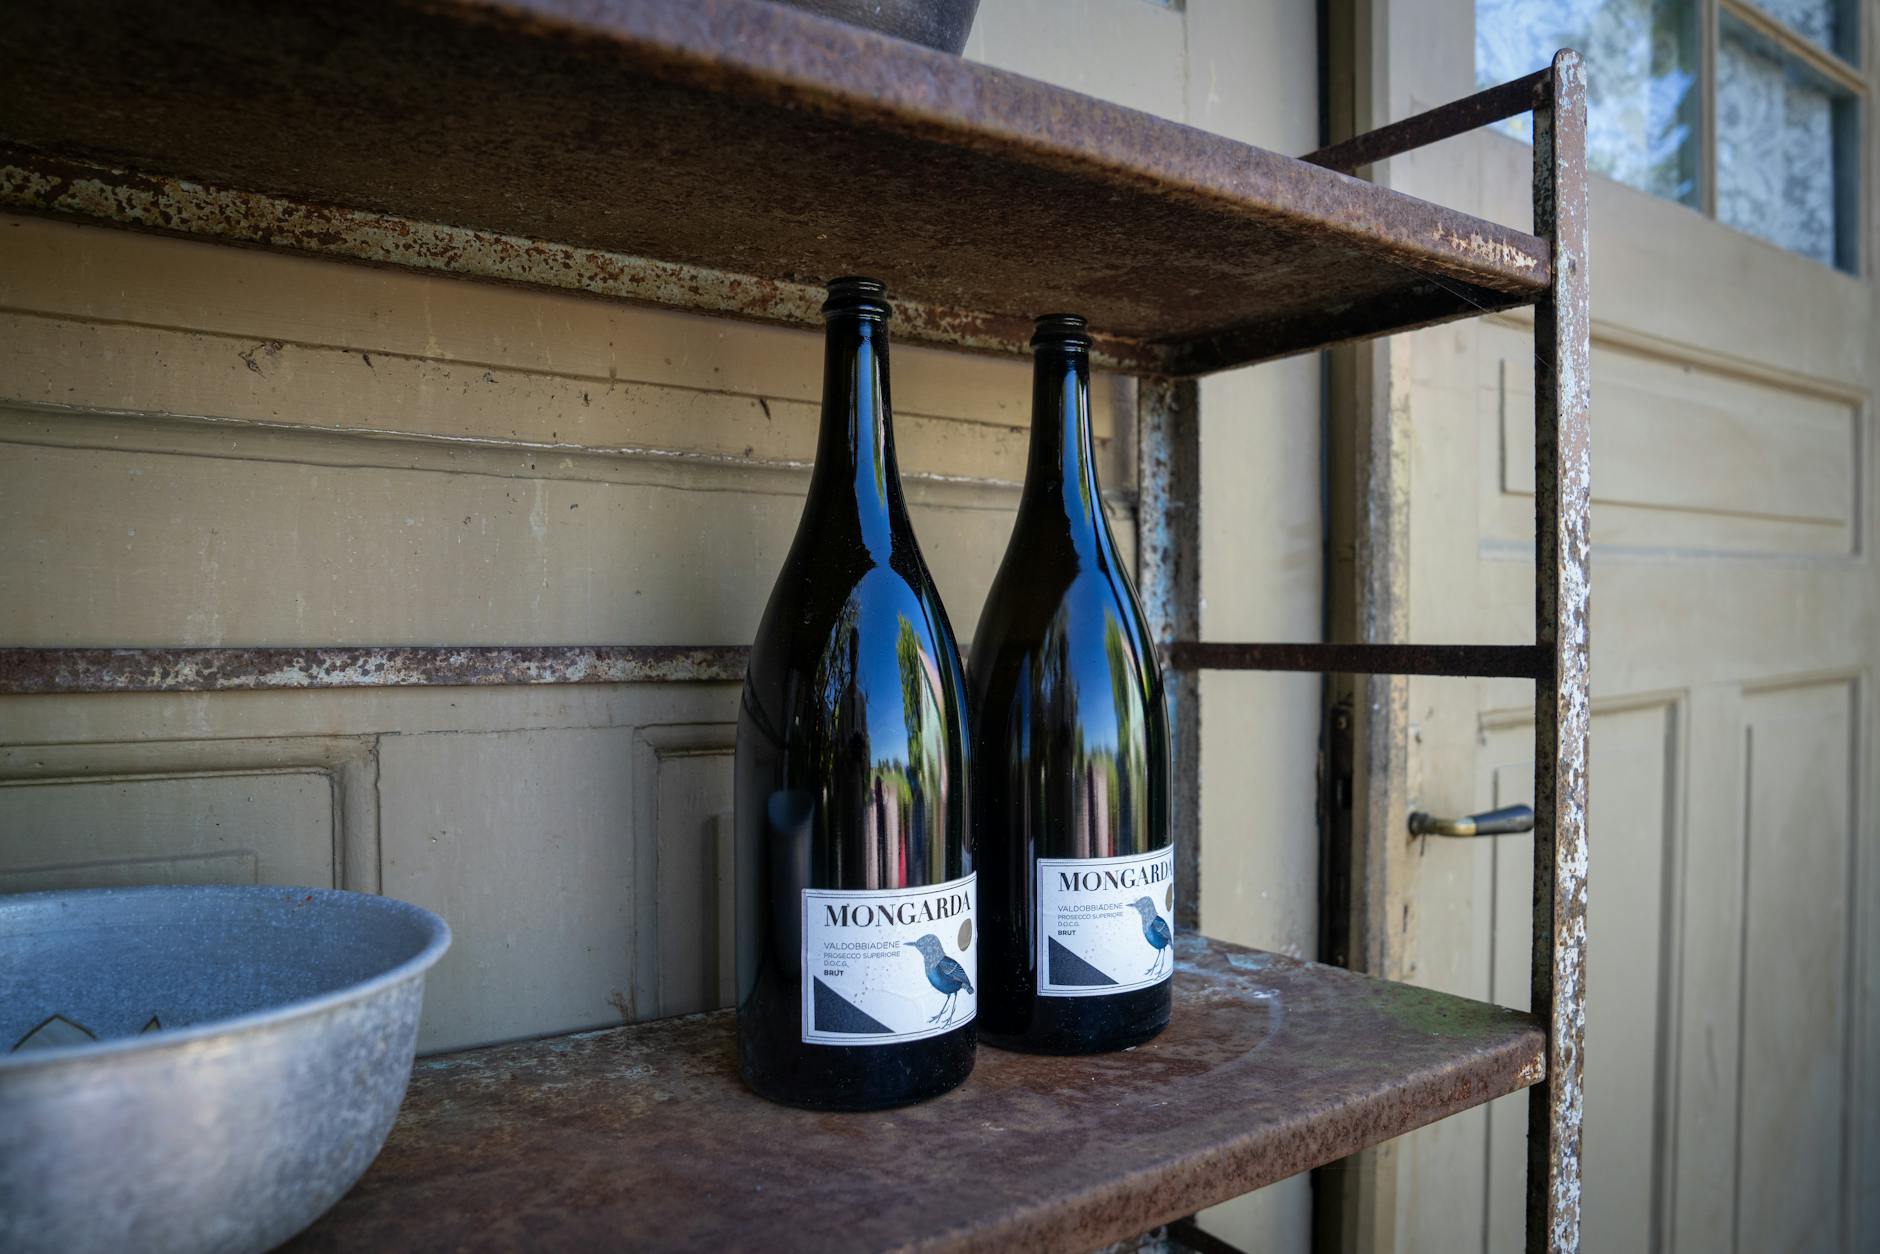
A bottle usually needs more than one label, and each panel is a separate design. A front label, back label and neck or cap seal each need their own artwork, size and quantity. That is how the roll order logic works, and it changes the numbers quickly.
For example, a run of 500 bottles with a front label, a back label and a small neck label means 500 of each design. That is 1,500 labels across three rolls. Each design and size must meet its own minimum of one roll of 500 labels. The front label on White Cast Paper and the back label on White Synthetic are separate configurations, not one combined selection.
The range selector allows up to five designs in one order, each printed on its own roll. Shape, size, stock, finish, number of designs and quantity are all chosen for the configuration you are uploading. For body panels, choose Rectangle from the shape menu. A circular neck or cap seal is a different shape, so treat it as a separate configuration or ask the team to confirm a mixed-shape brief. The rectangle labels and custom labels range pages show available shape paths, but cross-shape orders are not assumed to share one configuration. If the brief mixes shapes, sizes or stocks, ask the team to confirm the order structure before you upload final artwork.
Multiple vintages are artwork versions, not an automatic print variable. If the front label stays the same across vintages and only the back text changes, keep the front as one design and set up each new back label as its own file. The standard flow does not vary text or numbers between individual labels. If every label must carry a unique batch code, number or QR, ask the team before ordering.
For brewery sets with front, back and neck artwork, the craft beer label printing guide steps through the panel-by-panel design tasks.
Artwork and proof before production
You upload artwork, receive an emailed proof, and nothing prints until you approve it. You and the print team review the proof for layout, text and the declared dimensions. The proof is not a physical sample of colour, adhesion or stock. If you need to check how the chosen material behaves on your bottle, use samples or a separately agreed printed test before the main run.
Follow the selected product’s artwork requirements before export. Check the Wine and Bottle Labels page and any template or artwork notes for the chosen shape and size. Keep document size, finished trim, bleed and safe area separate: the finished trim is the label after cutting, bleed extends the background past the trim, and the safe area keeps text and barcodes off the edge.
Review the proof for vintage text, barcode and mandatory warnings against your approved copy. For beer and wine, confirm the required wording through the FSANZ Labelling of alcoholic beverages guide before final artwork. Printing approval is not regulatory approval.
Frequently asked questions
What stock should I choose for wine labels that sit in an ice bucket?
Choose White Synthetic with Matte Laminate or Gloss Laminate. It is the wet-use stock in the wine and bottle labels range and carries a listed adhesive service range from minus 20 degrees C to 80 degrees C after application, with a supplier recommended dwell time before exposure to temperature or wet conditions. White Cast Paper is not water-resistant. Clear Synthetic gives a no-label look but should be checked on your actual container if it will face regular wet handling. A test on your actual bottle is useful, but it does not replace the listed material and handling notes for the stock.
Do I need to measure my bottle before choosing 70mm x 120mm?
Yes. The range lists 70mm W x 120mm H and other dimensions as available sizes, not as a standard fit for a particular bottle. Measure the straight part of your bottle with a paper strip or soft tape, and test a paper cutout on the actual surface. A 70mm x 120mm rectangle works only if your measured panel and curve allow it.
What is the minimum order for wine bottle labels?
One roll of 500 labels per design and per size. You can order up to five designs in one order, each printed on its own roll. A front label and a back label are separate designs, so a 500-bottle set with front and back labels is 1,000 labels across two rolls. Different sizes or stocks belong in separate configurations.
How long does production take?
Production takes 48 hours after proof approval. That is printing time only. Delivery is separate, so count from the moment you approve the proof, not from the upload date.
Can I get a proof before printing?
Yes. You upload artwork, receive an emailed proof, and production only moves after you approve it. You and the print team review layout, text and declared dimensions. The proof is not a physical colour, adhesion or stock sample. For those checks, use available material samples or a separately agreed printed test.
Are removable labels available in the standard roll range?
The standard roll-label range does not list a selectable removable adhesive option. If a bottle must peel cleanly or has a specialist removal requirement, ask the team to confirm what is possible before you order. Do not assume a clean removal result without testing on your container.